Build: 10/14/2014 Router Mount and Milling Bed
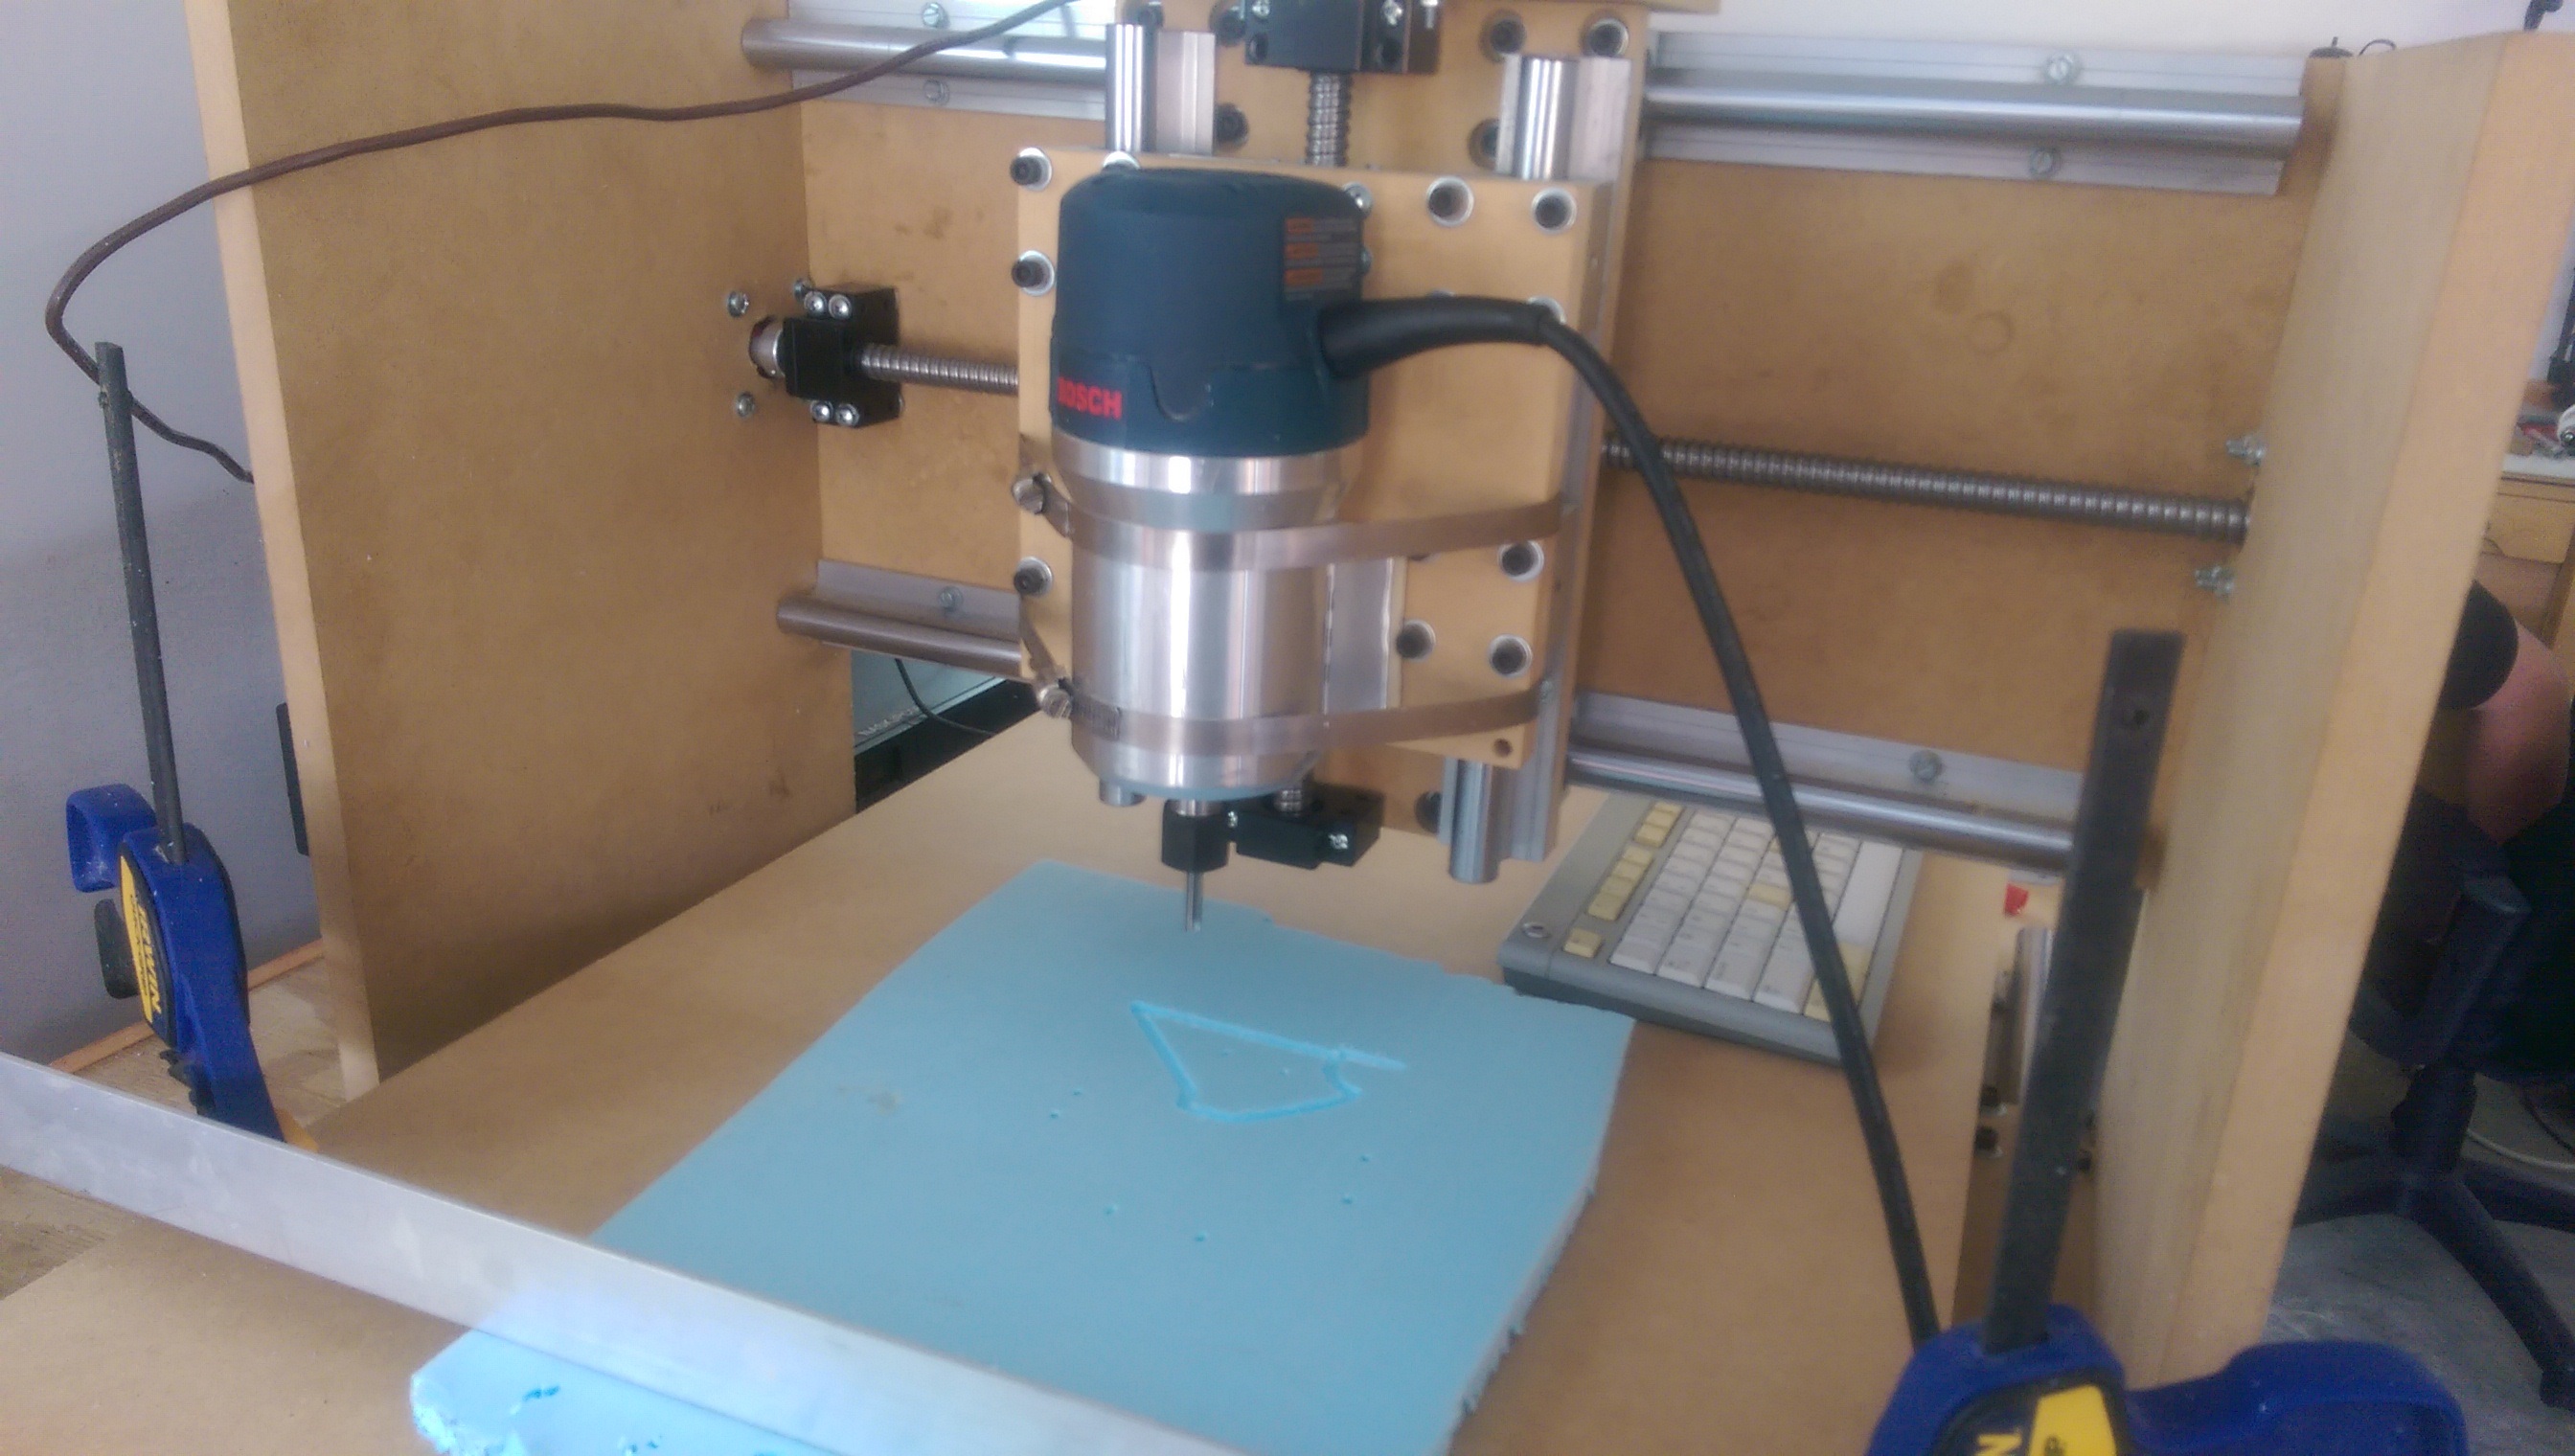
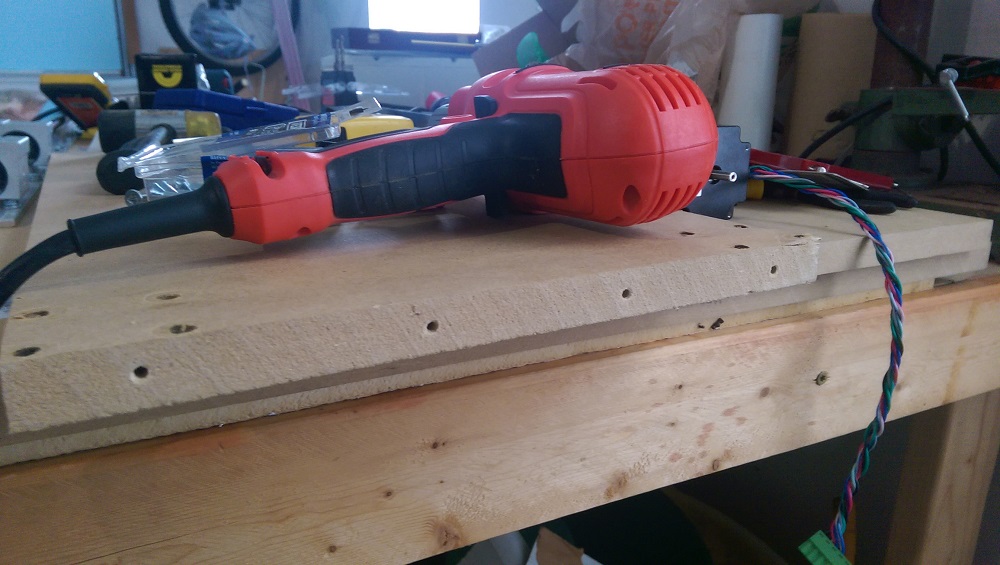
All that is left is to mount the router, attach limit switches, and build the bed.

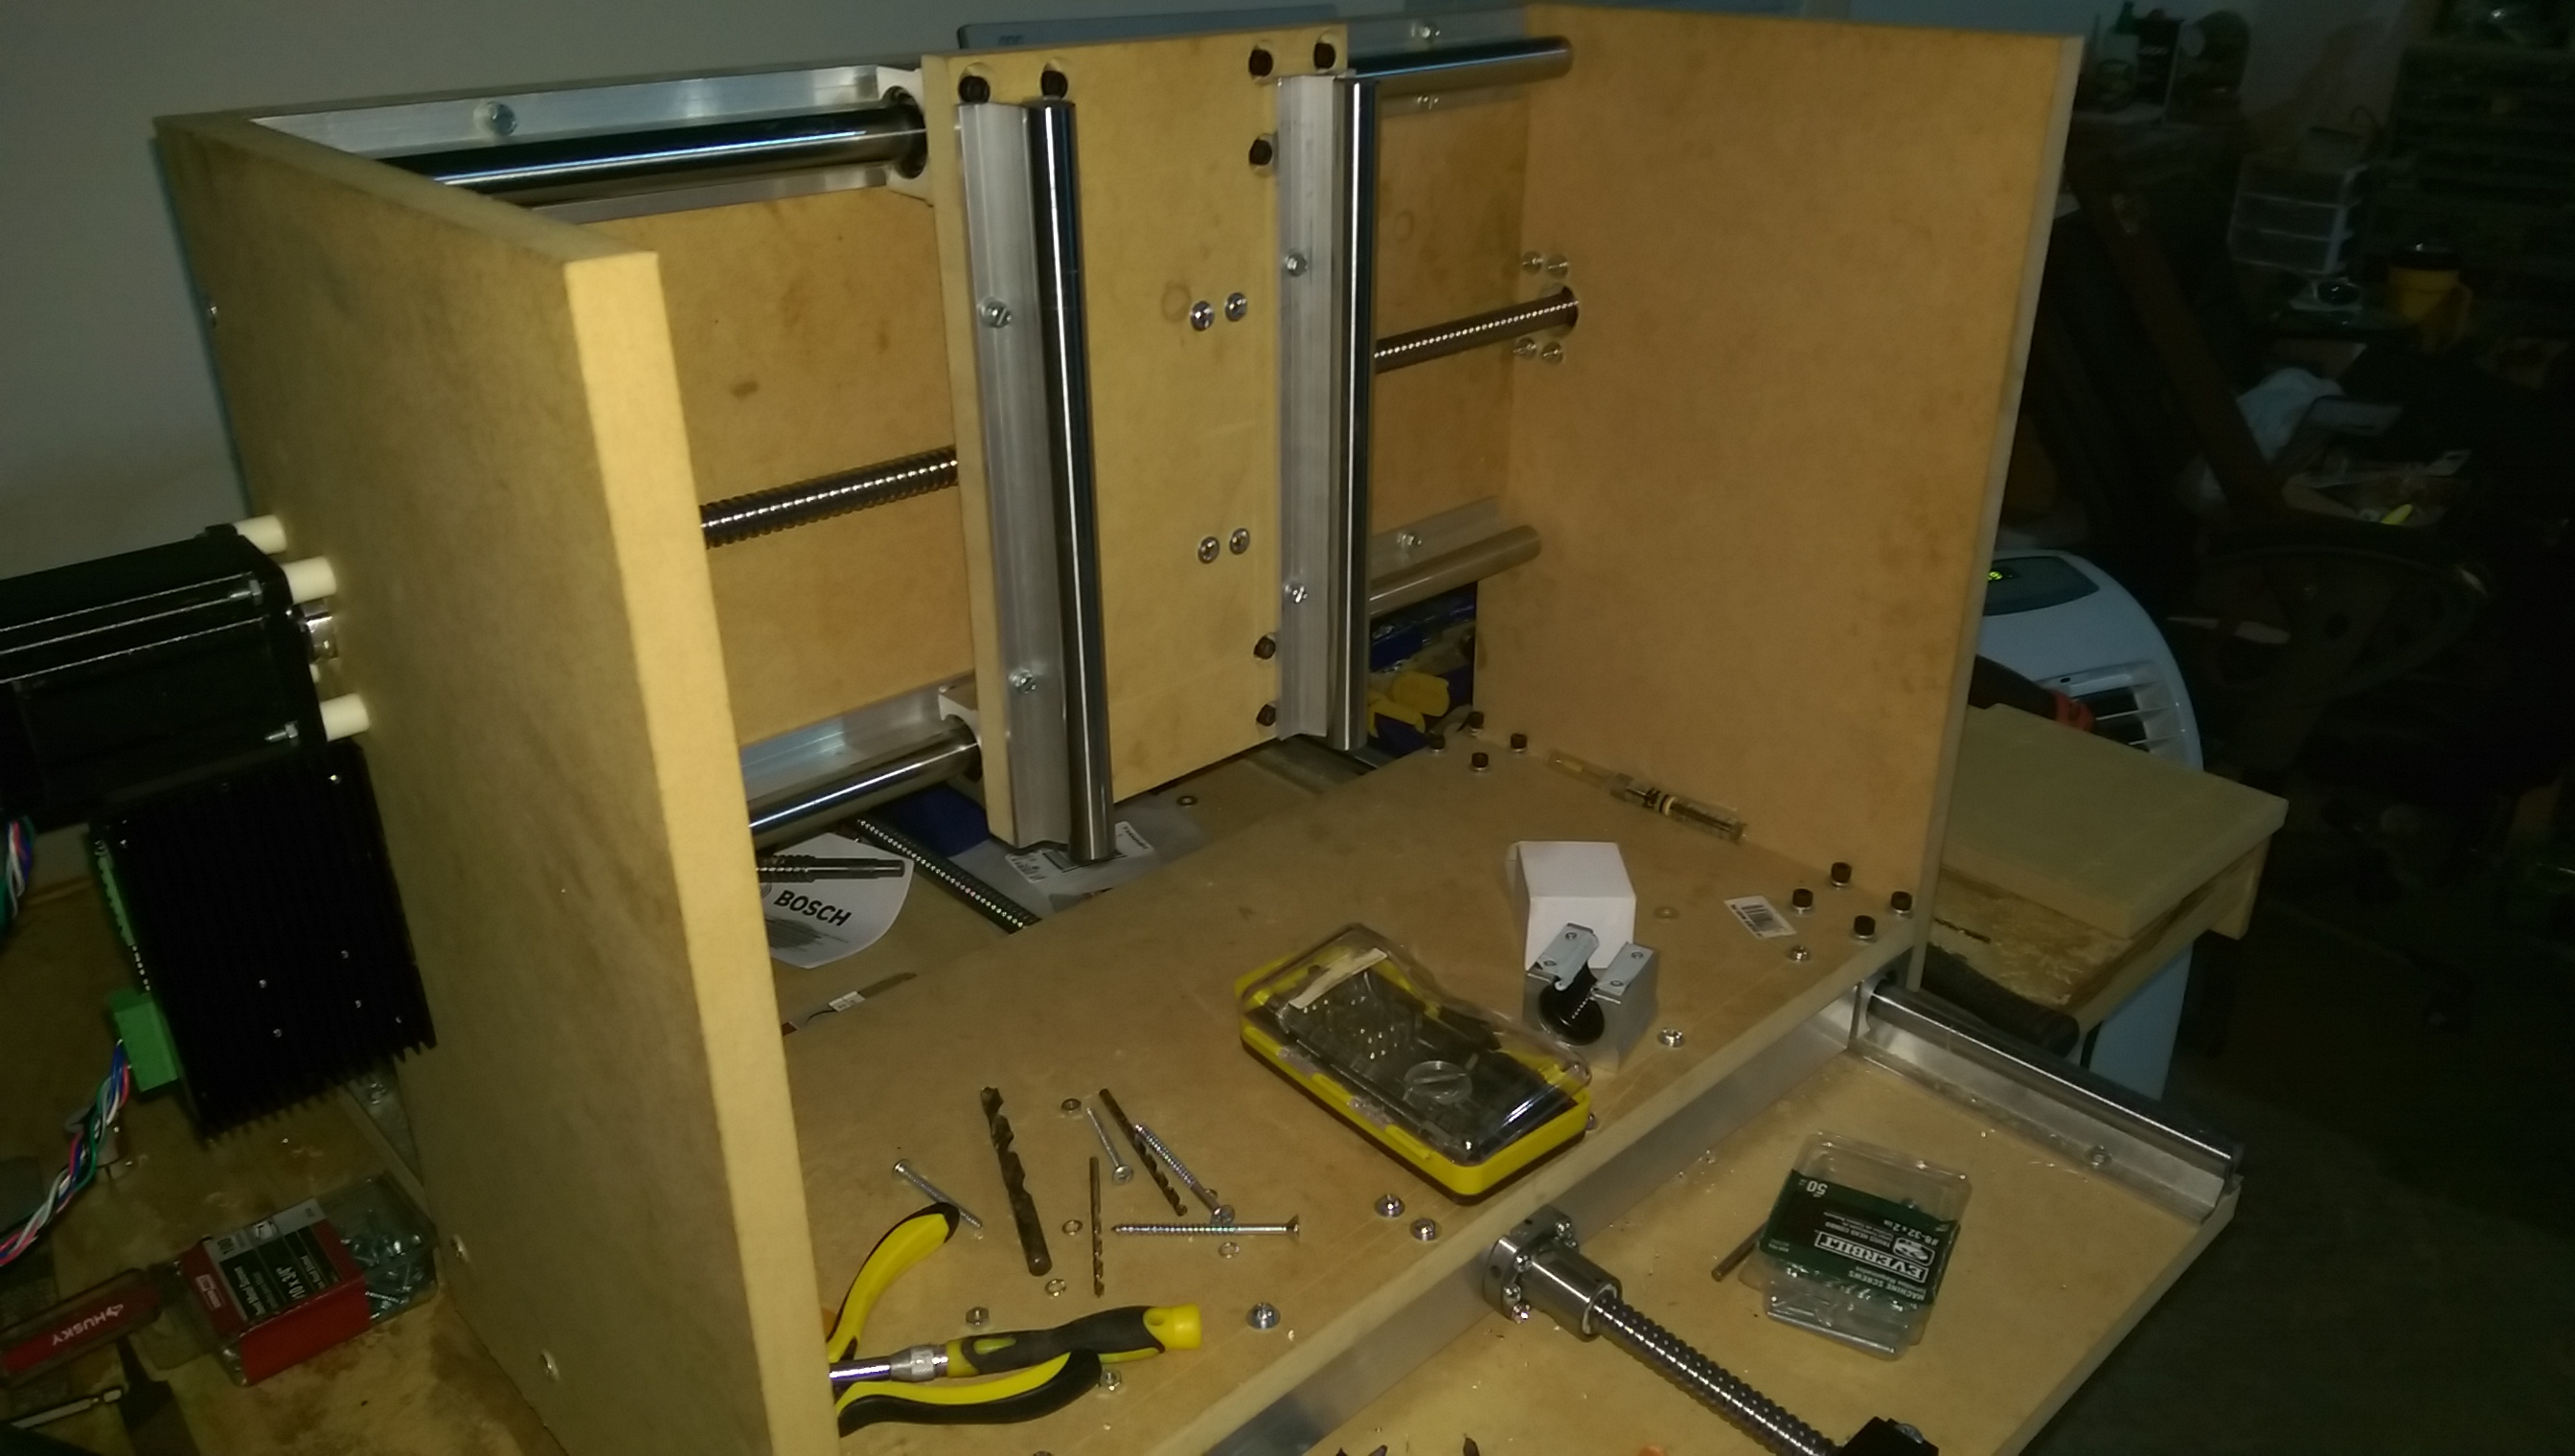
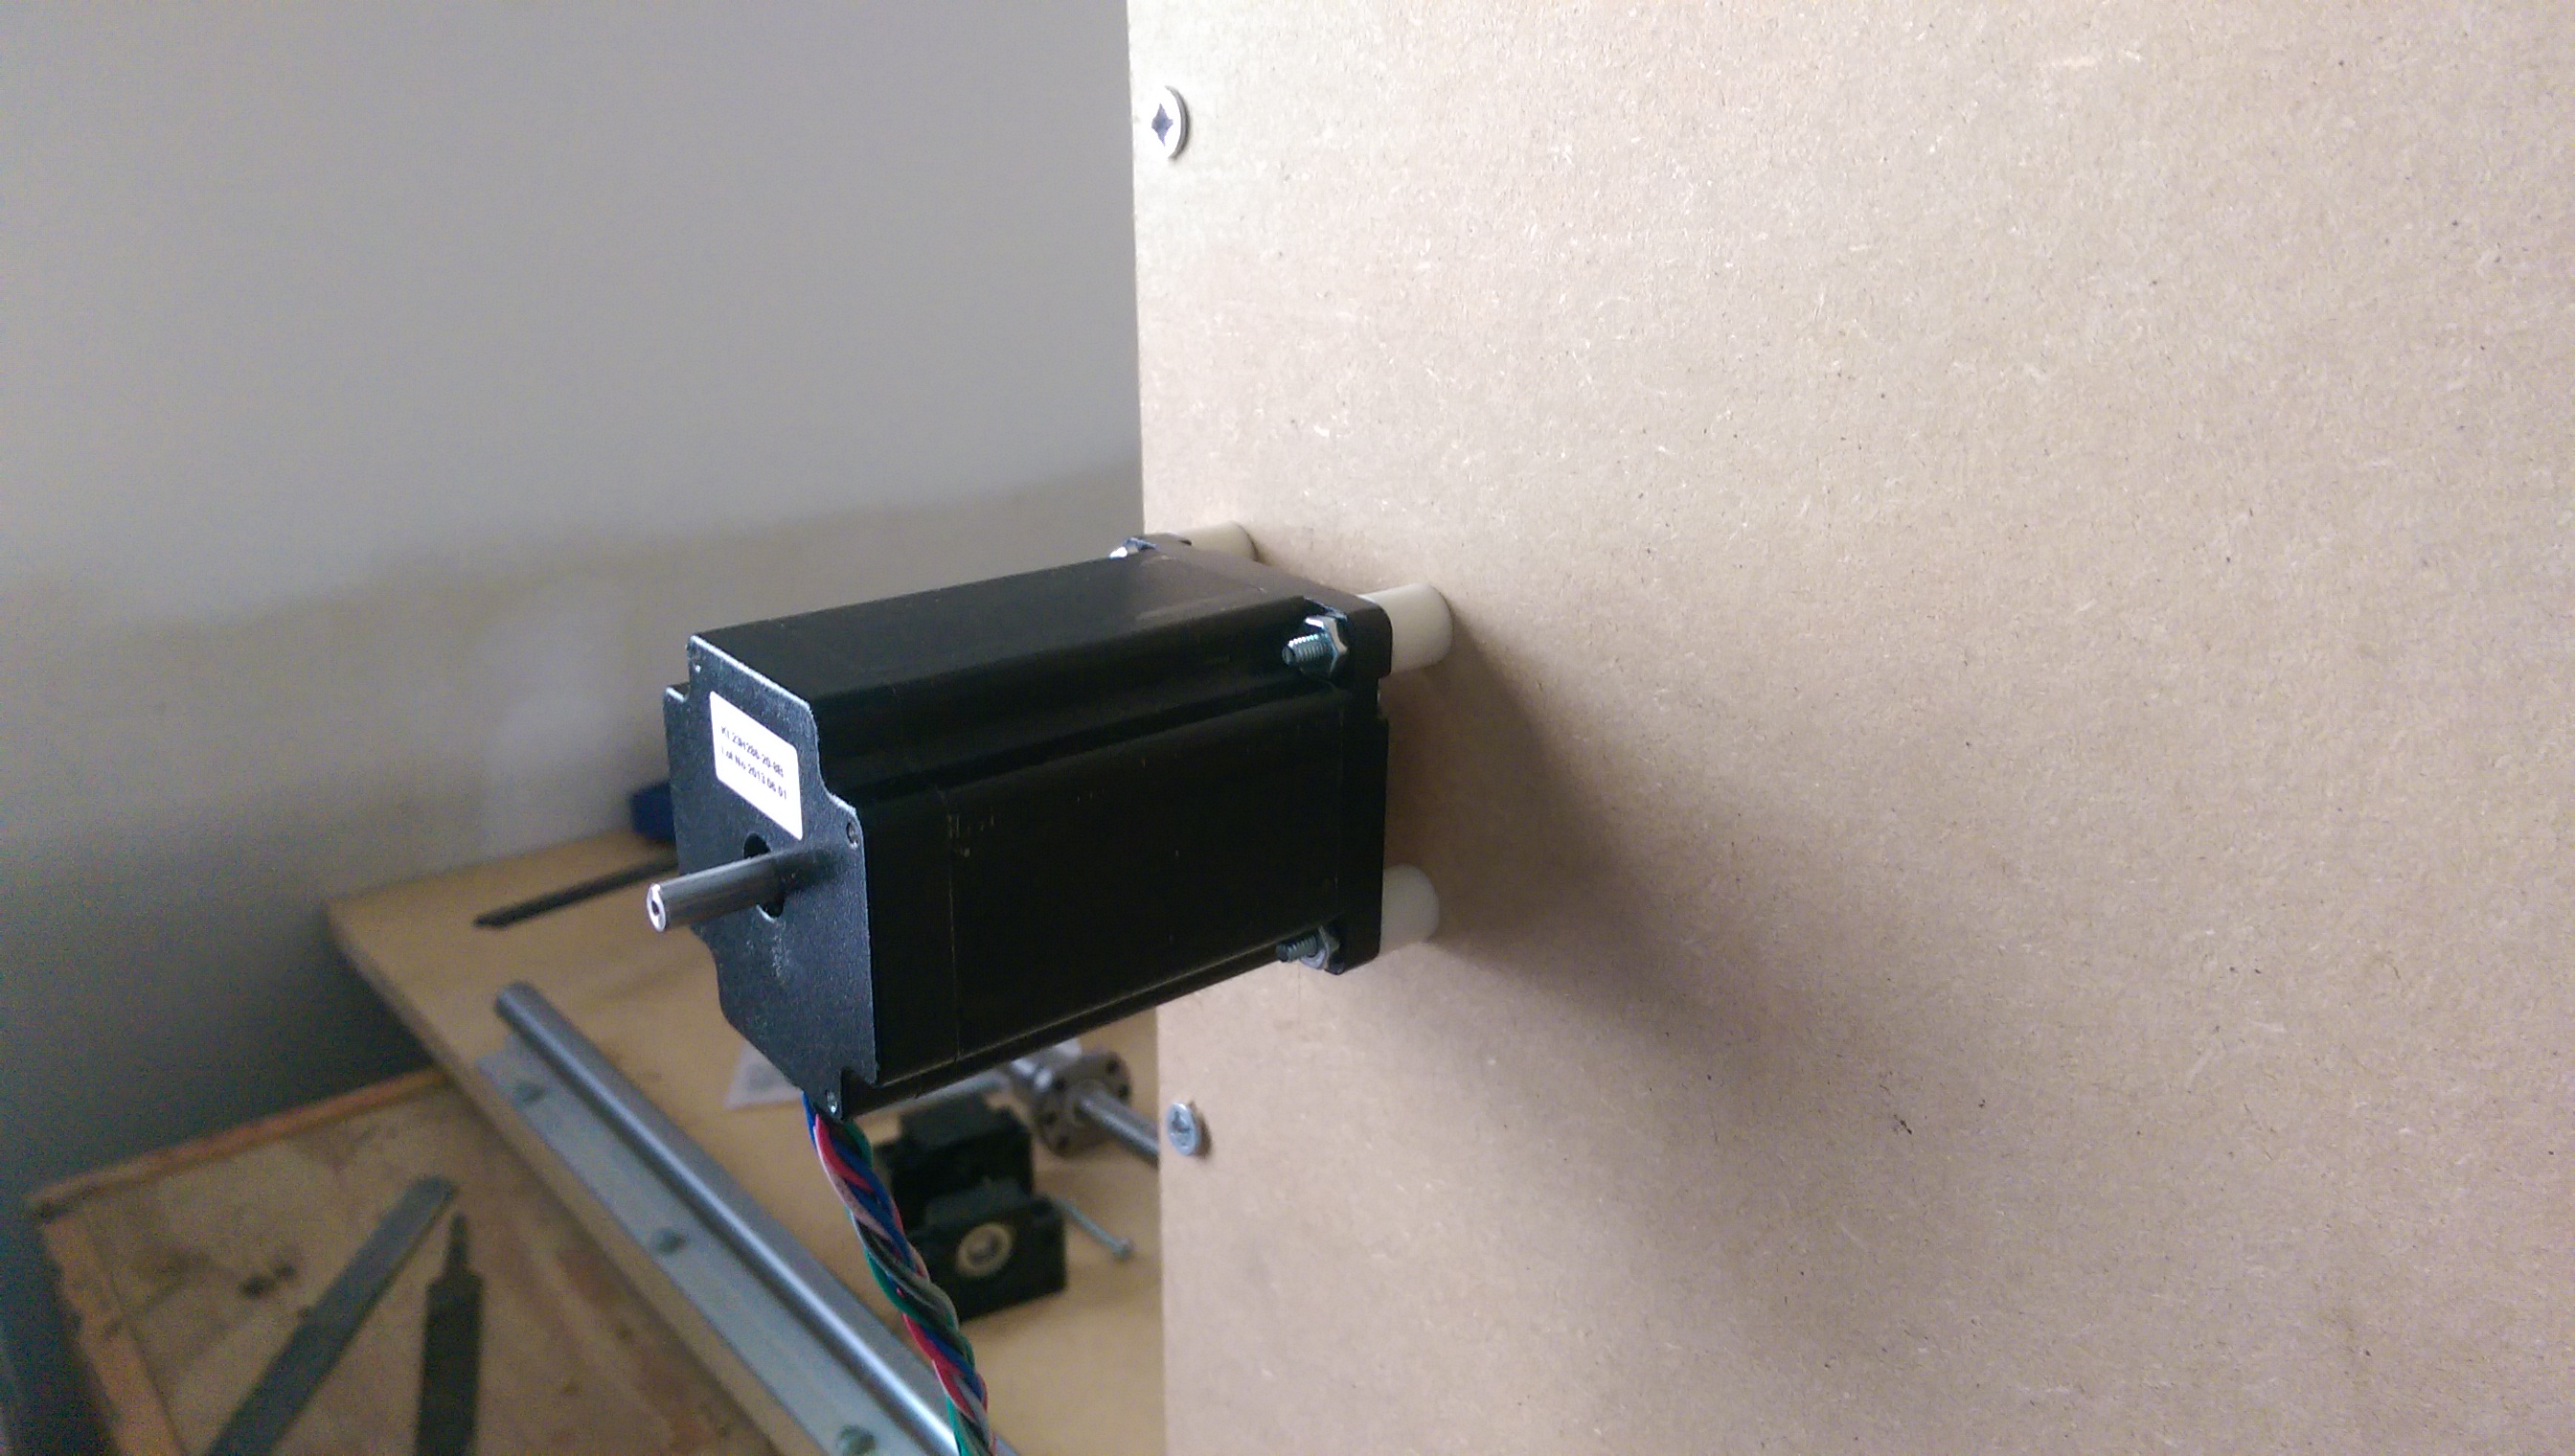
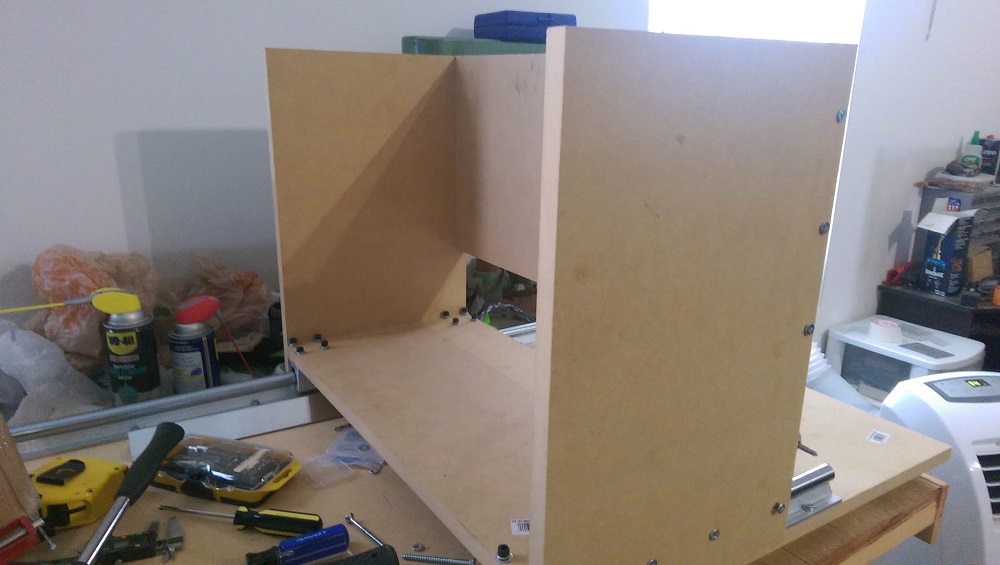
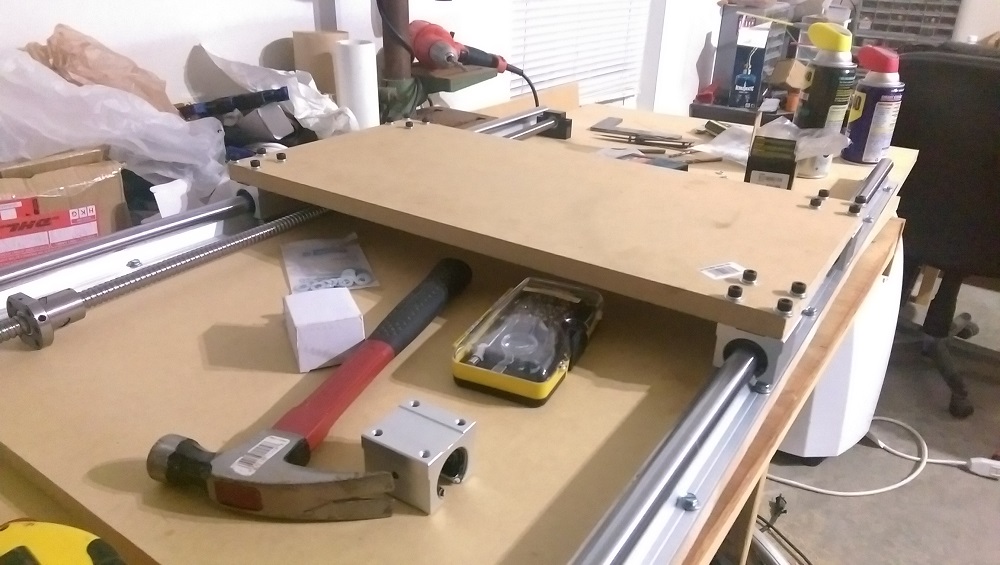
With all of this metal and wood, this machine is getting heavy. It was pretty difficult to attach the y-axis board once the heavy rails were attached.
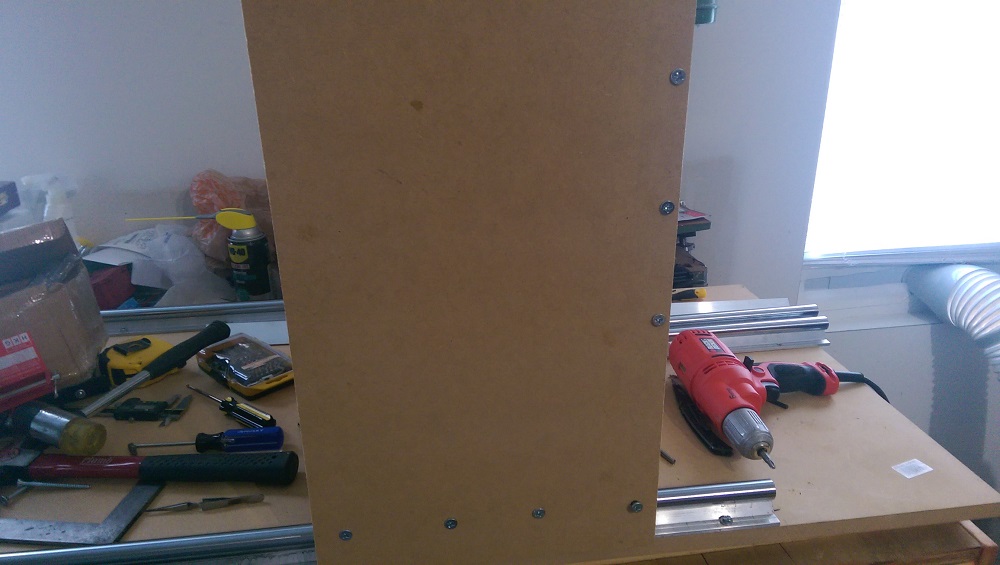
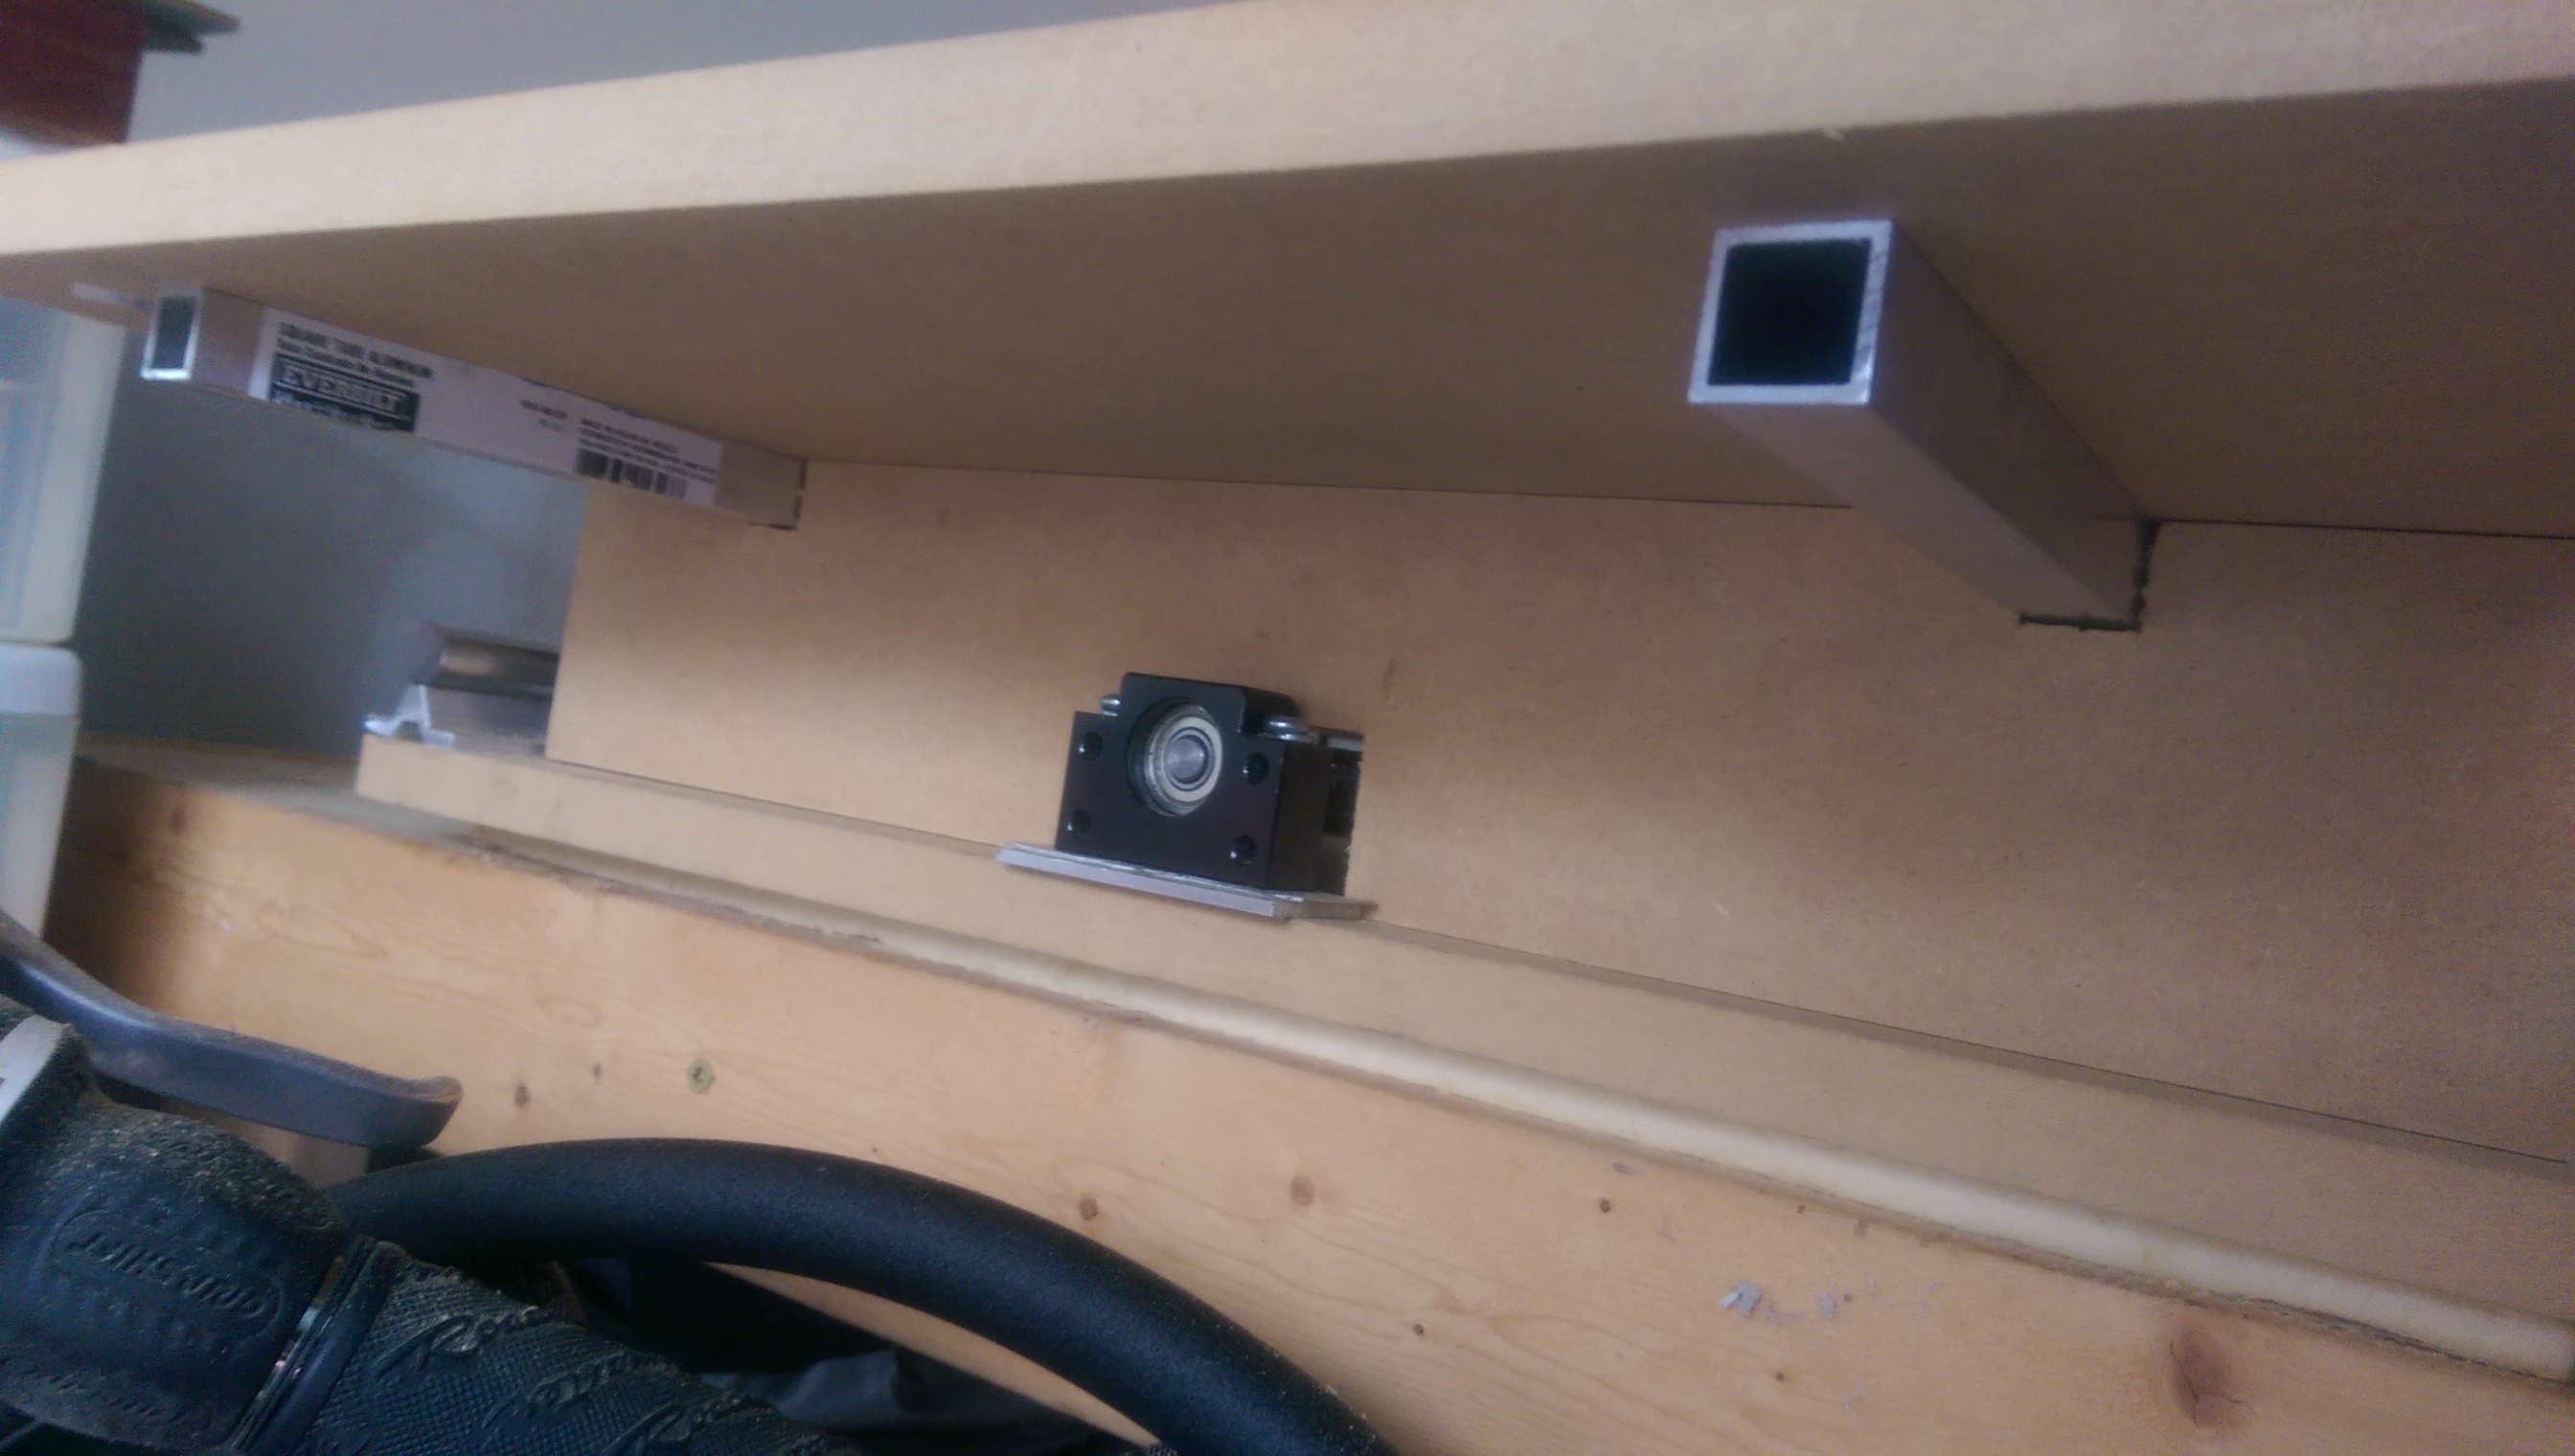
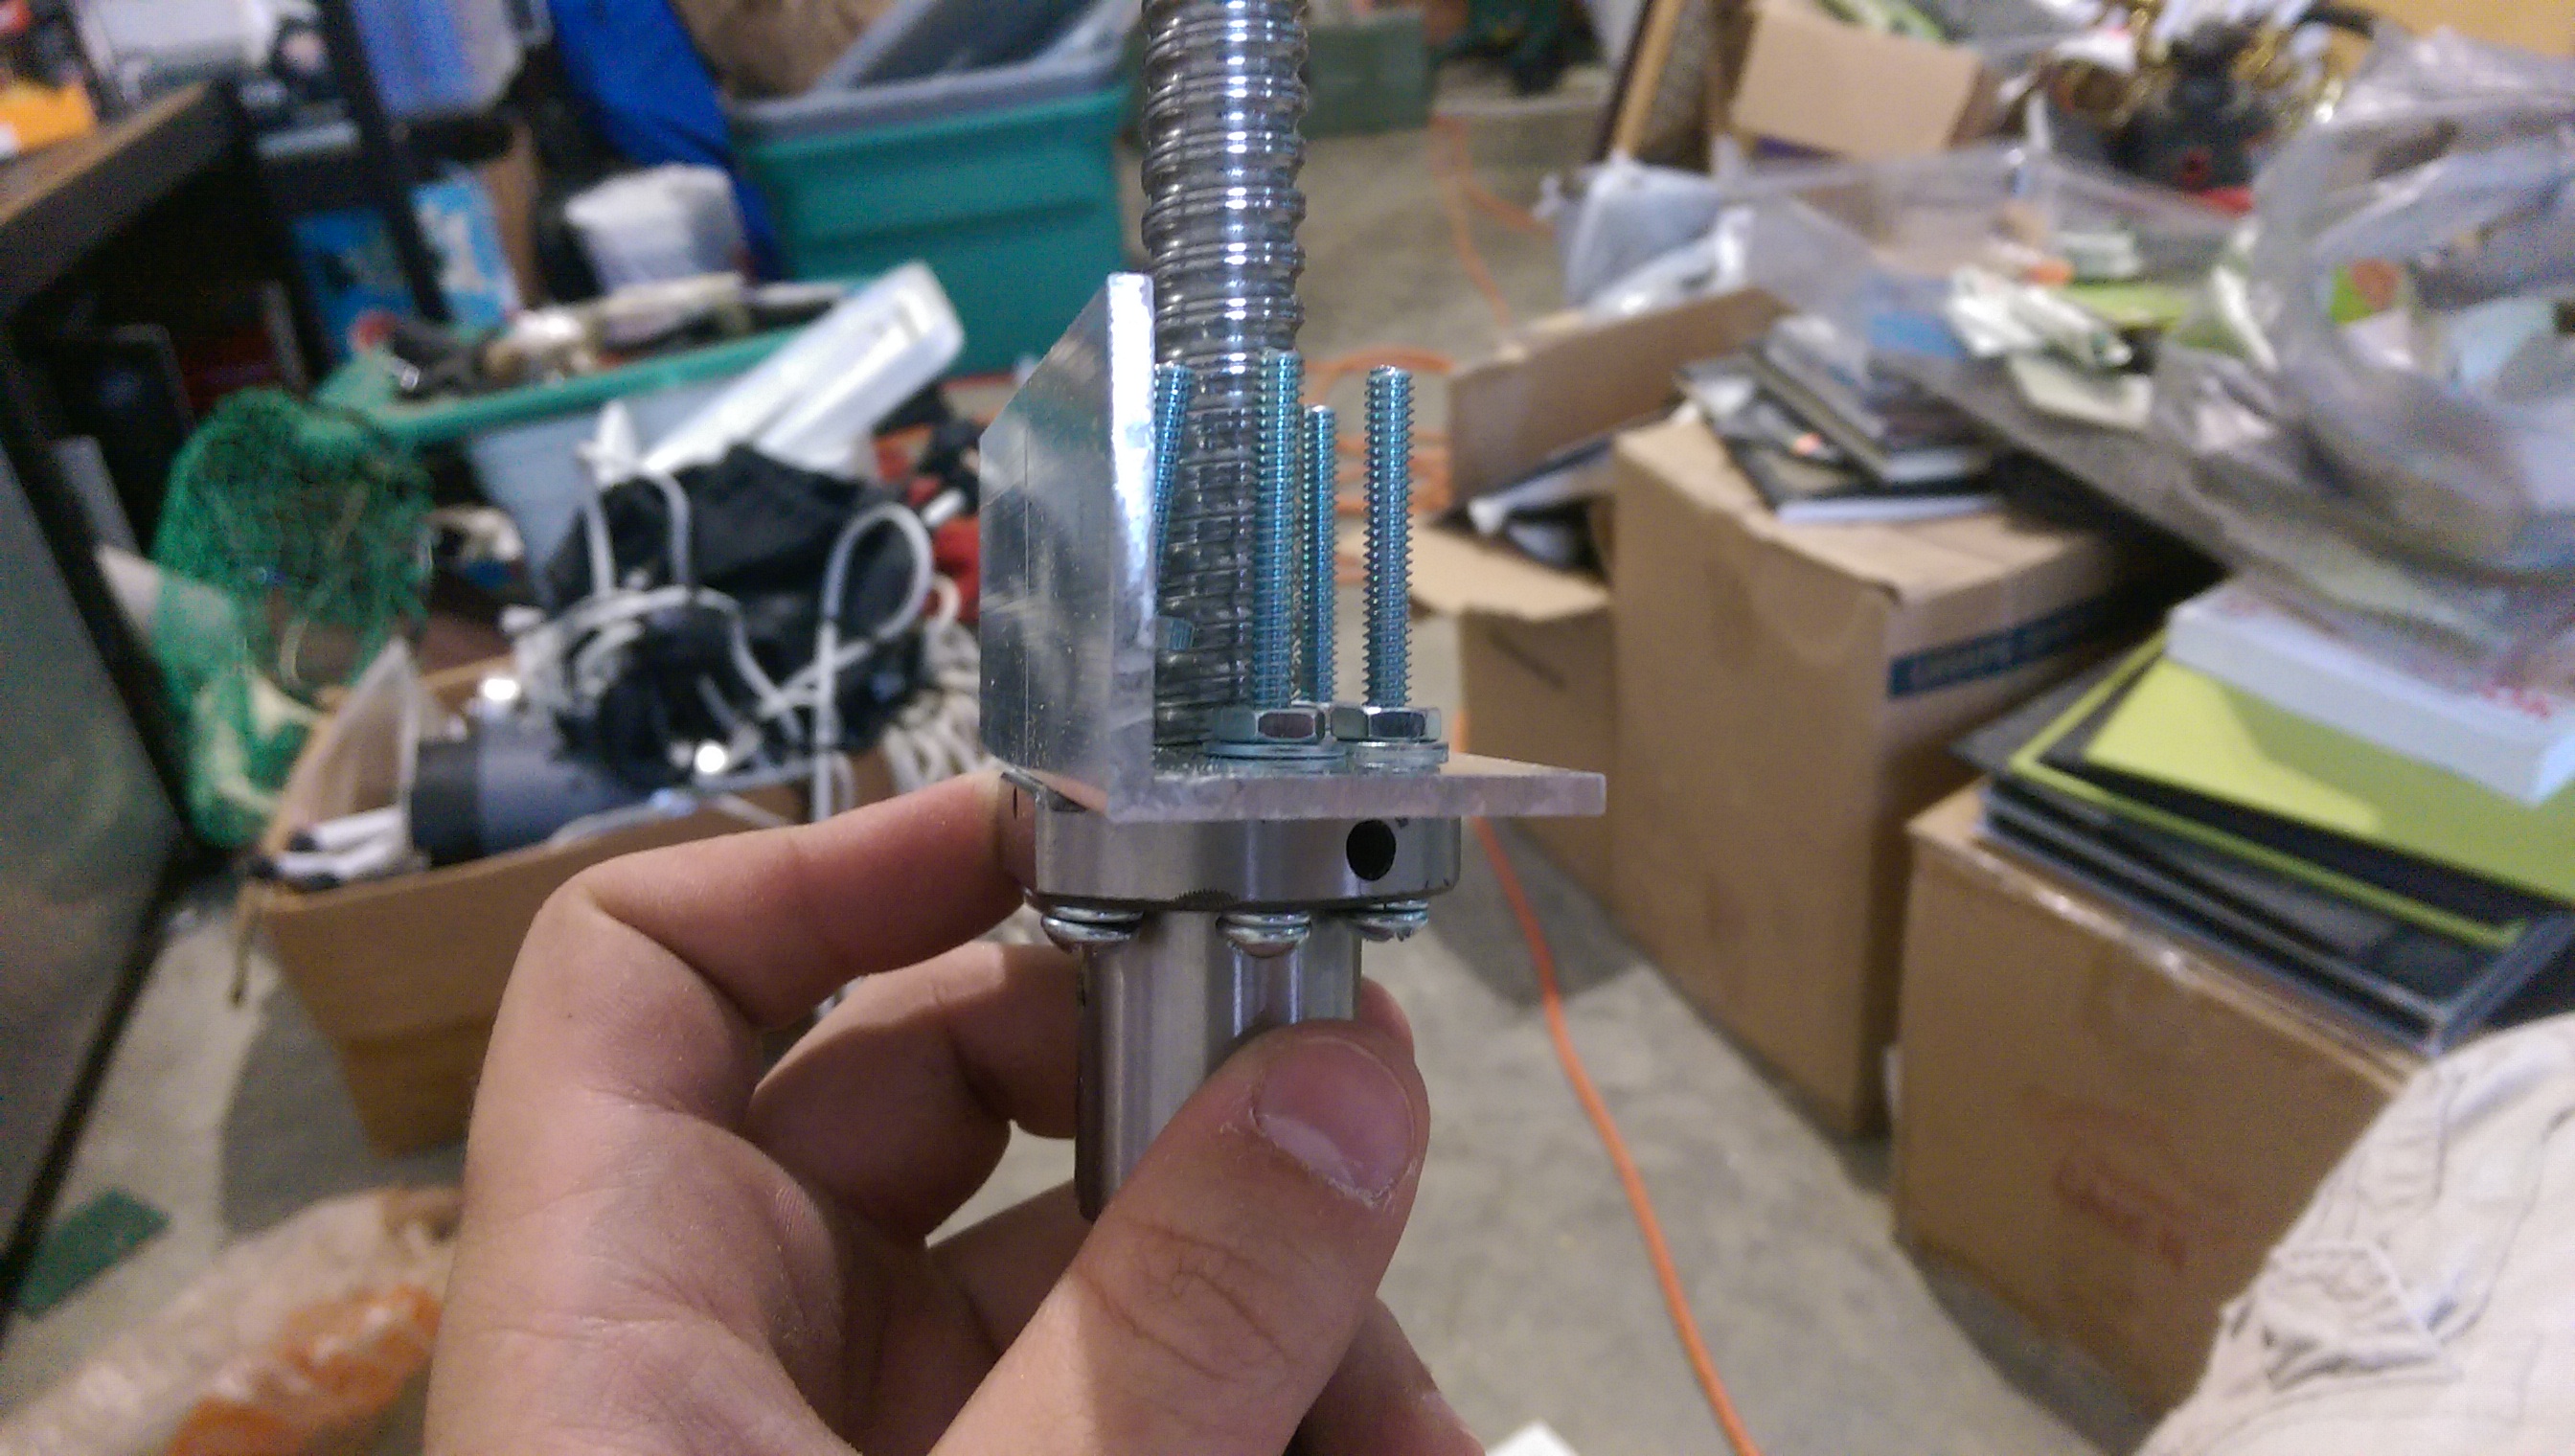
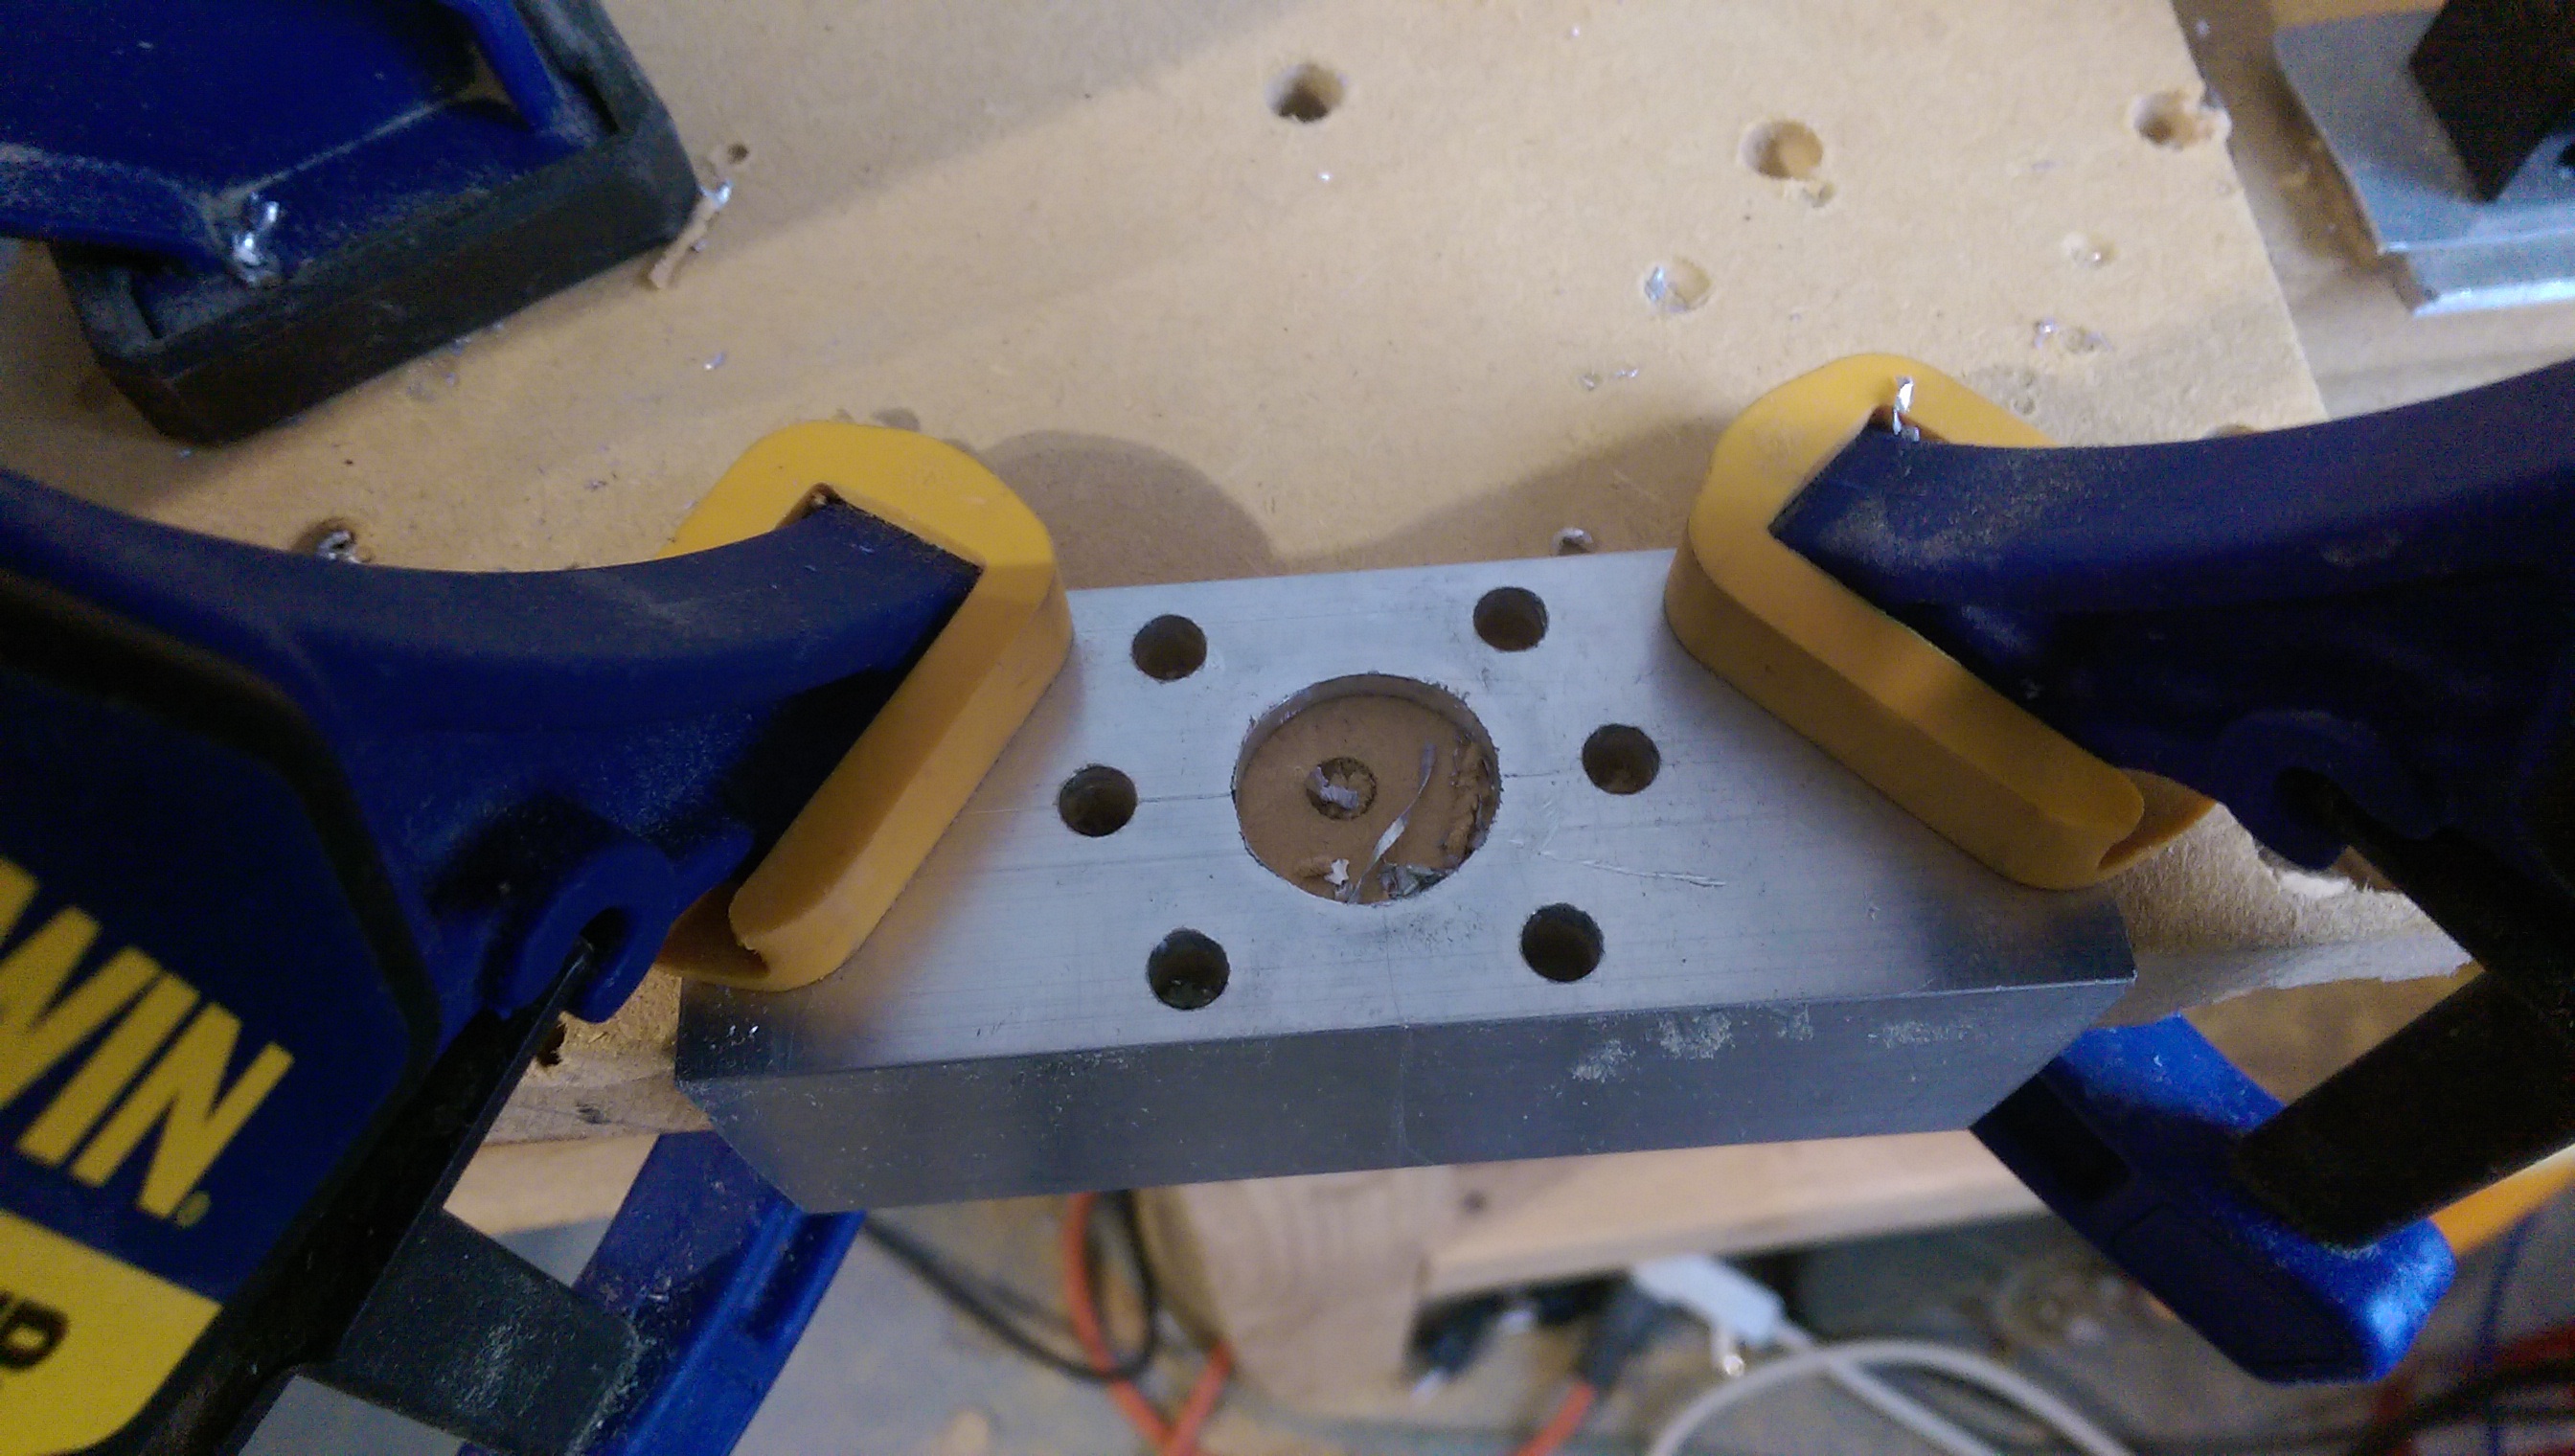
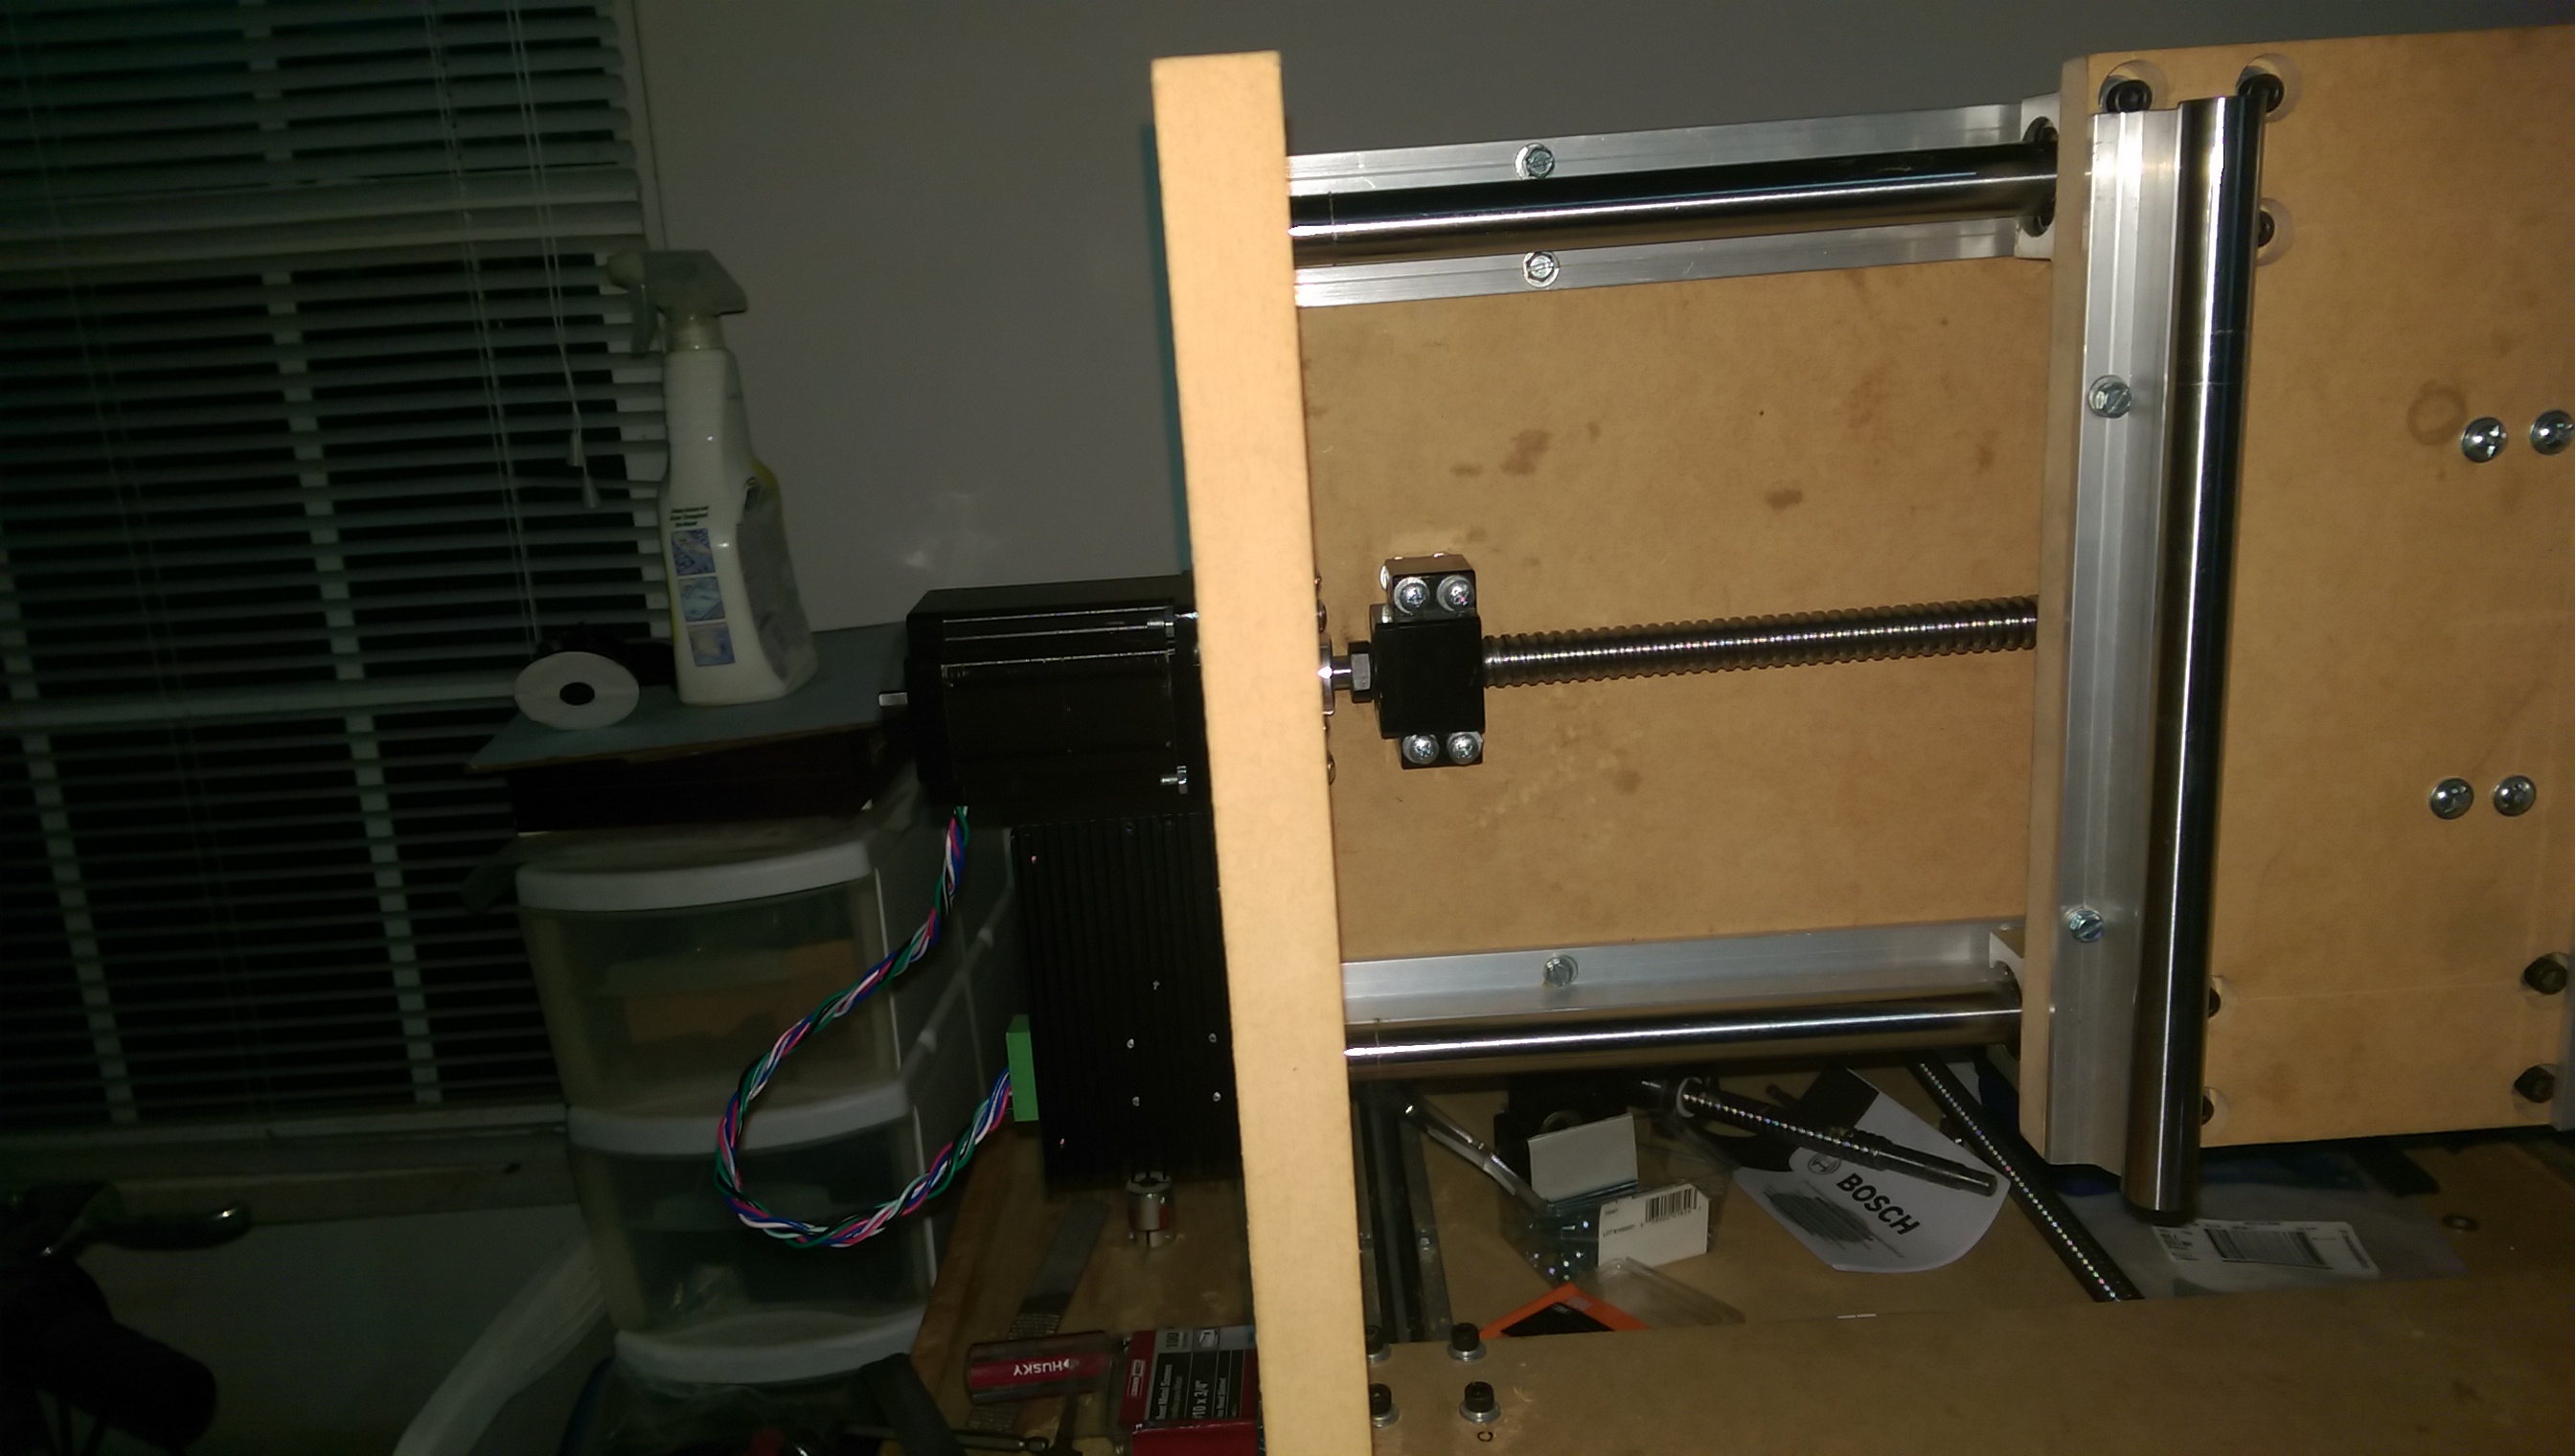
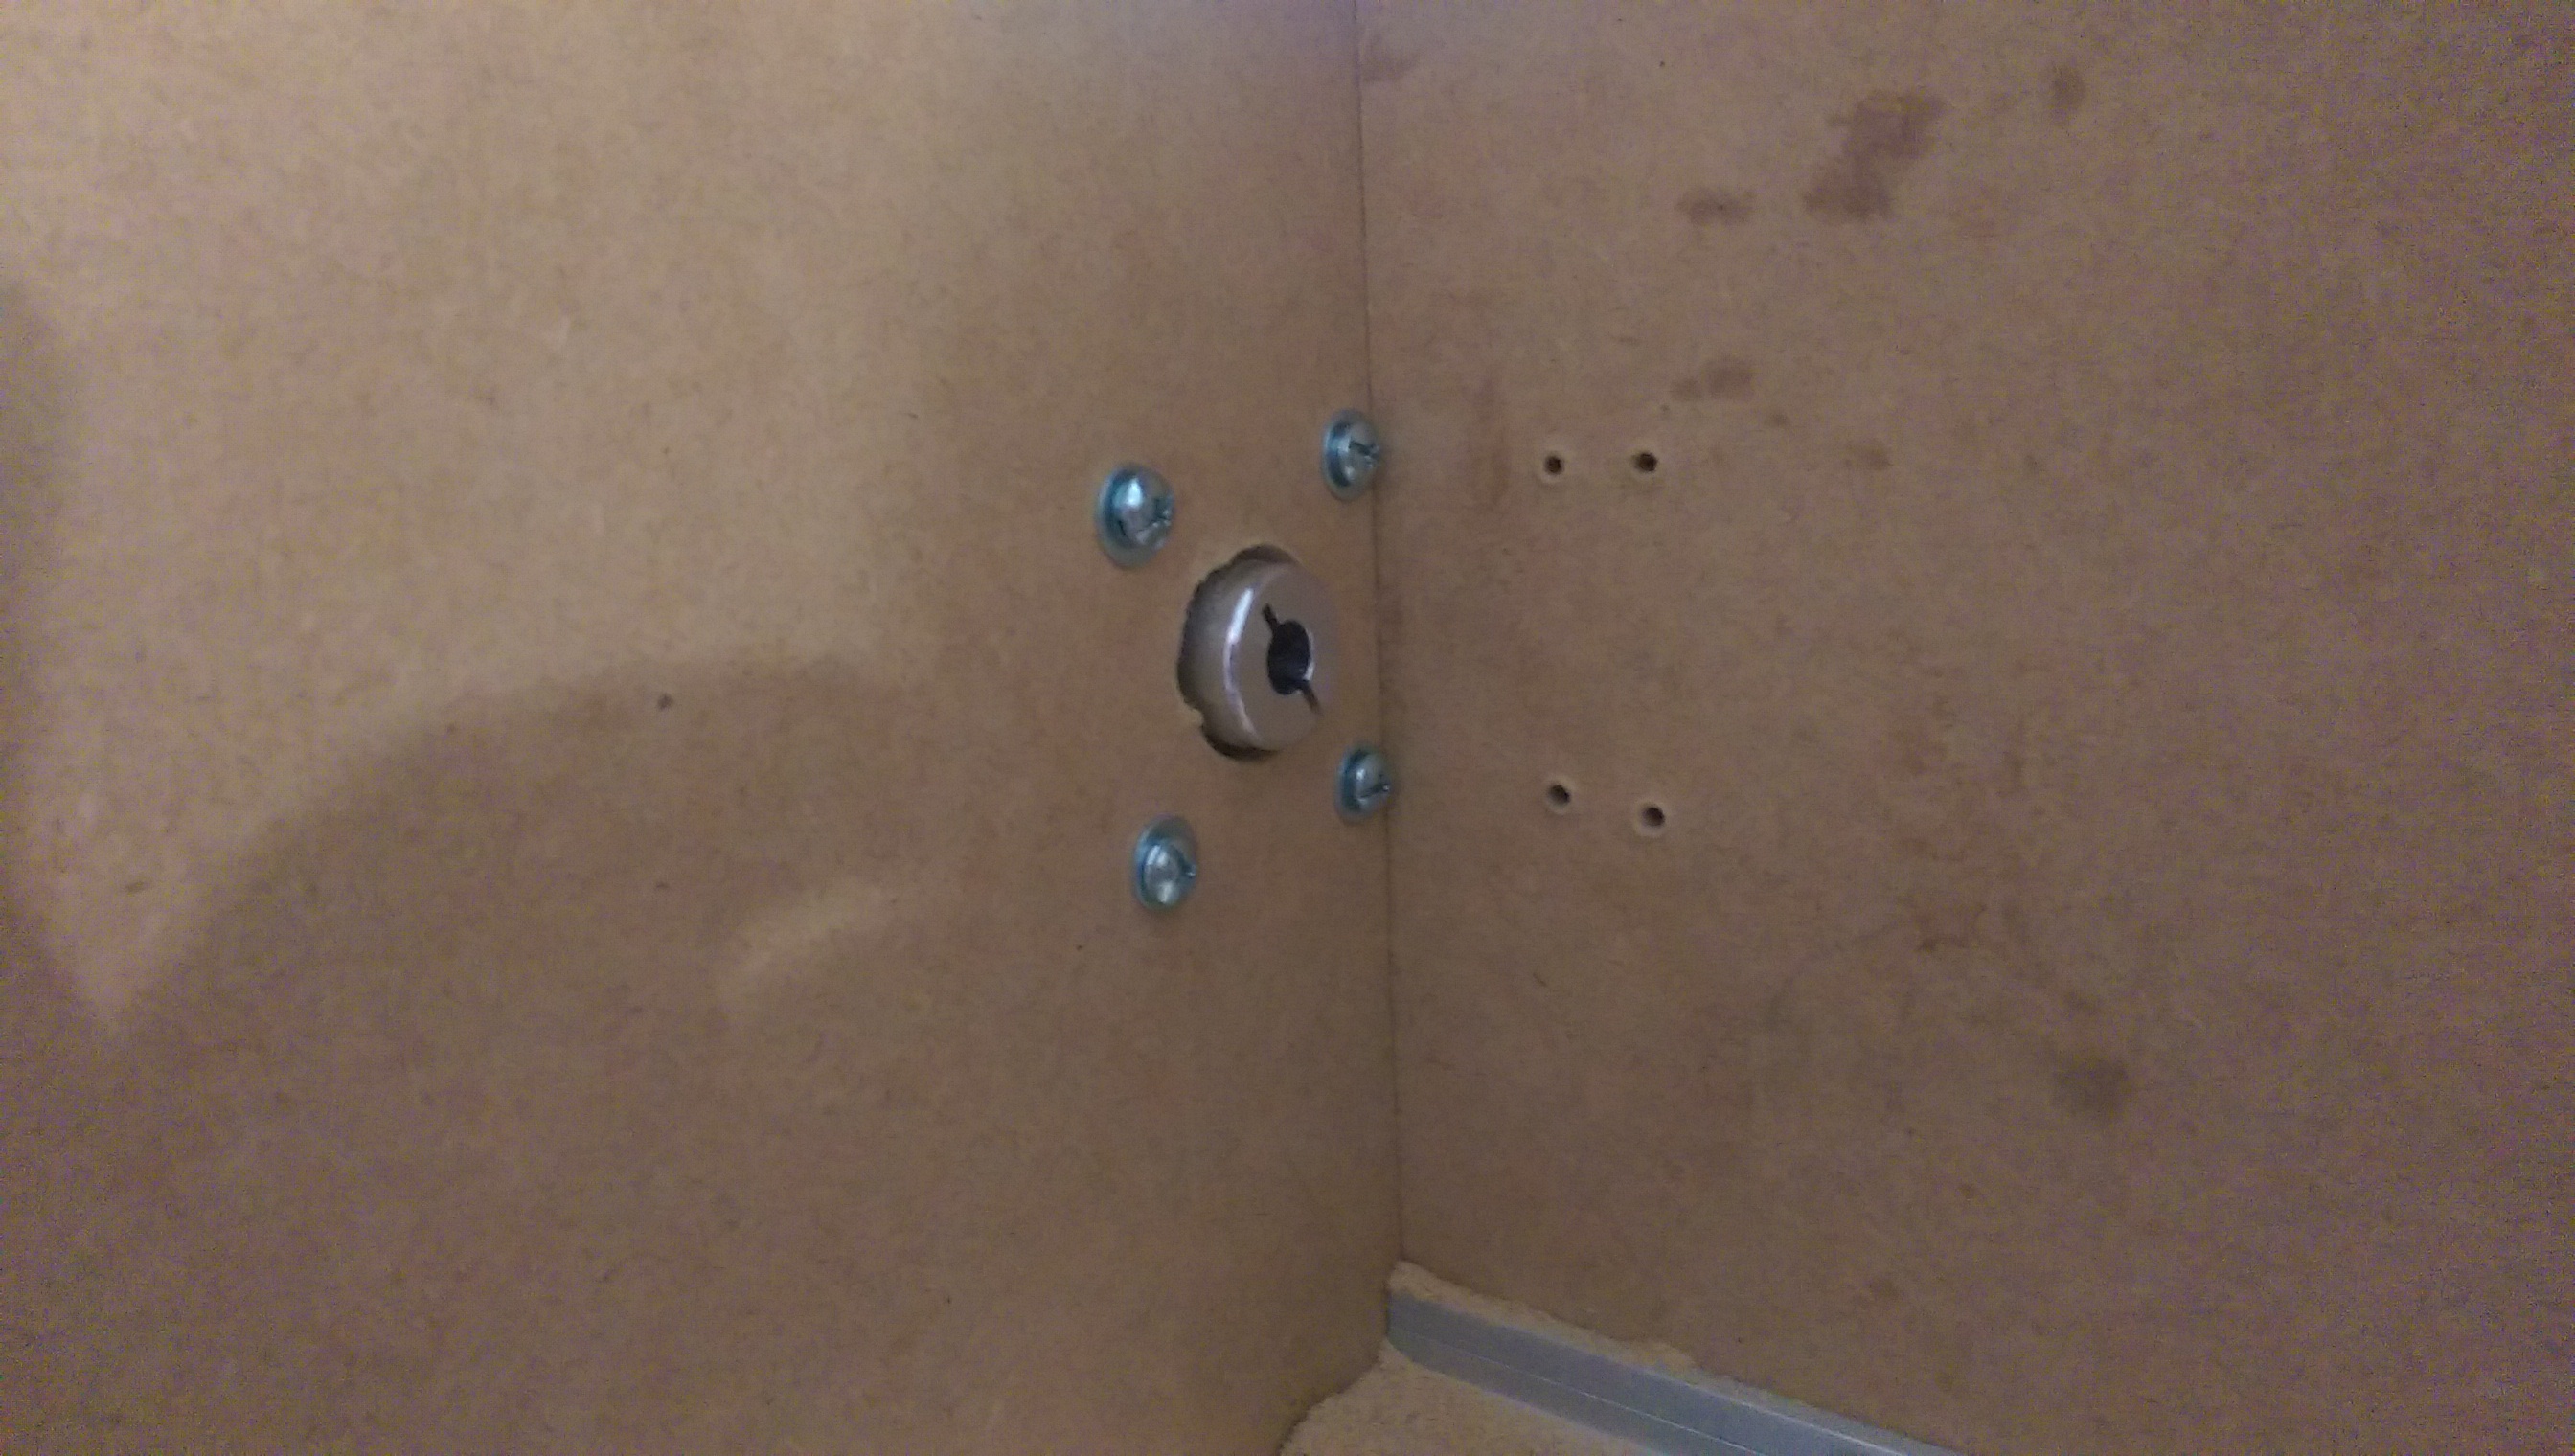
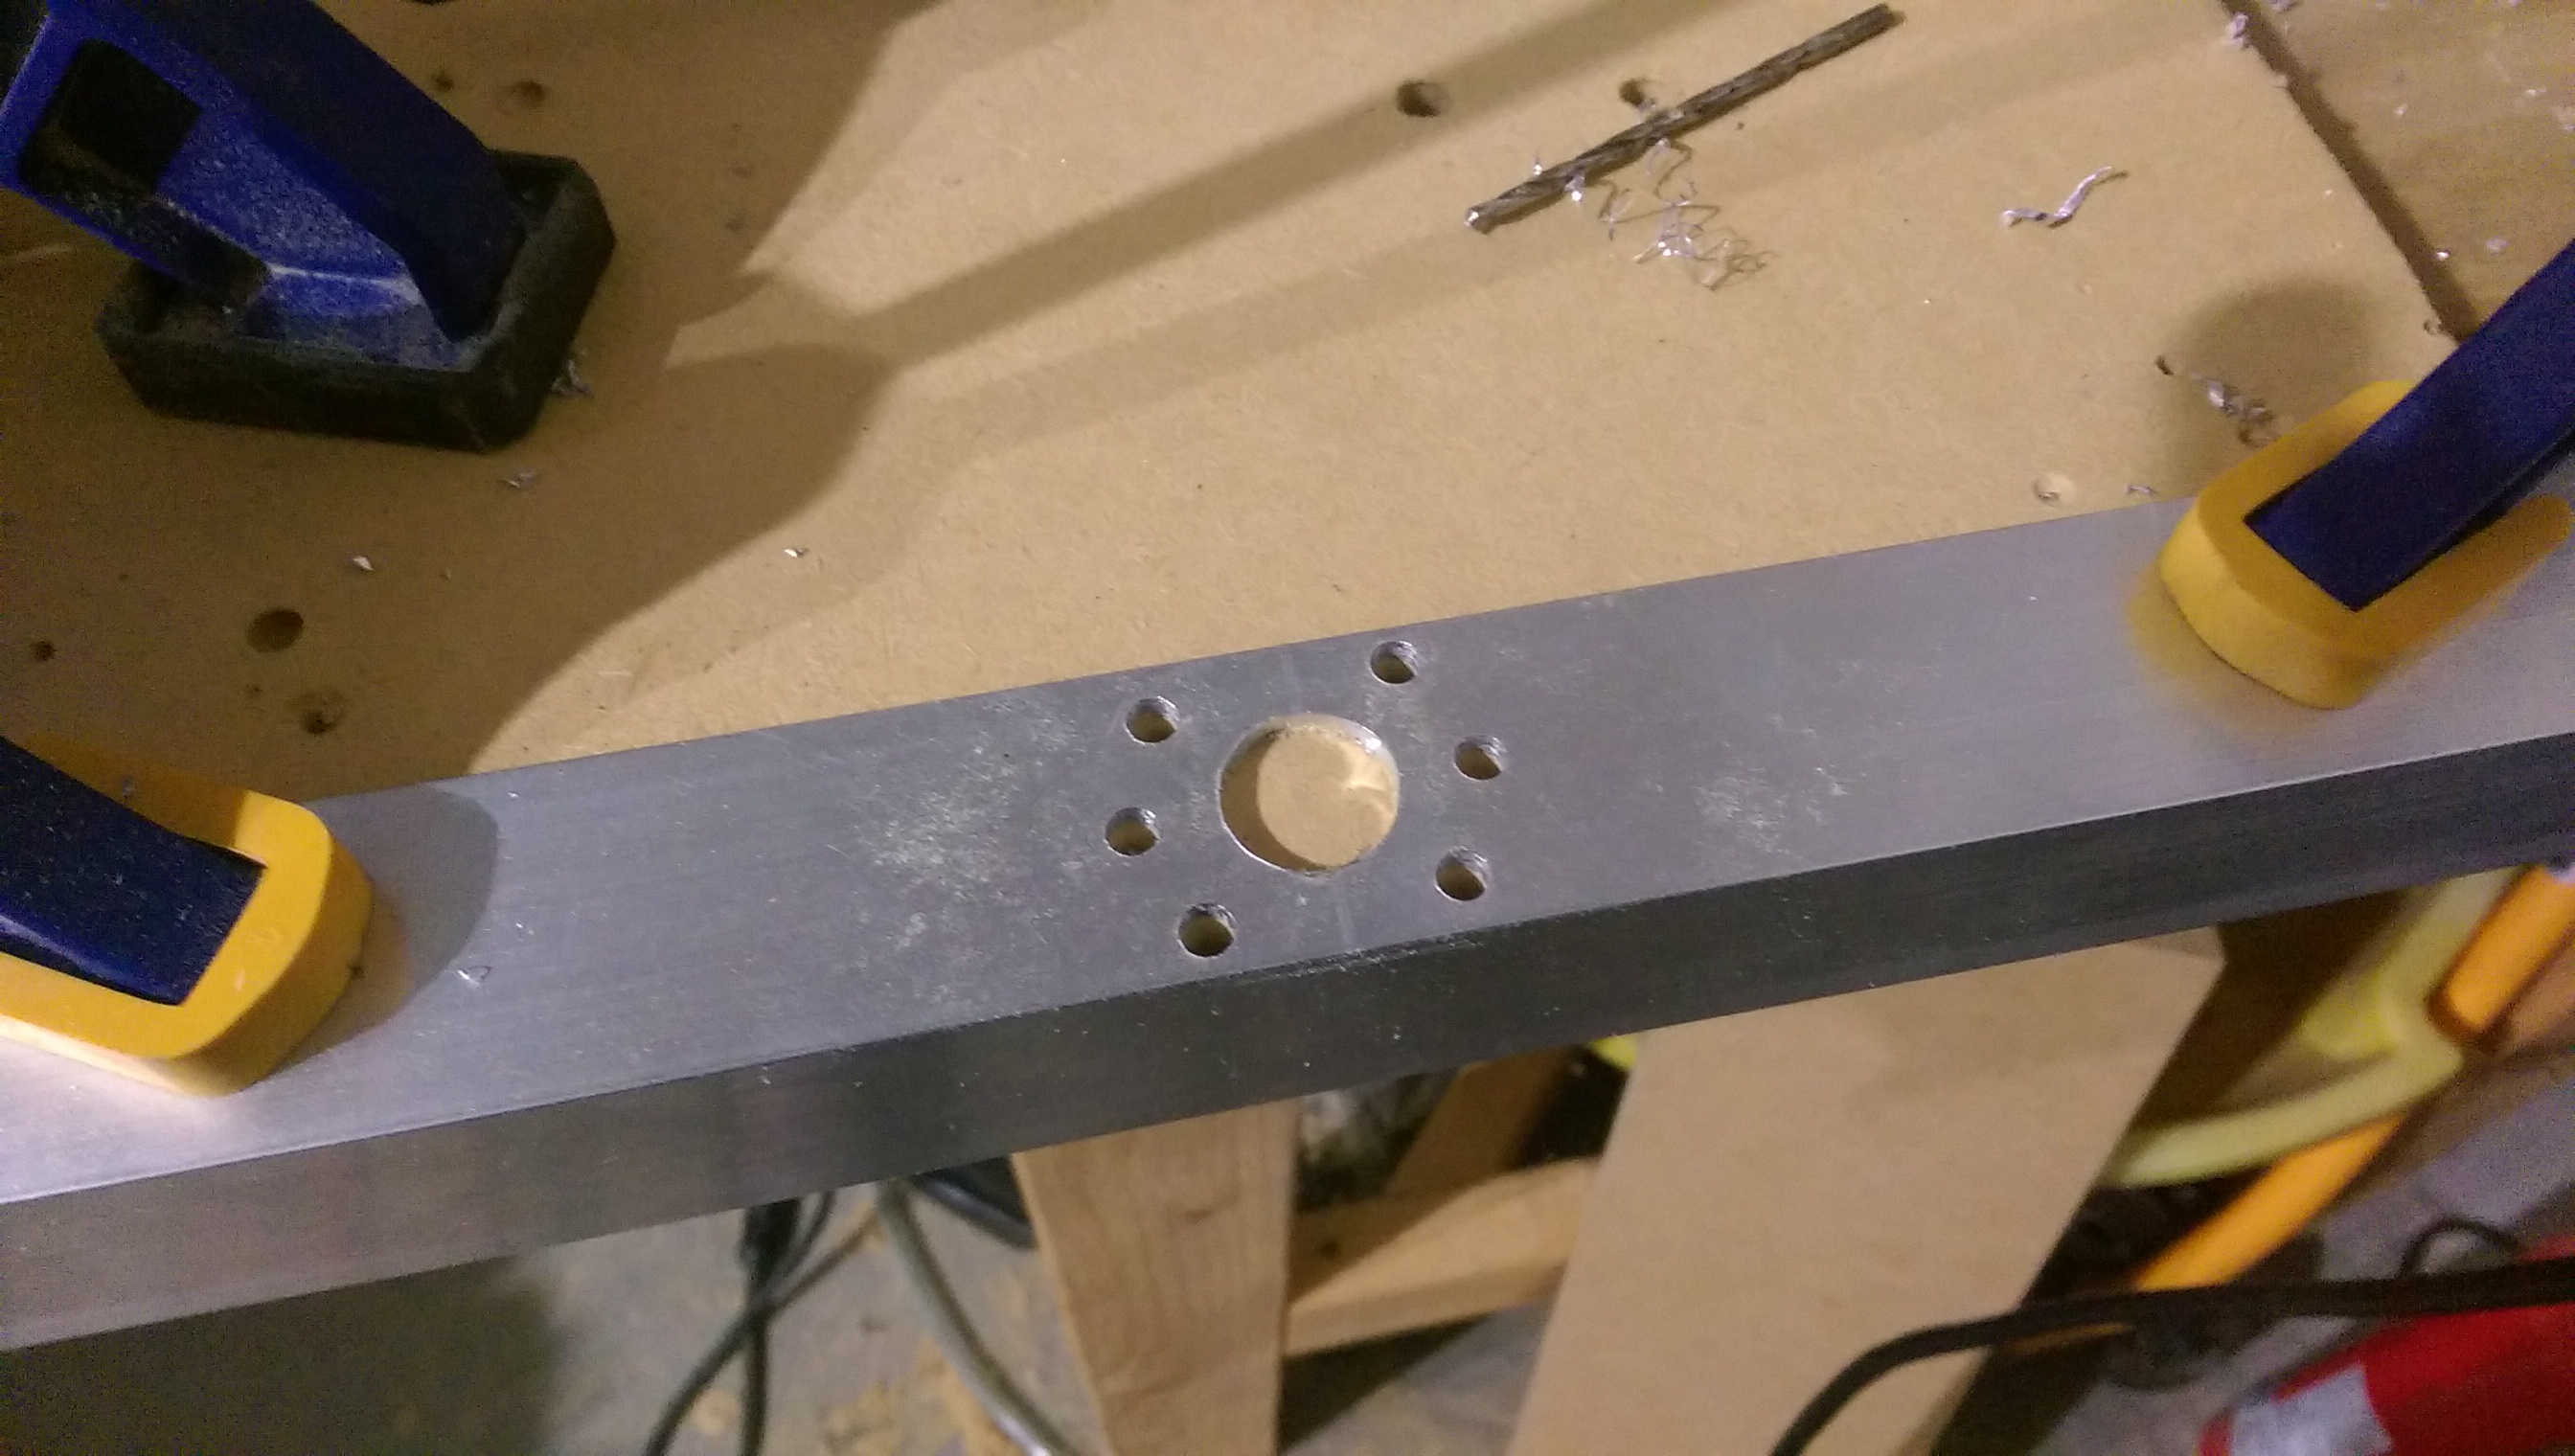
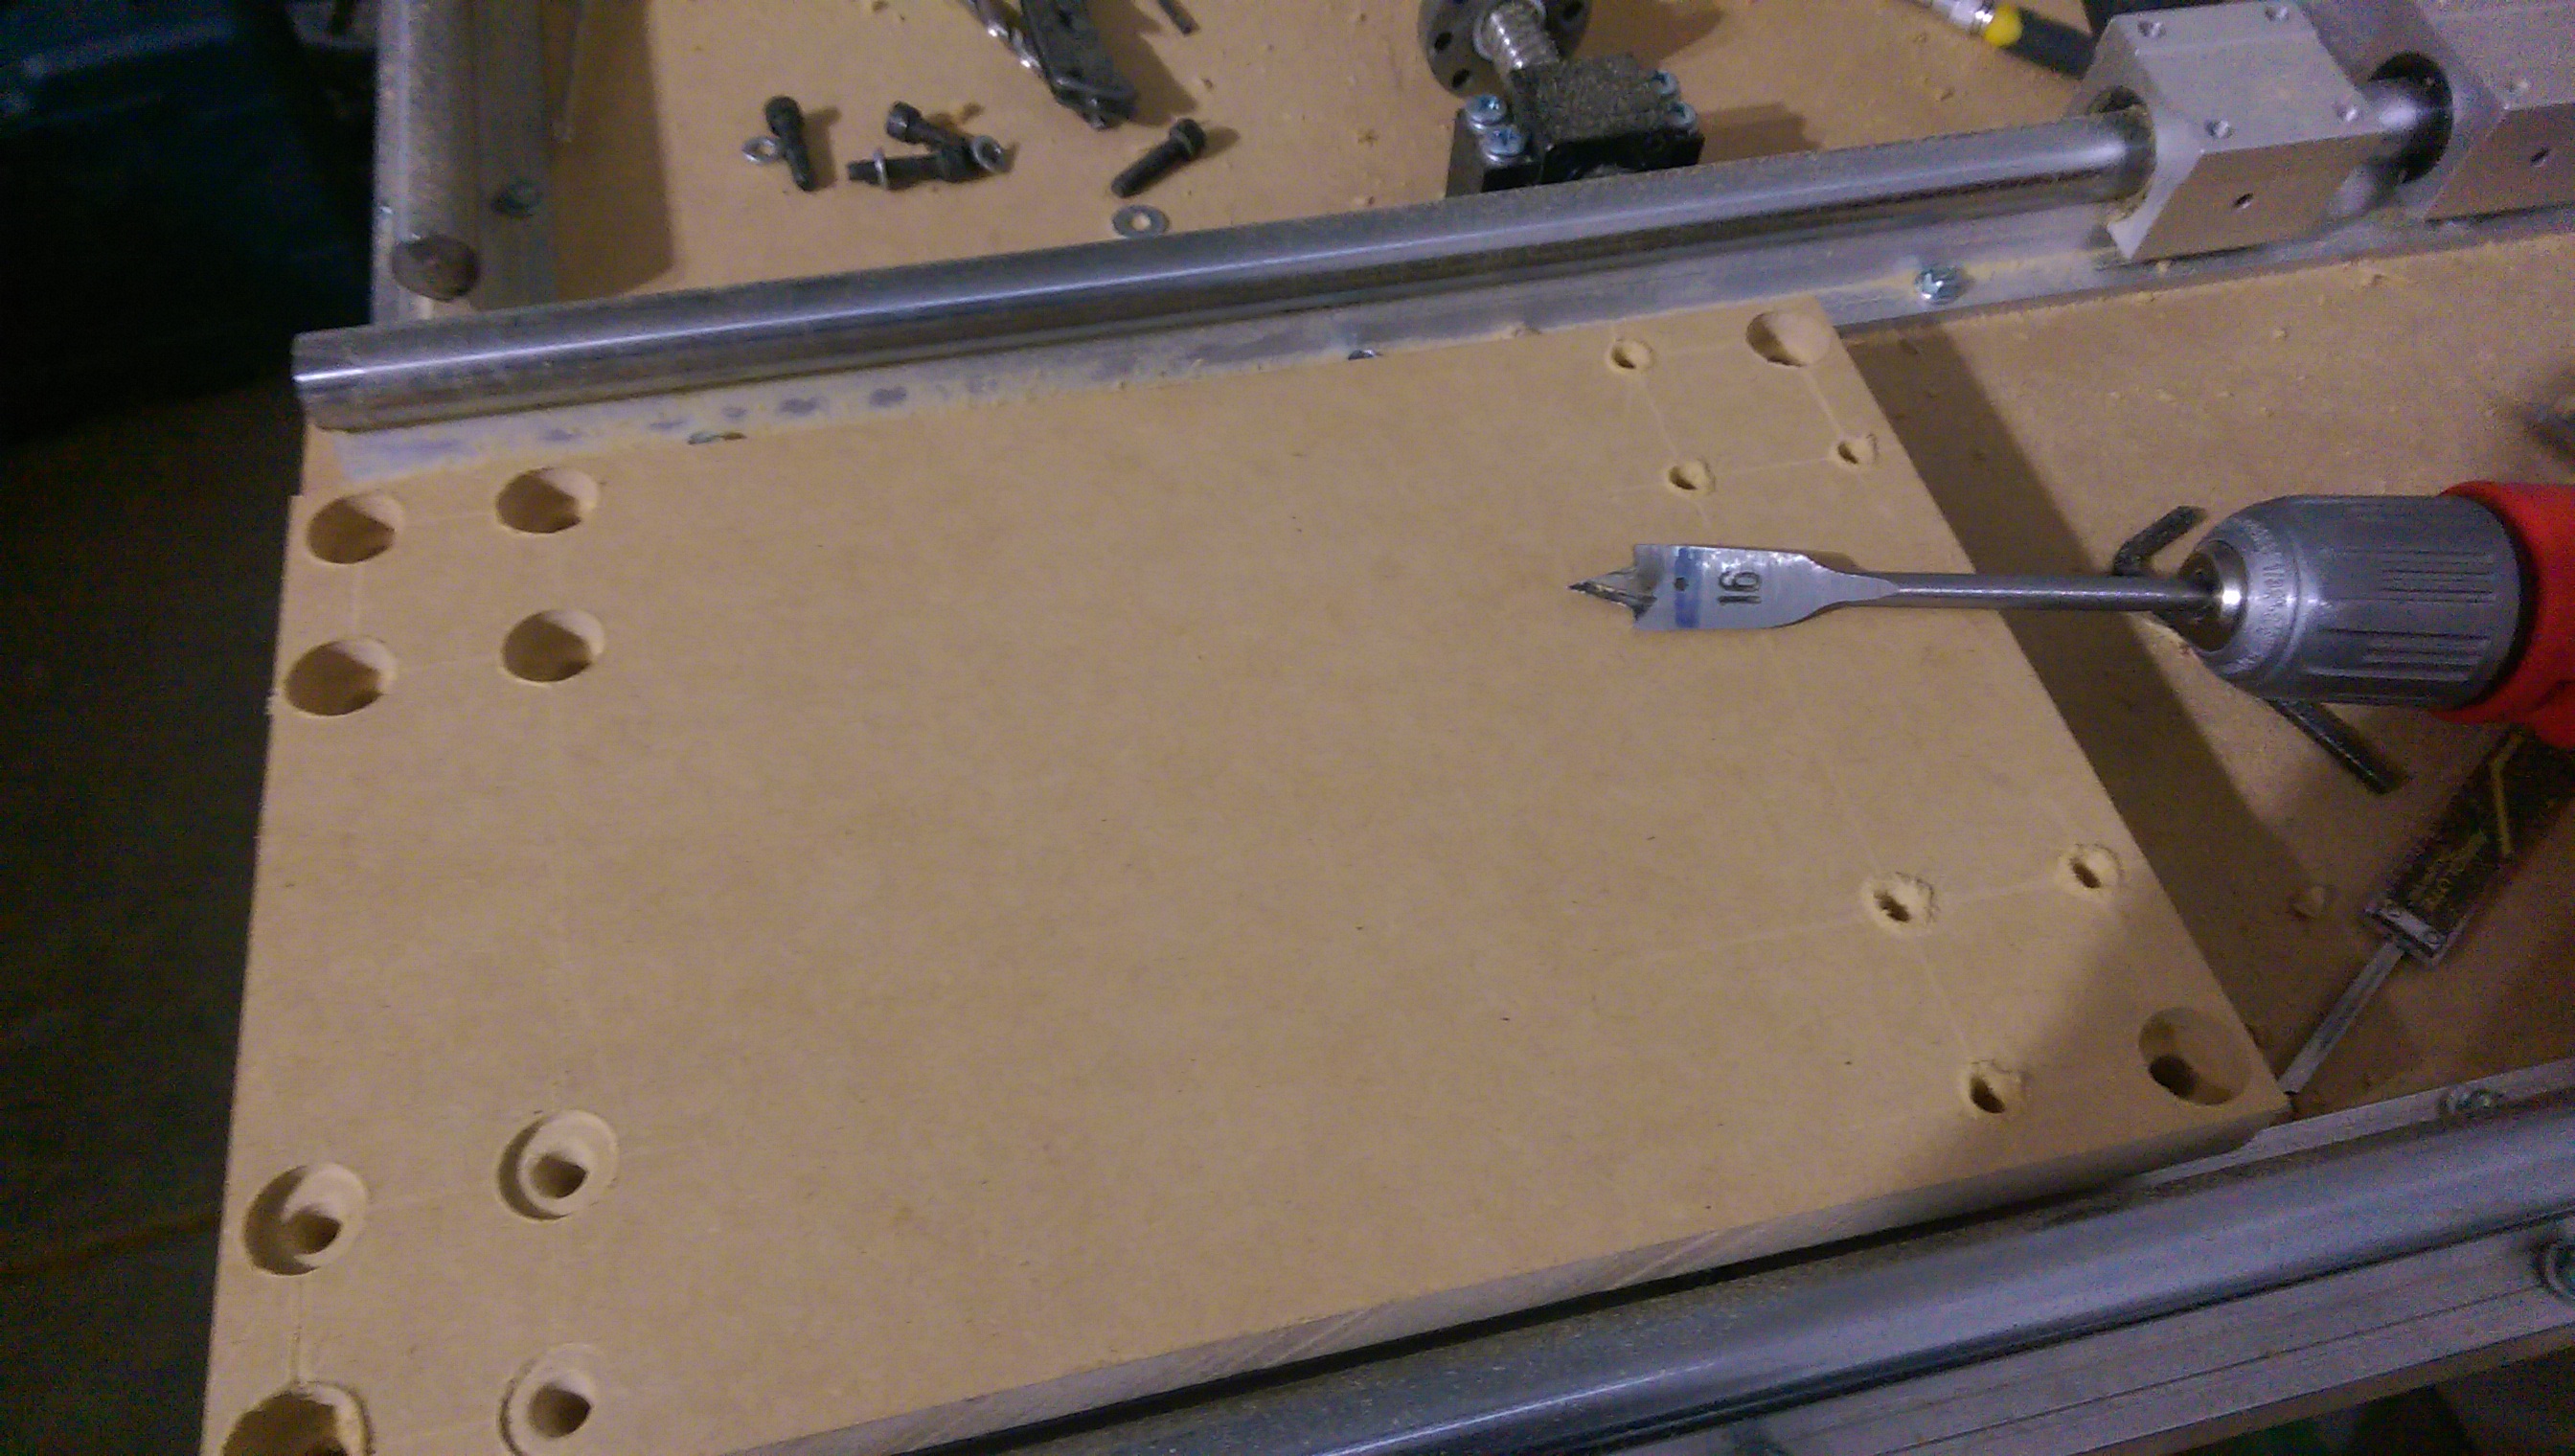
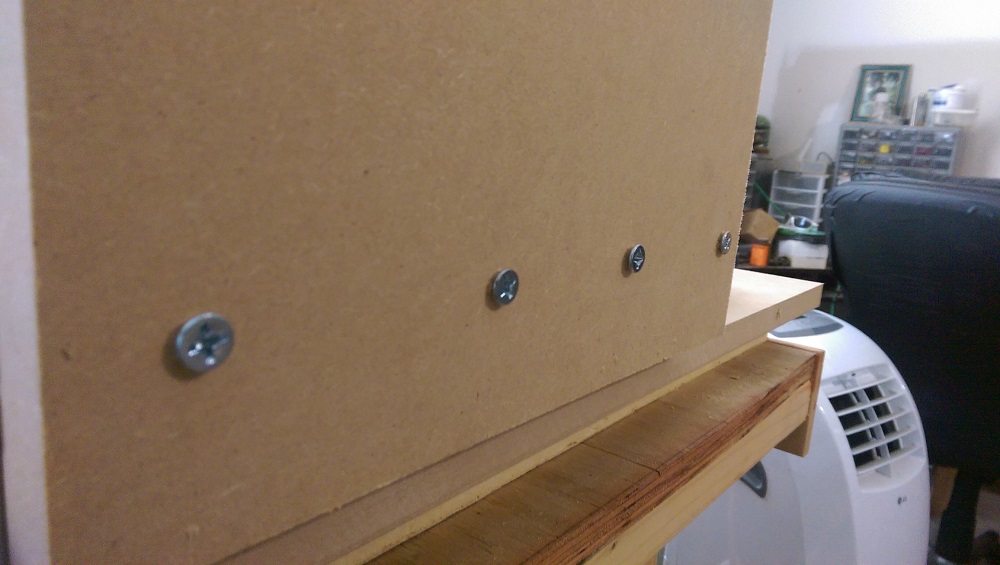
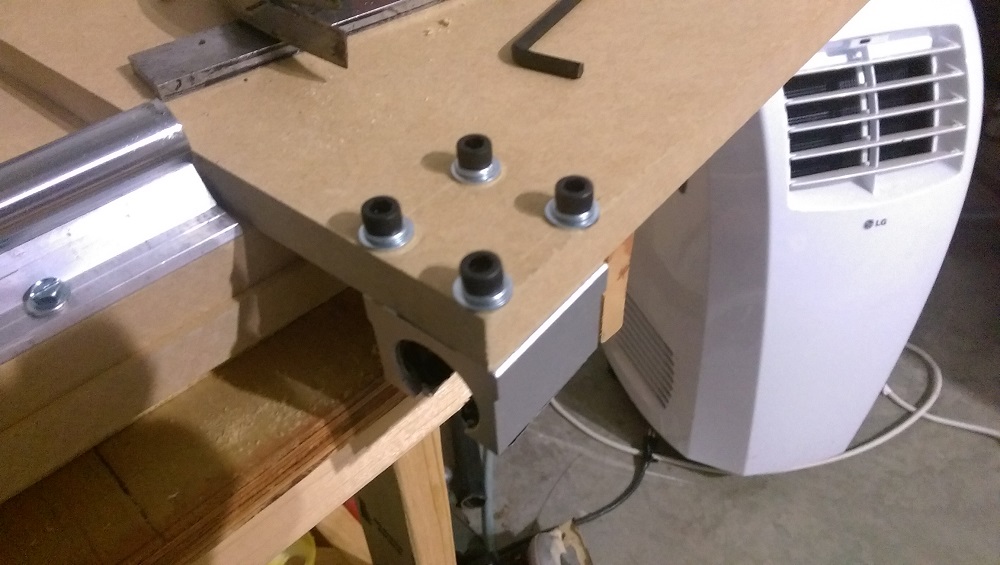
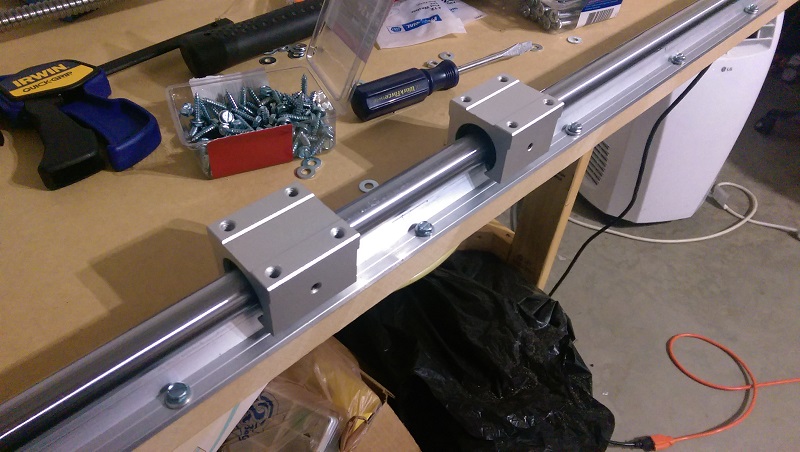
Above is an image of the screw holes in the side of the x-axis carriage. The two end holes were fairly close to the bearing block screw holes, but luckily they do not interfere with each other.
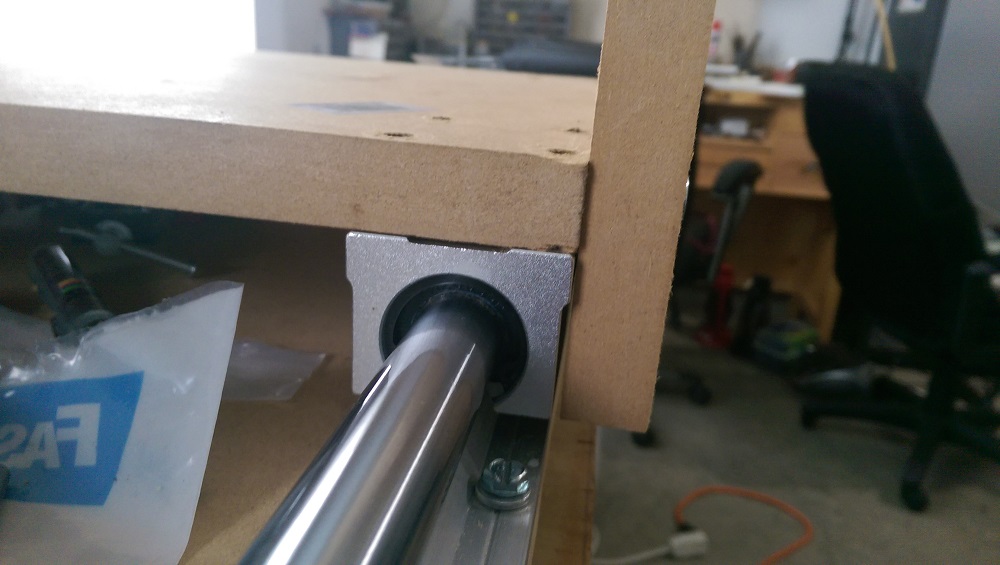
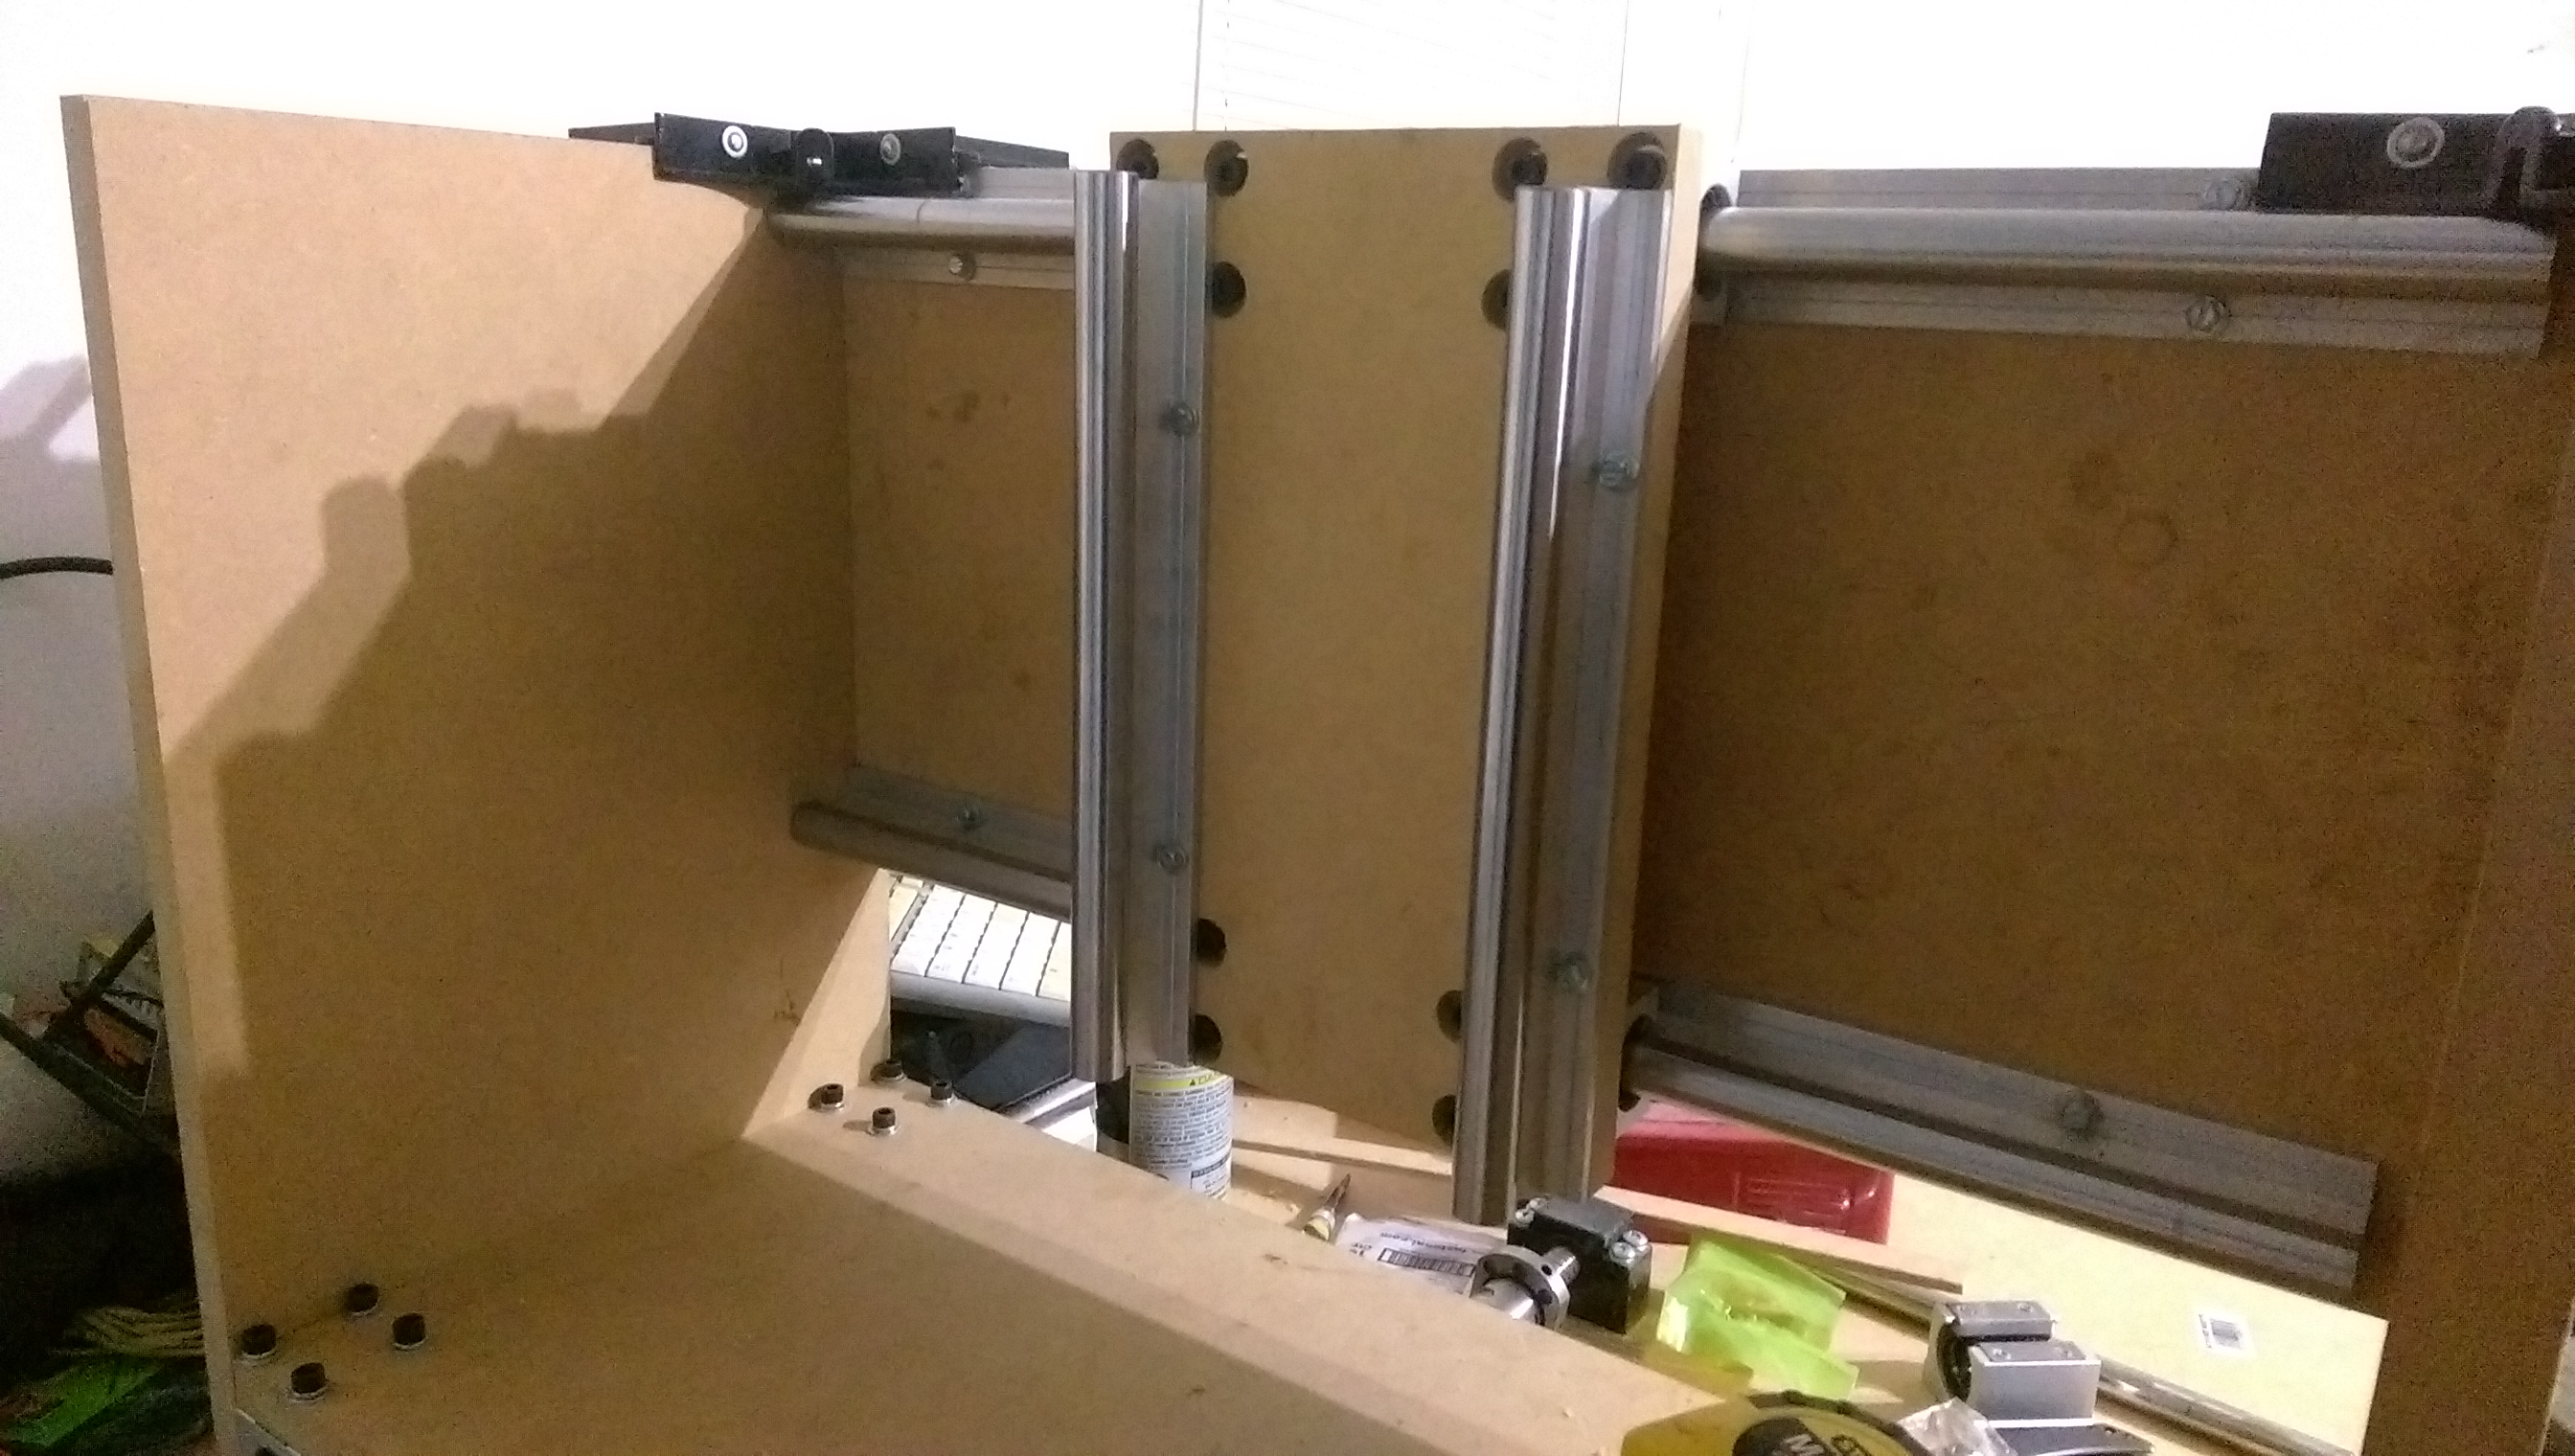
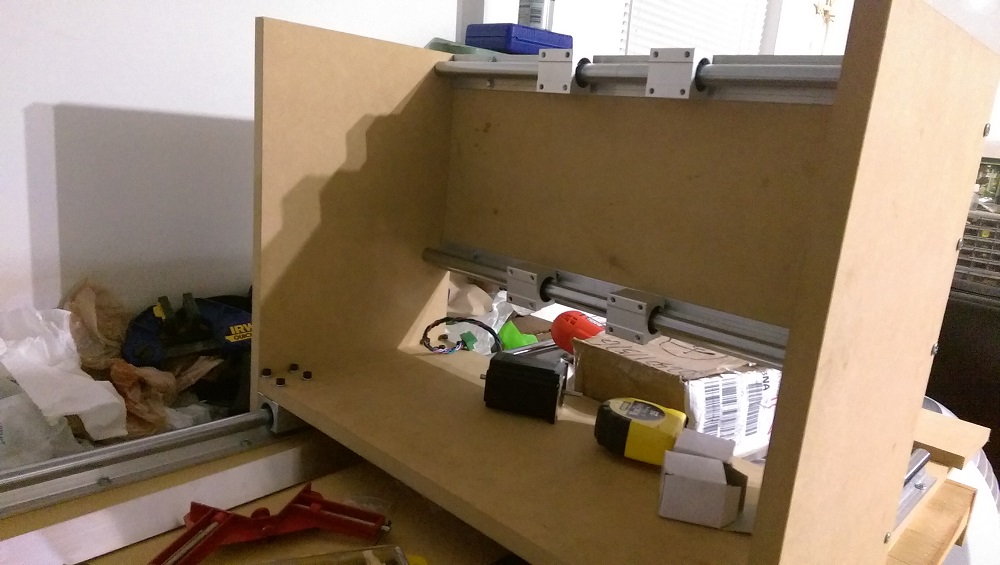
When the side walls were initially installed, they squeezed the bearing blocks because they were sticking out. This caused them to squeeze the rail and made it hard to push the carriage along the x-axis. However, after sitting for a few days, it seems that the relatively soft MDF deformed a little and the carriage moves fairly smoothly and easily now.
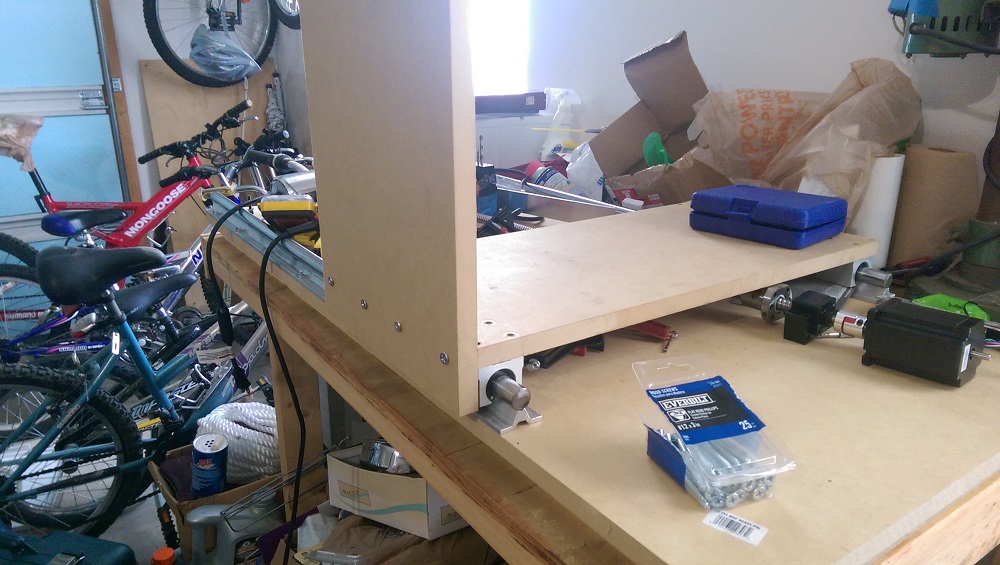
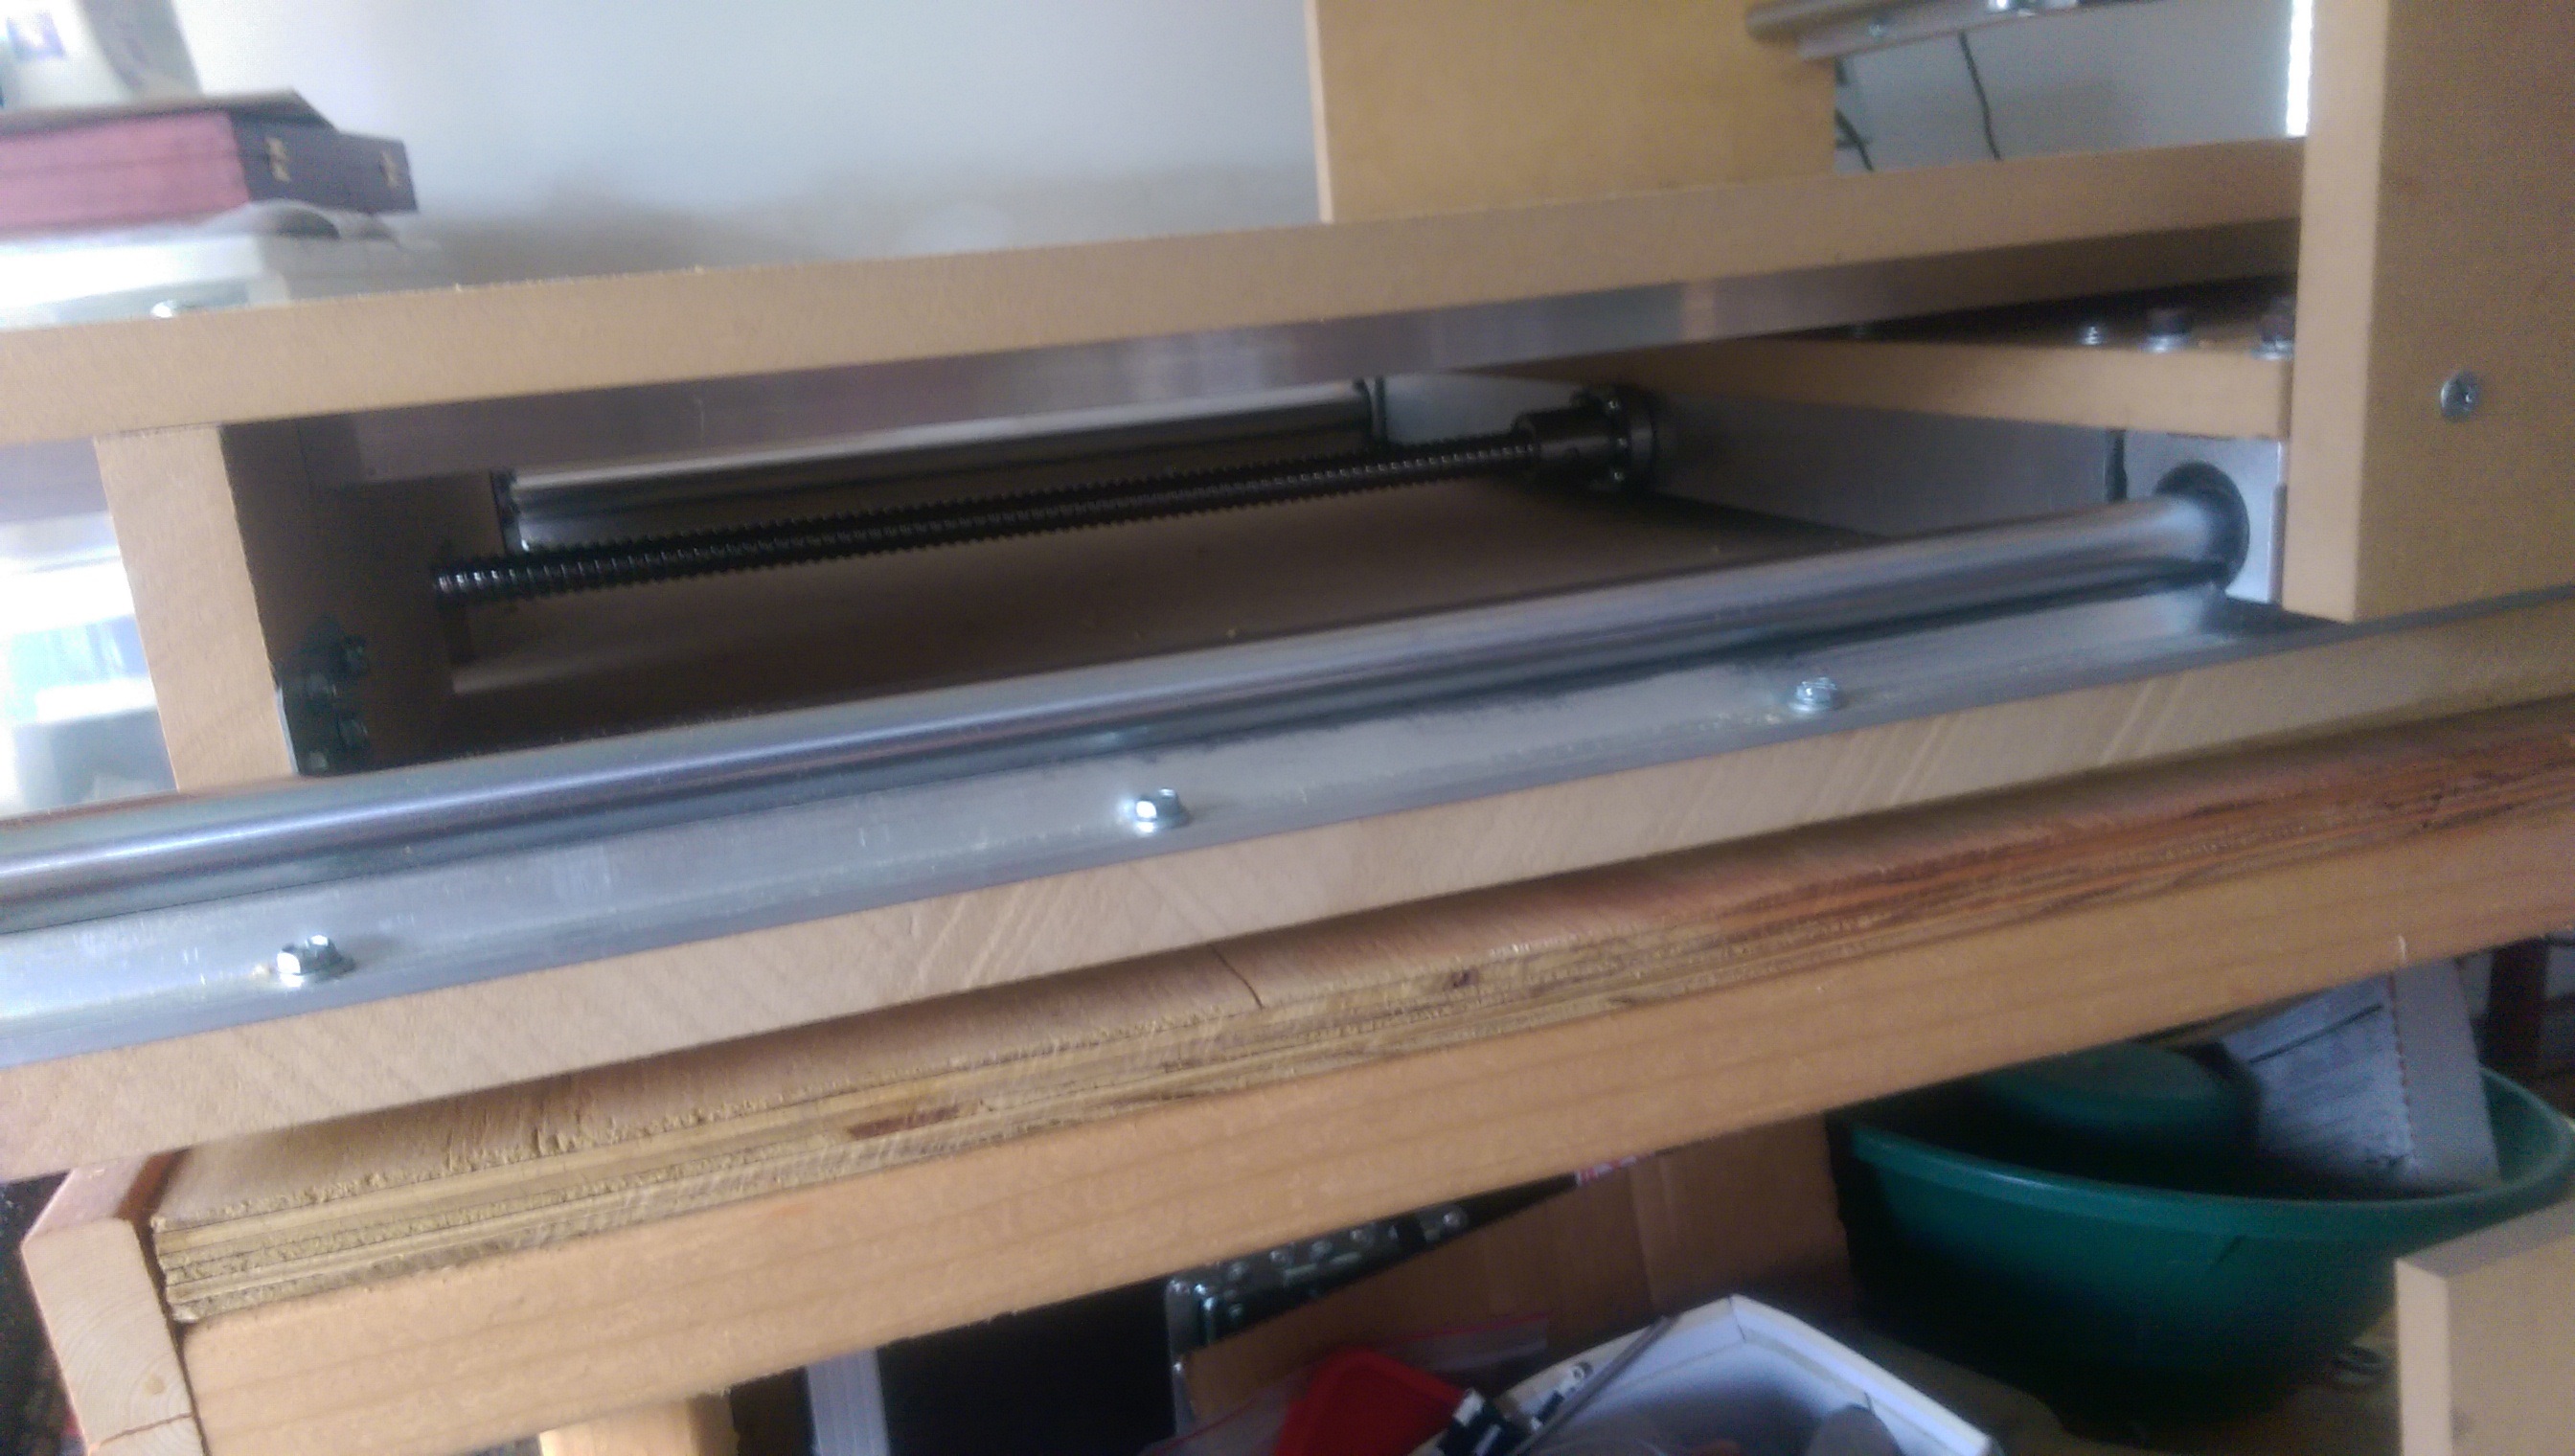
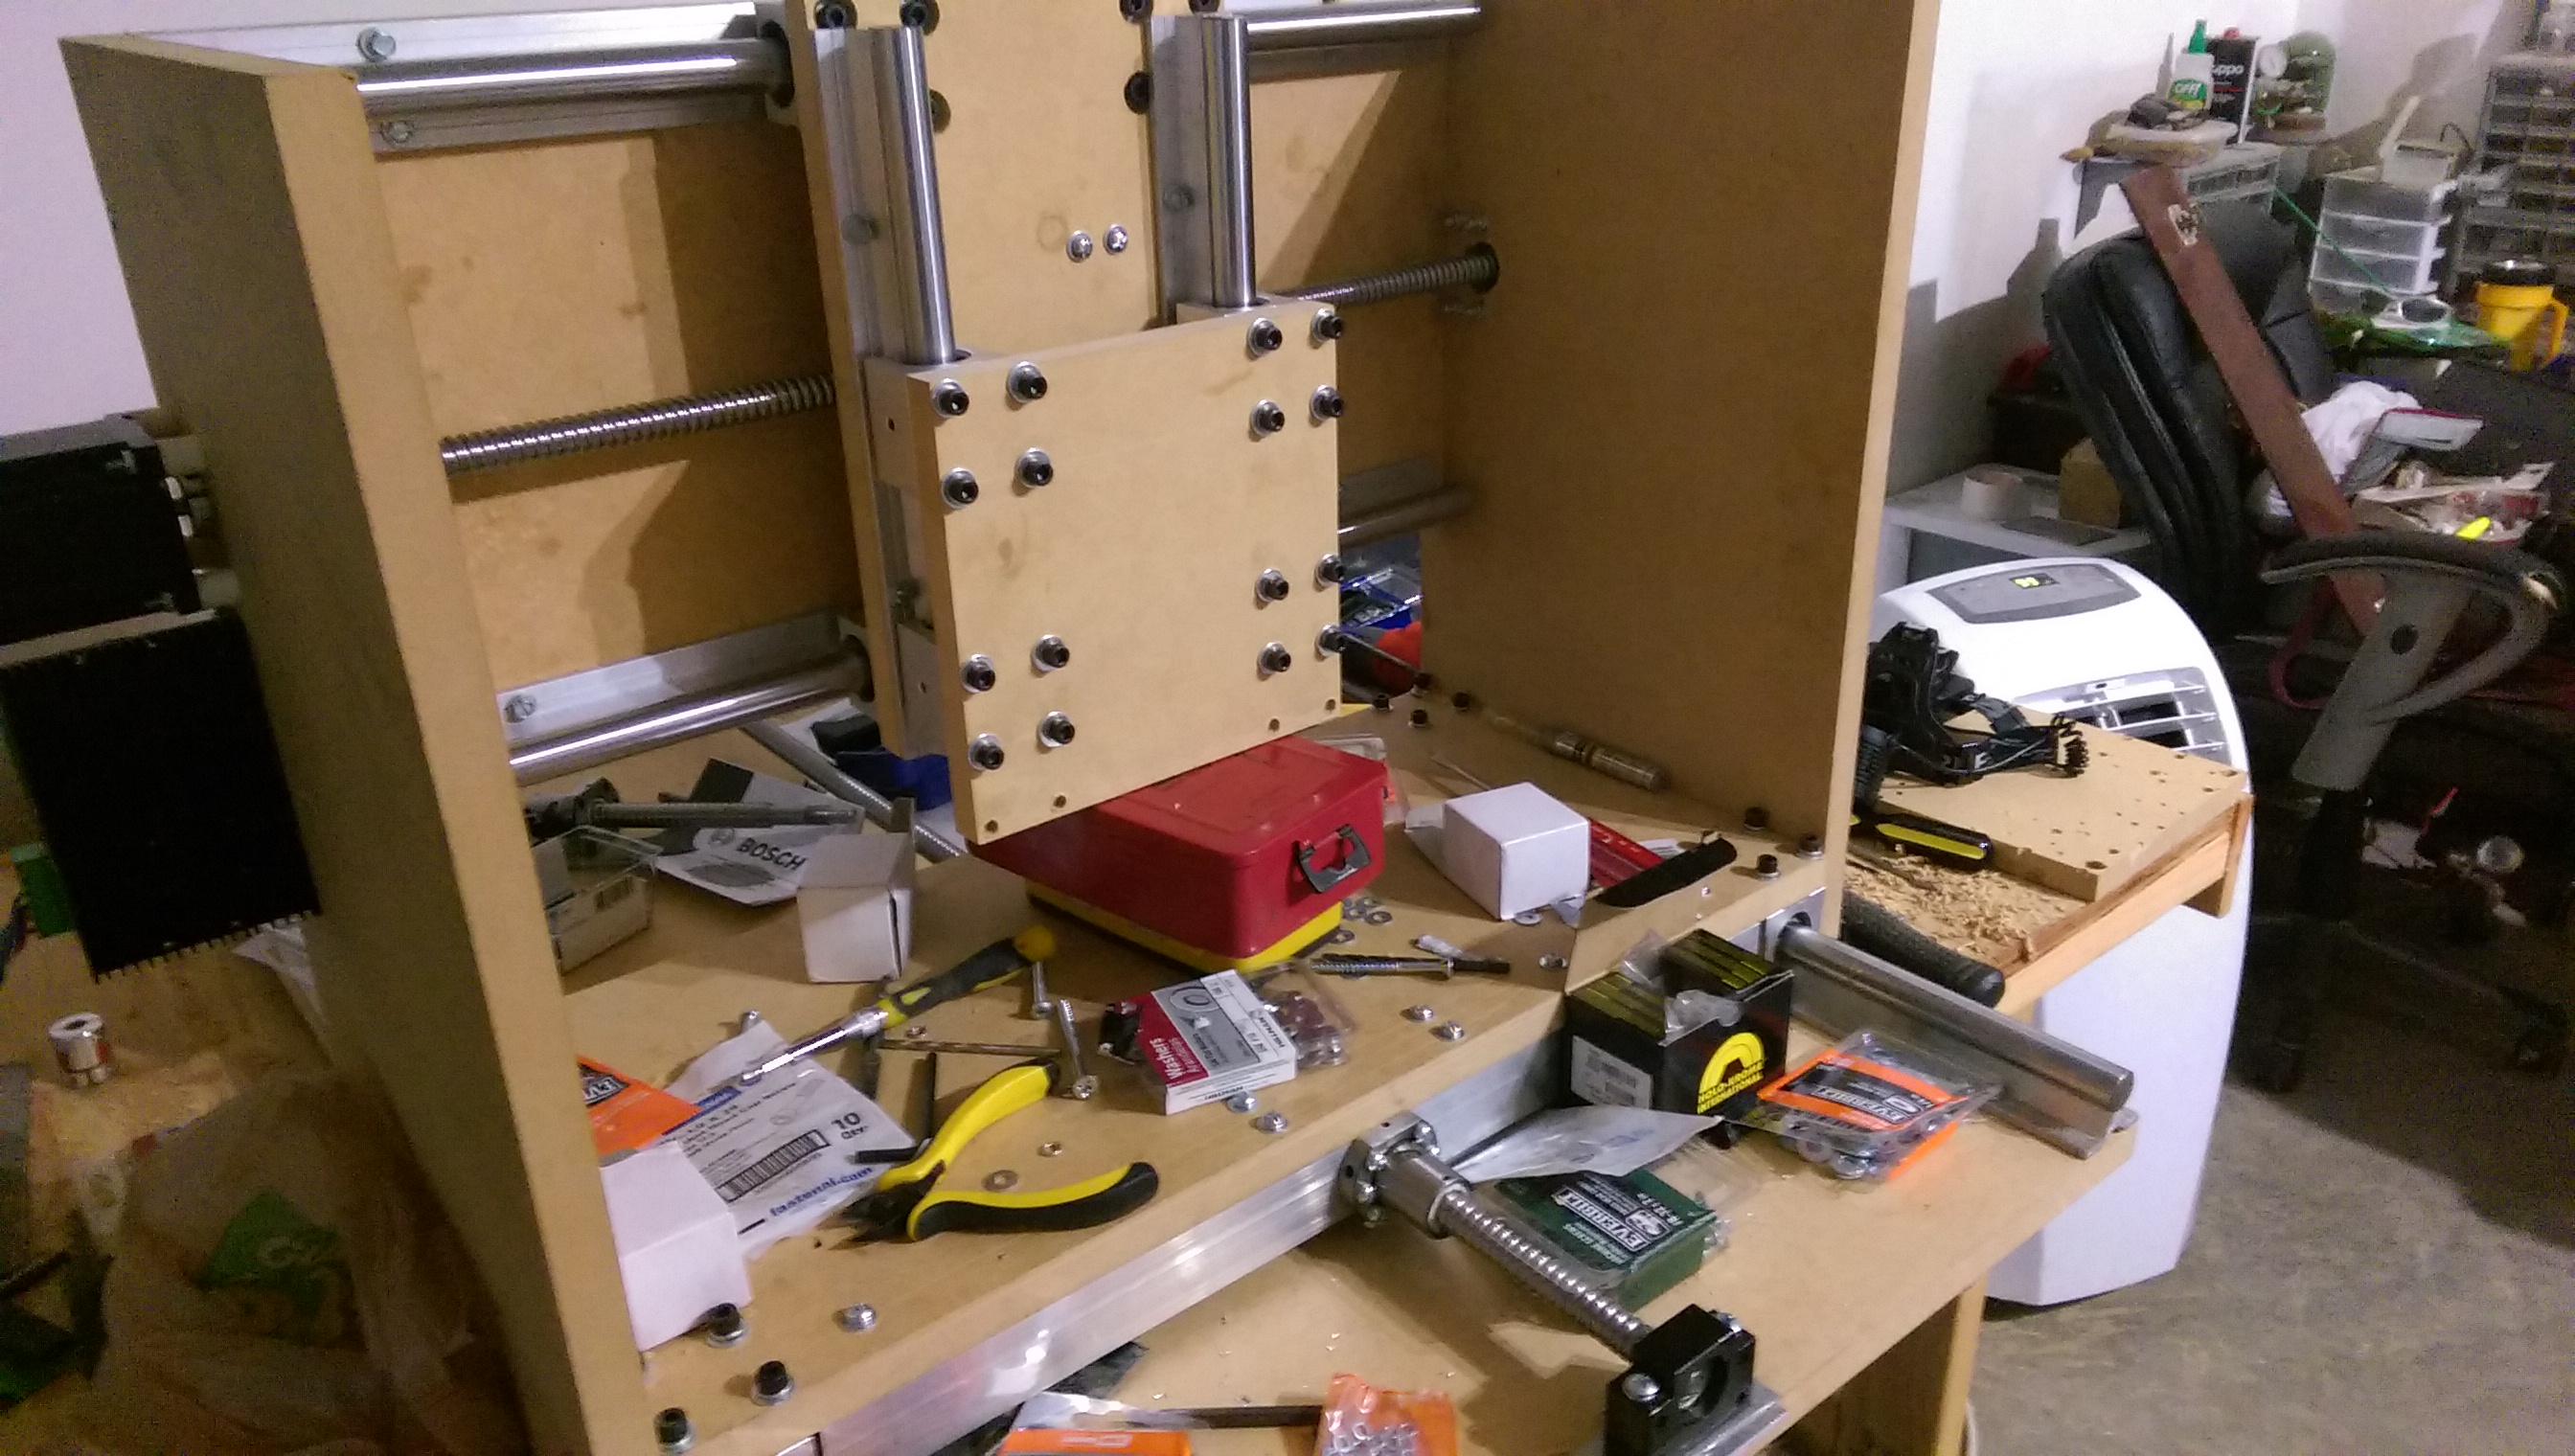
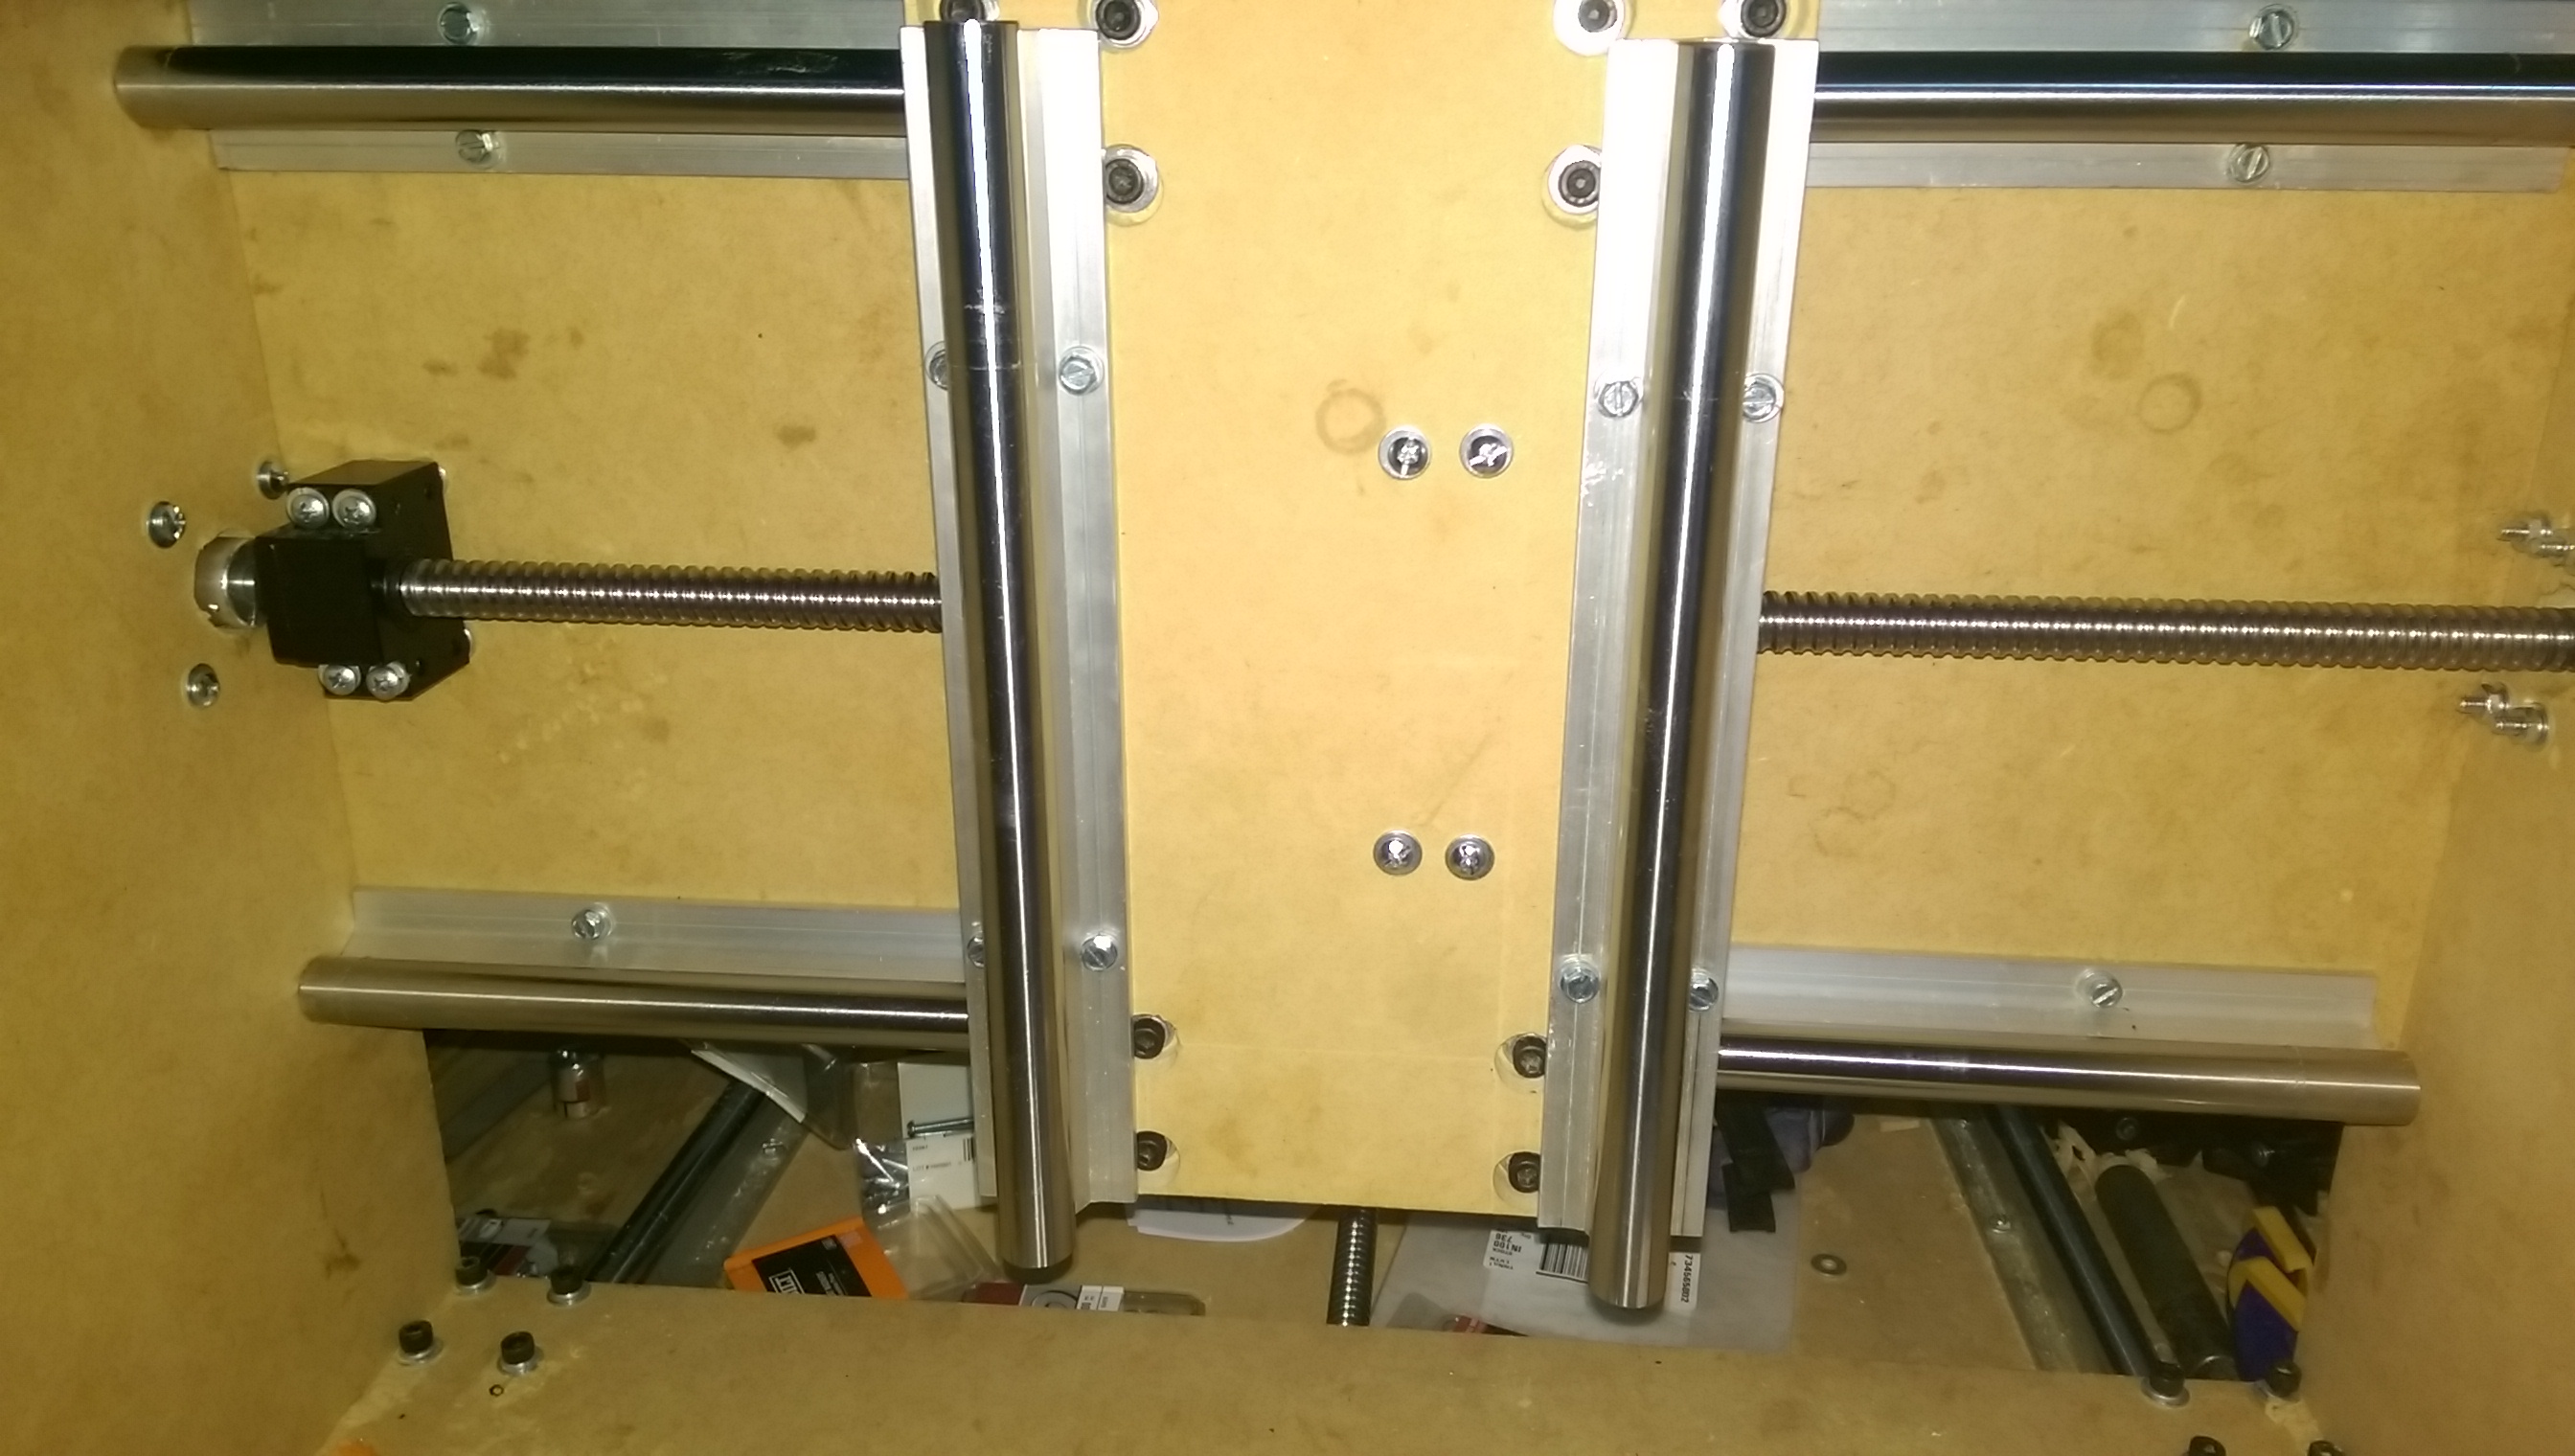
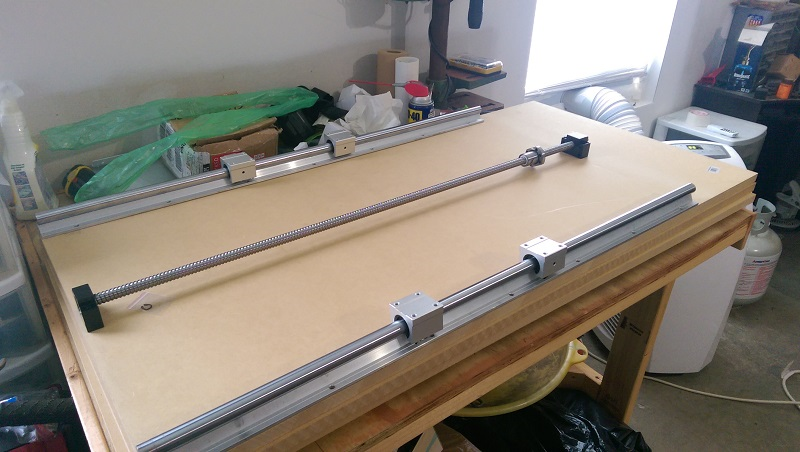
The side walls and y-axis rails and bearings have finally been installed
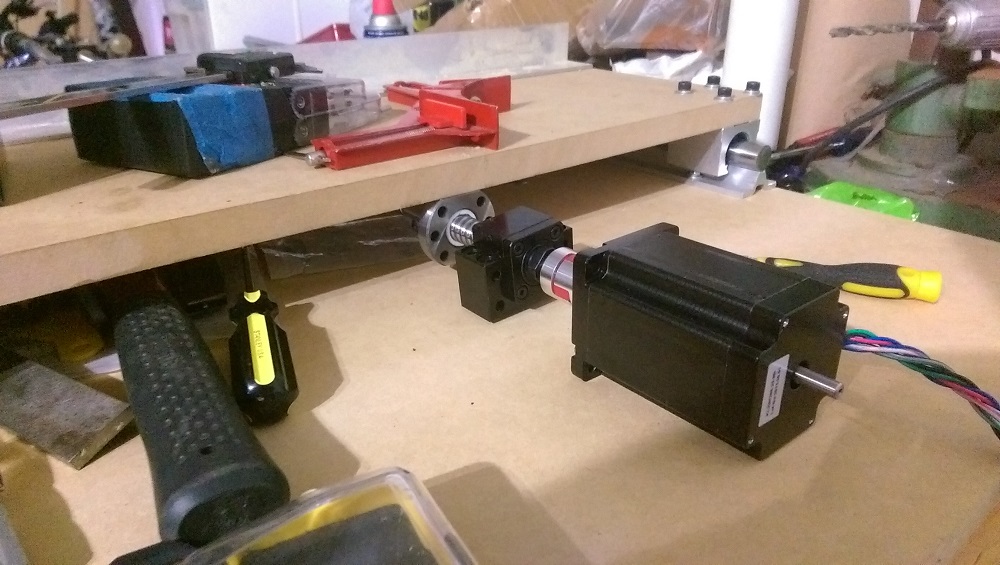
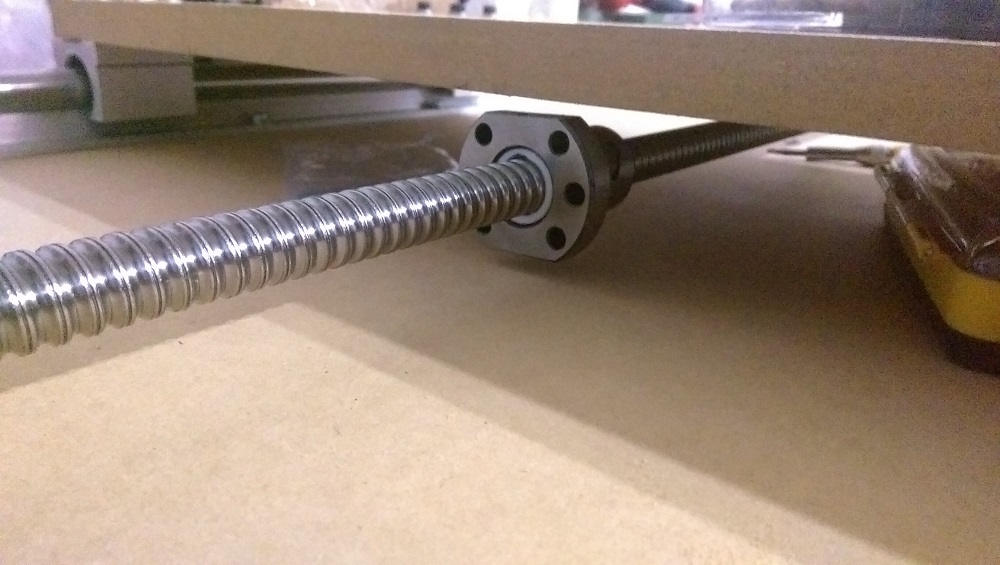
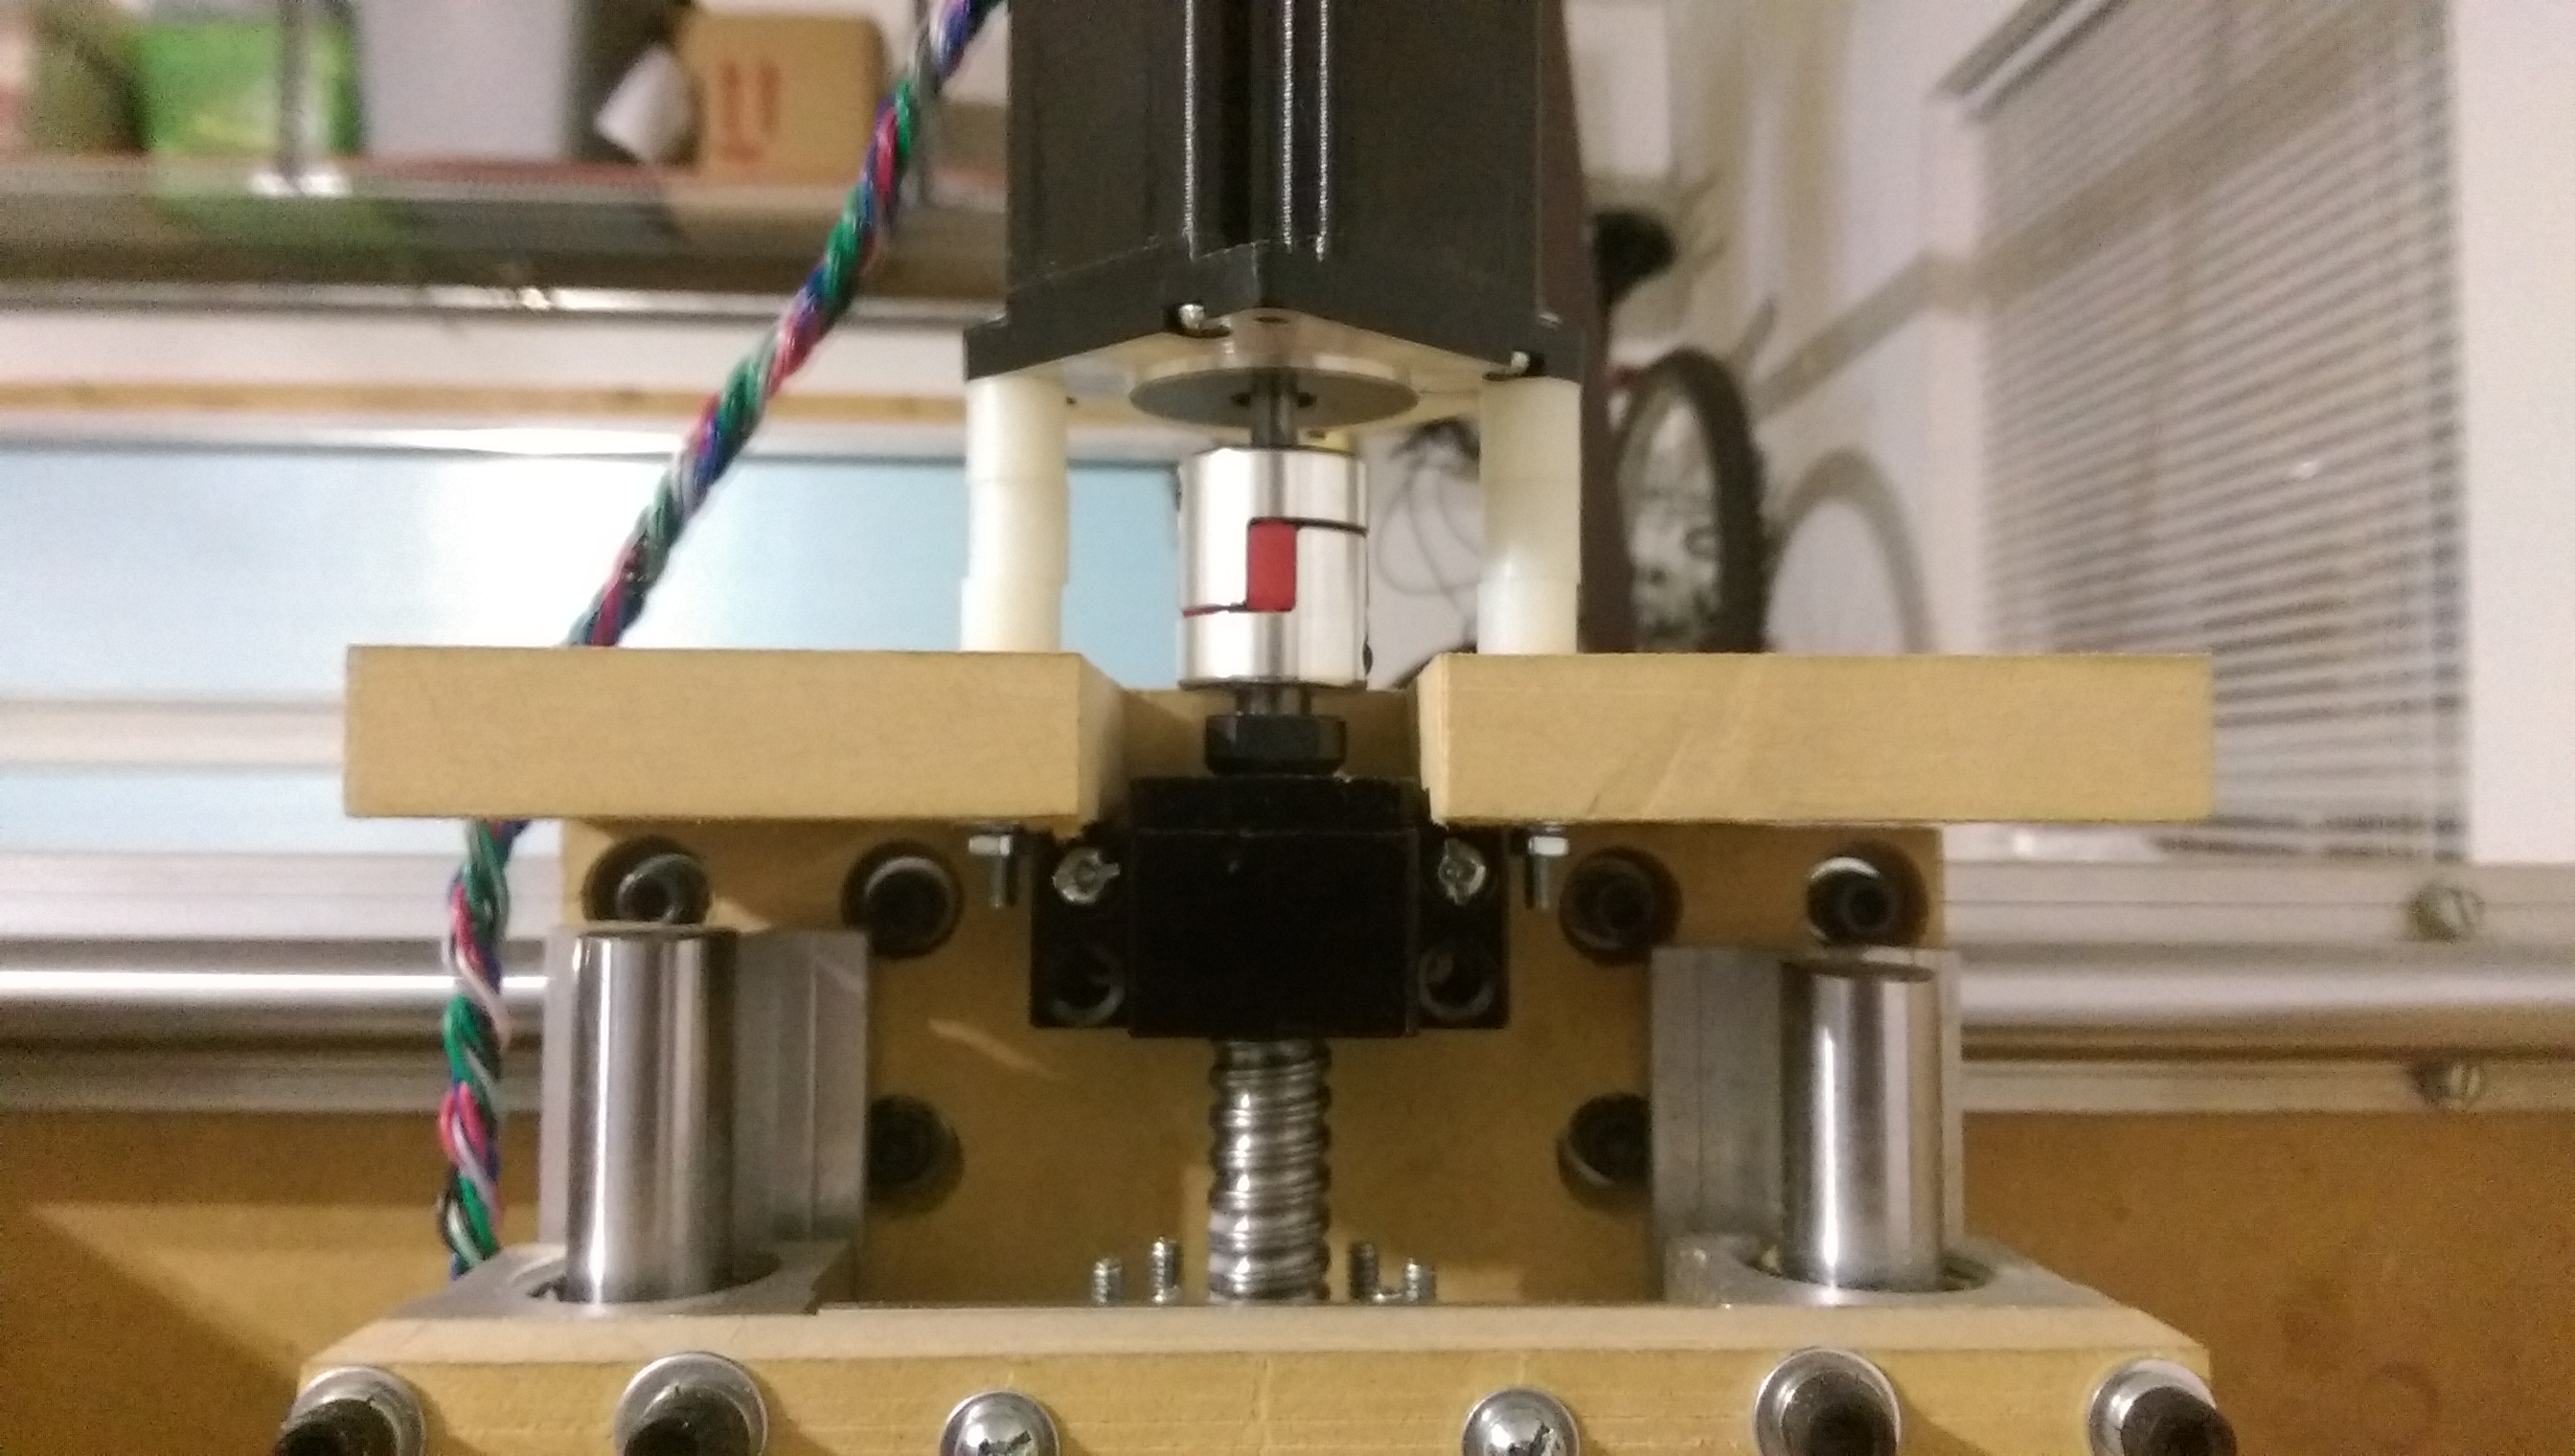
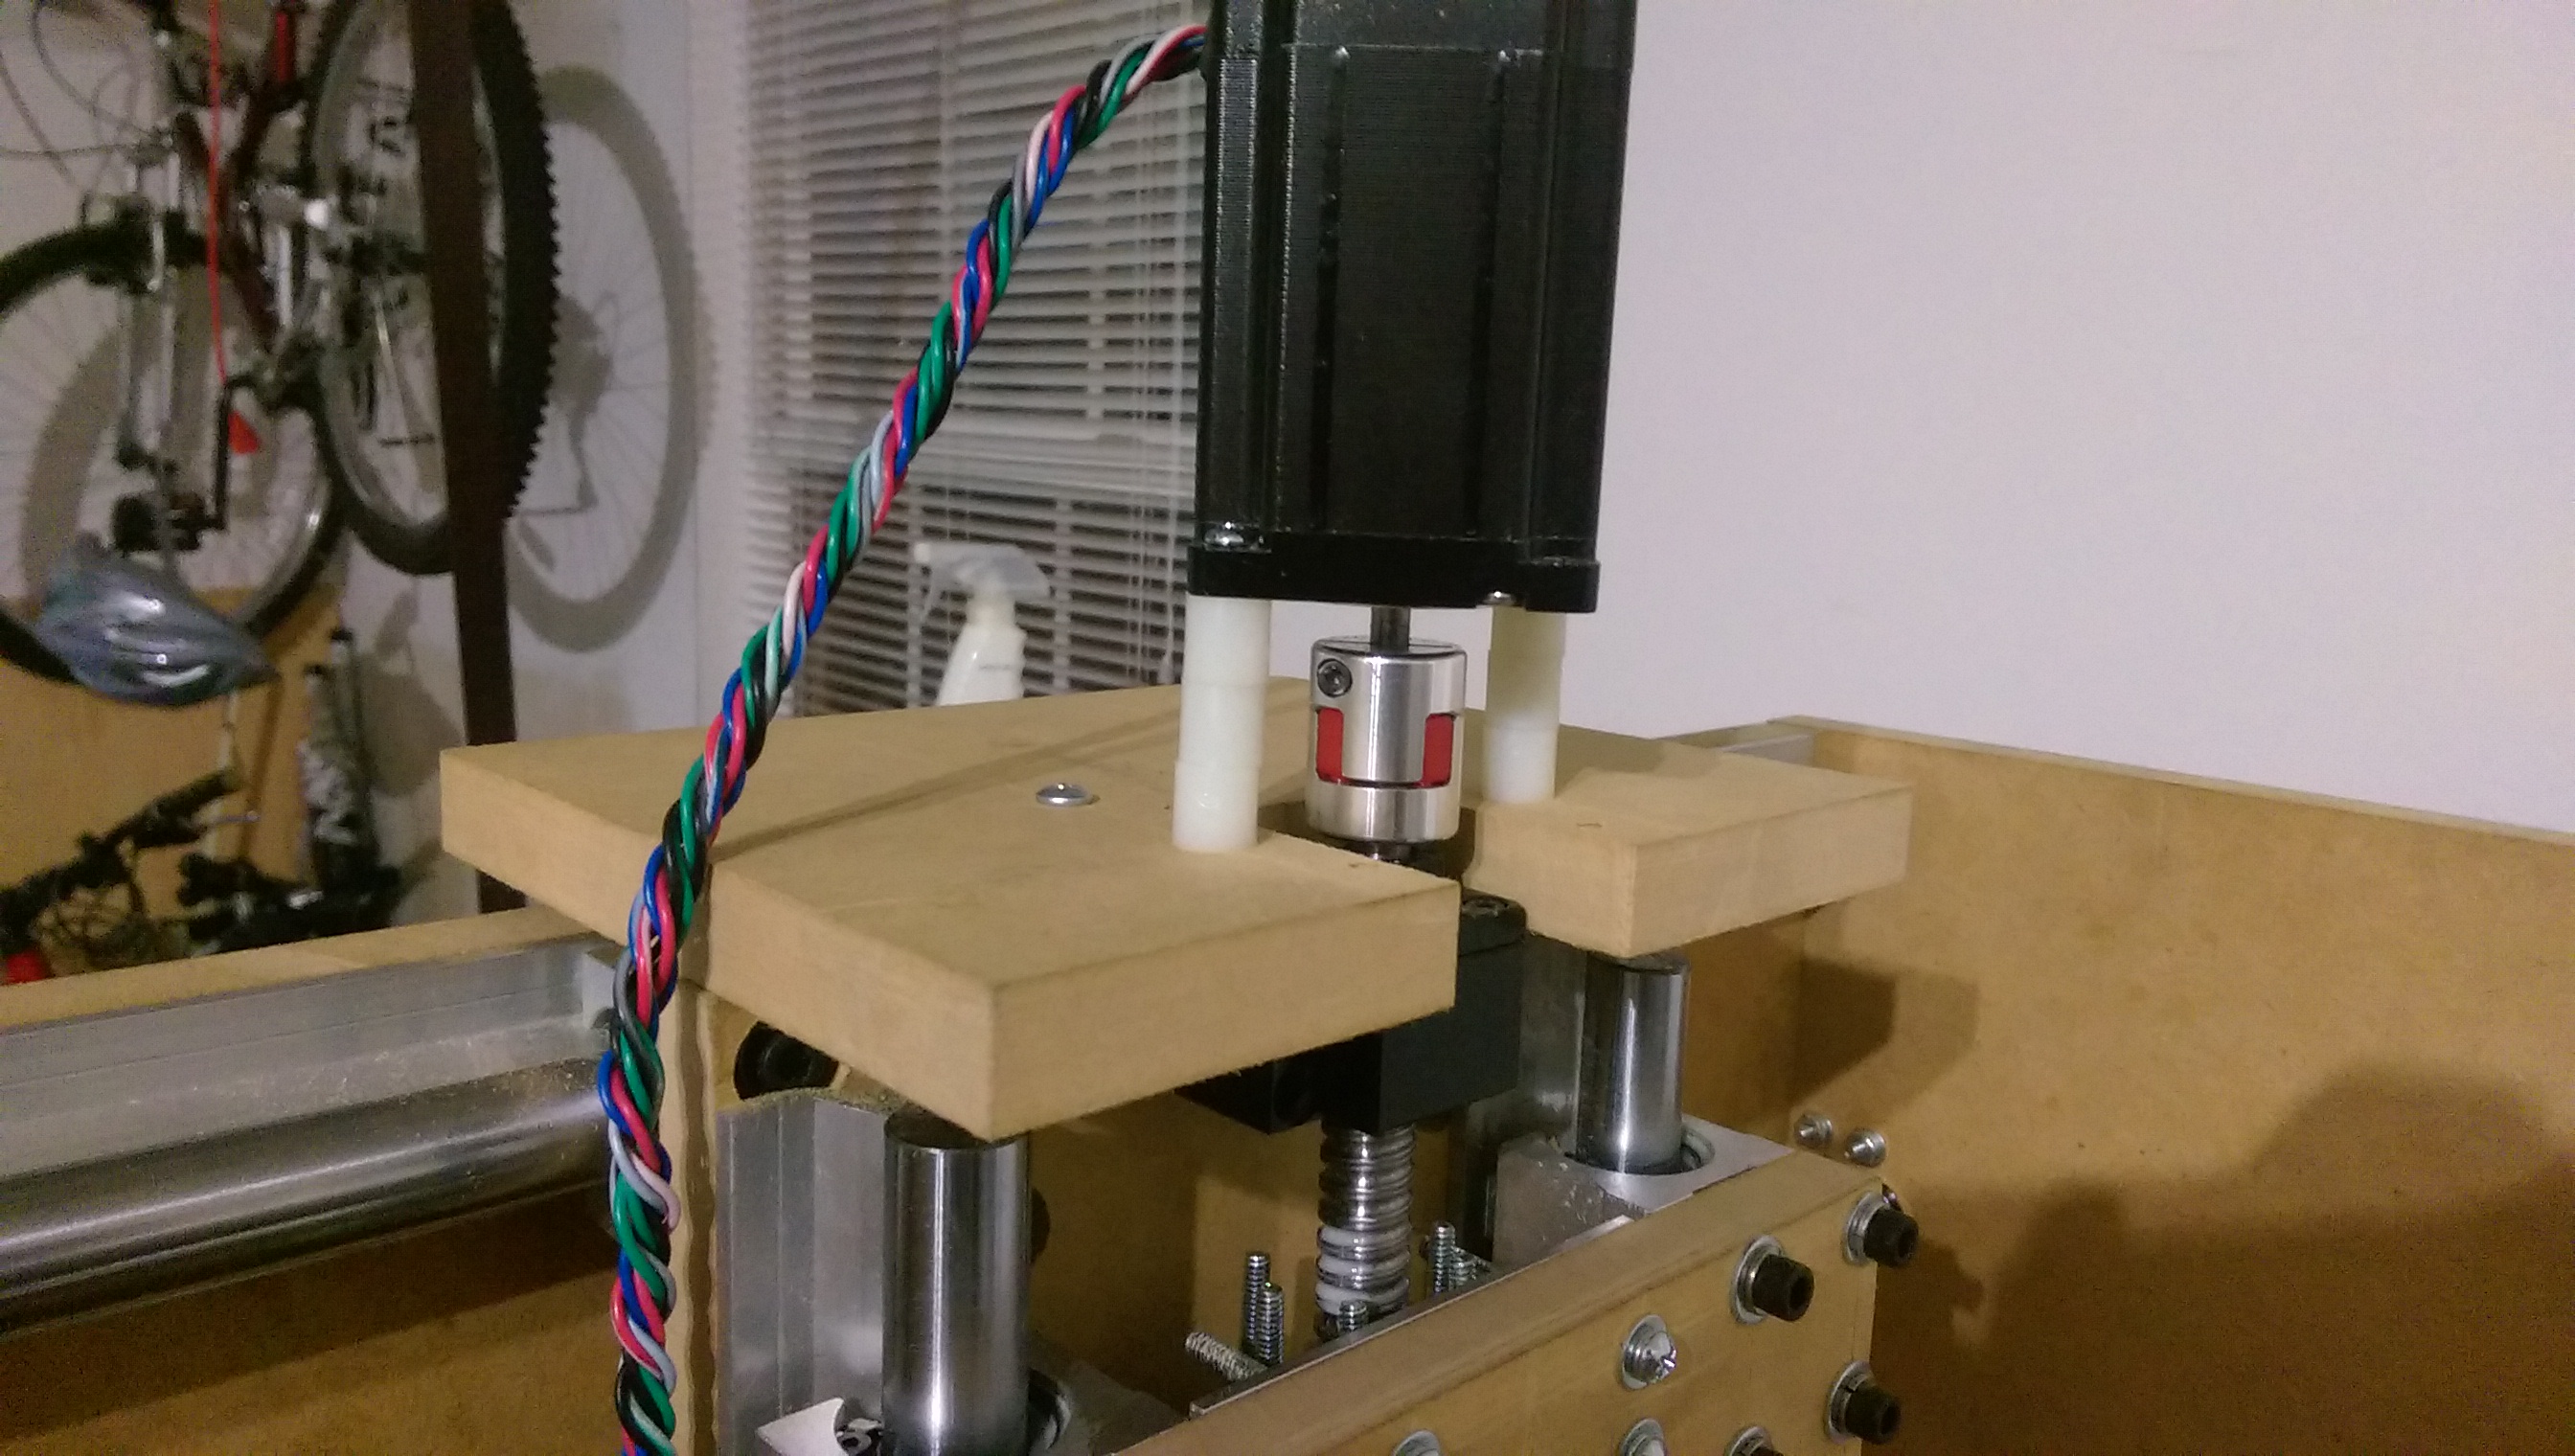
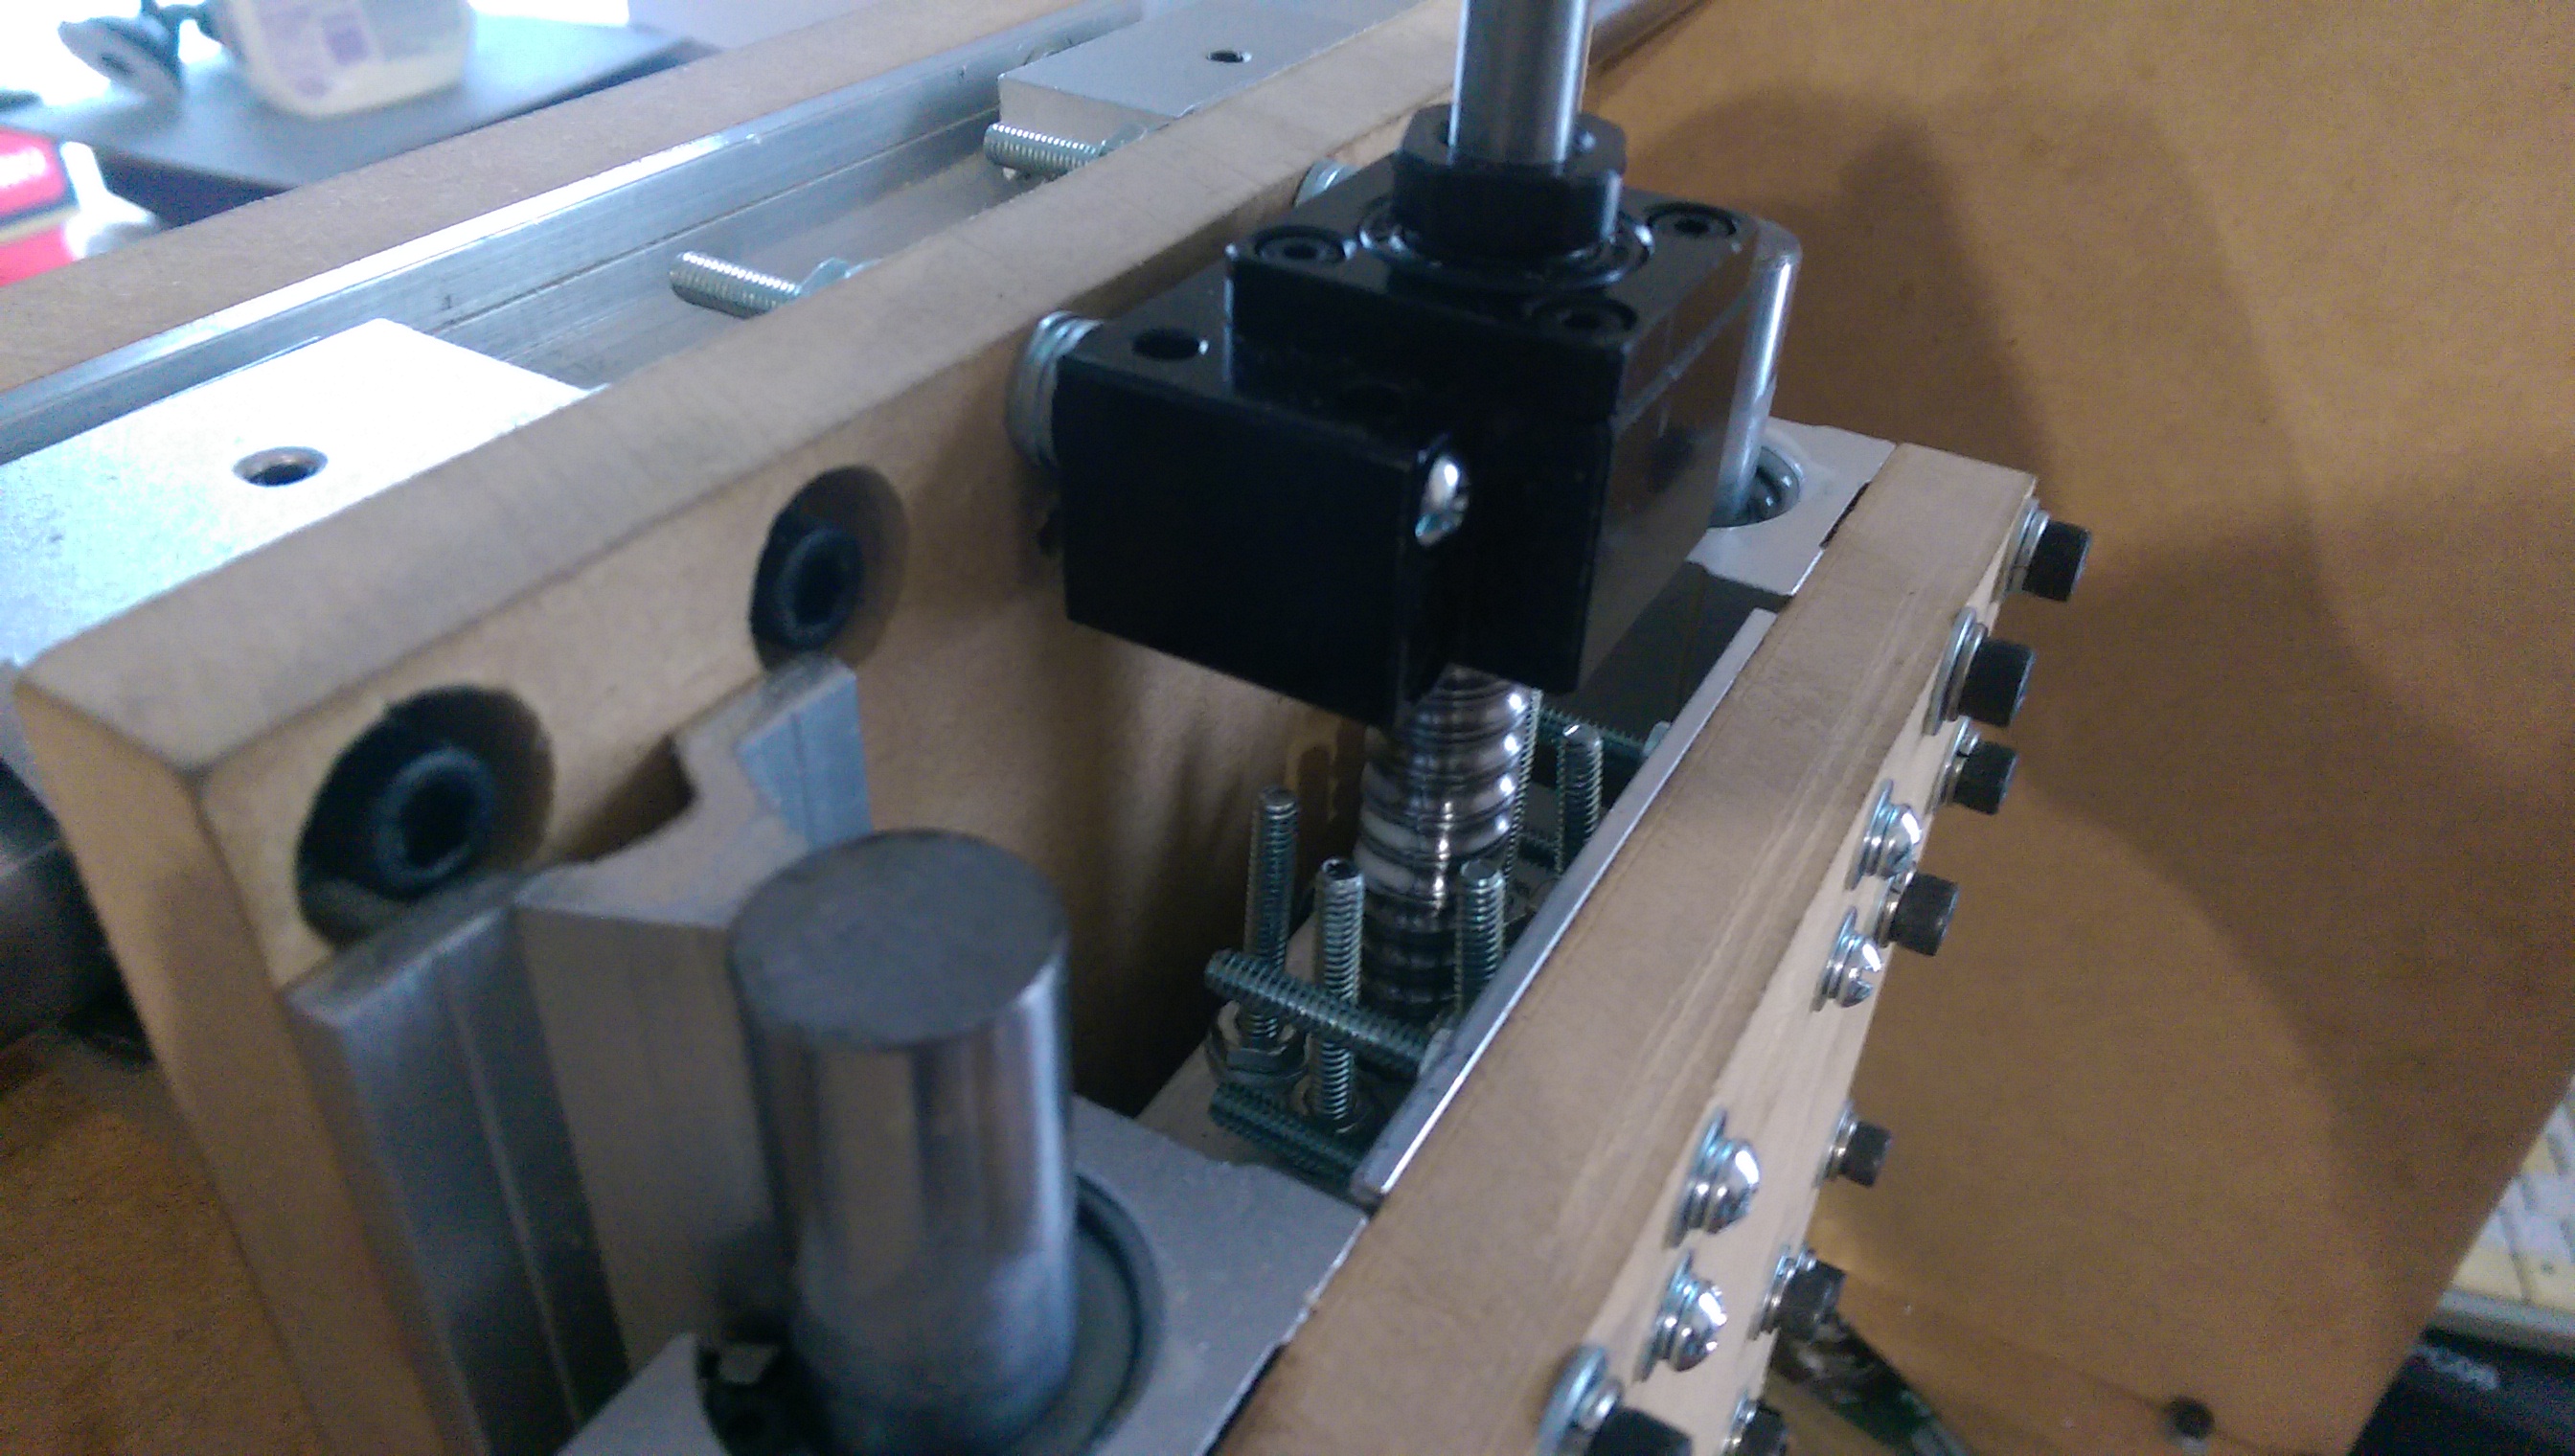
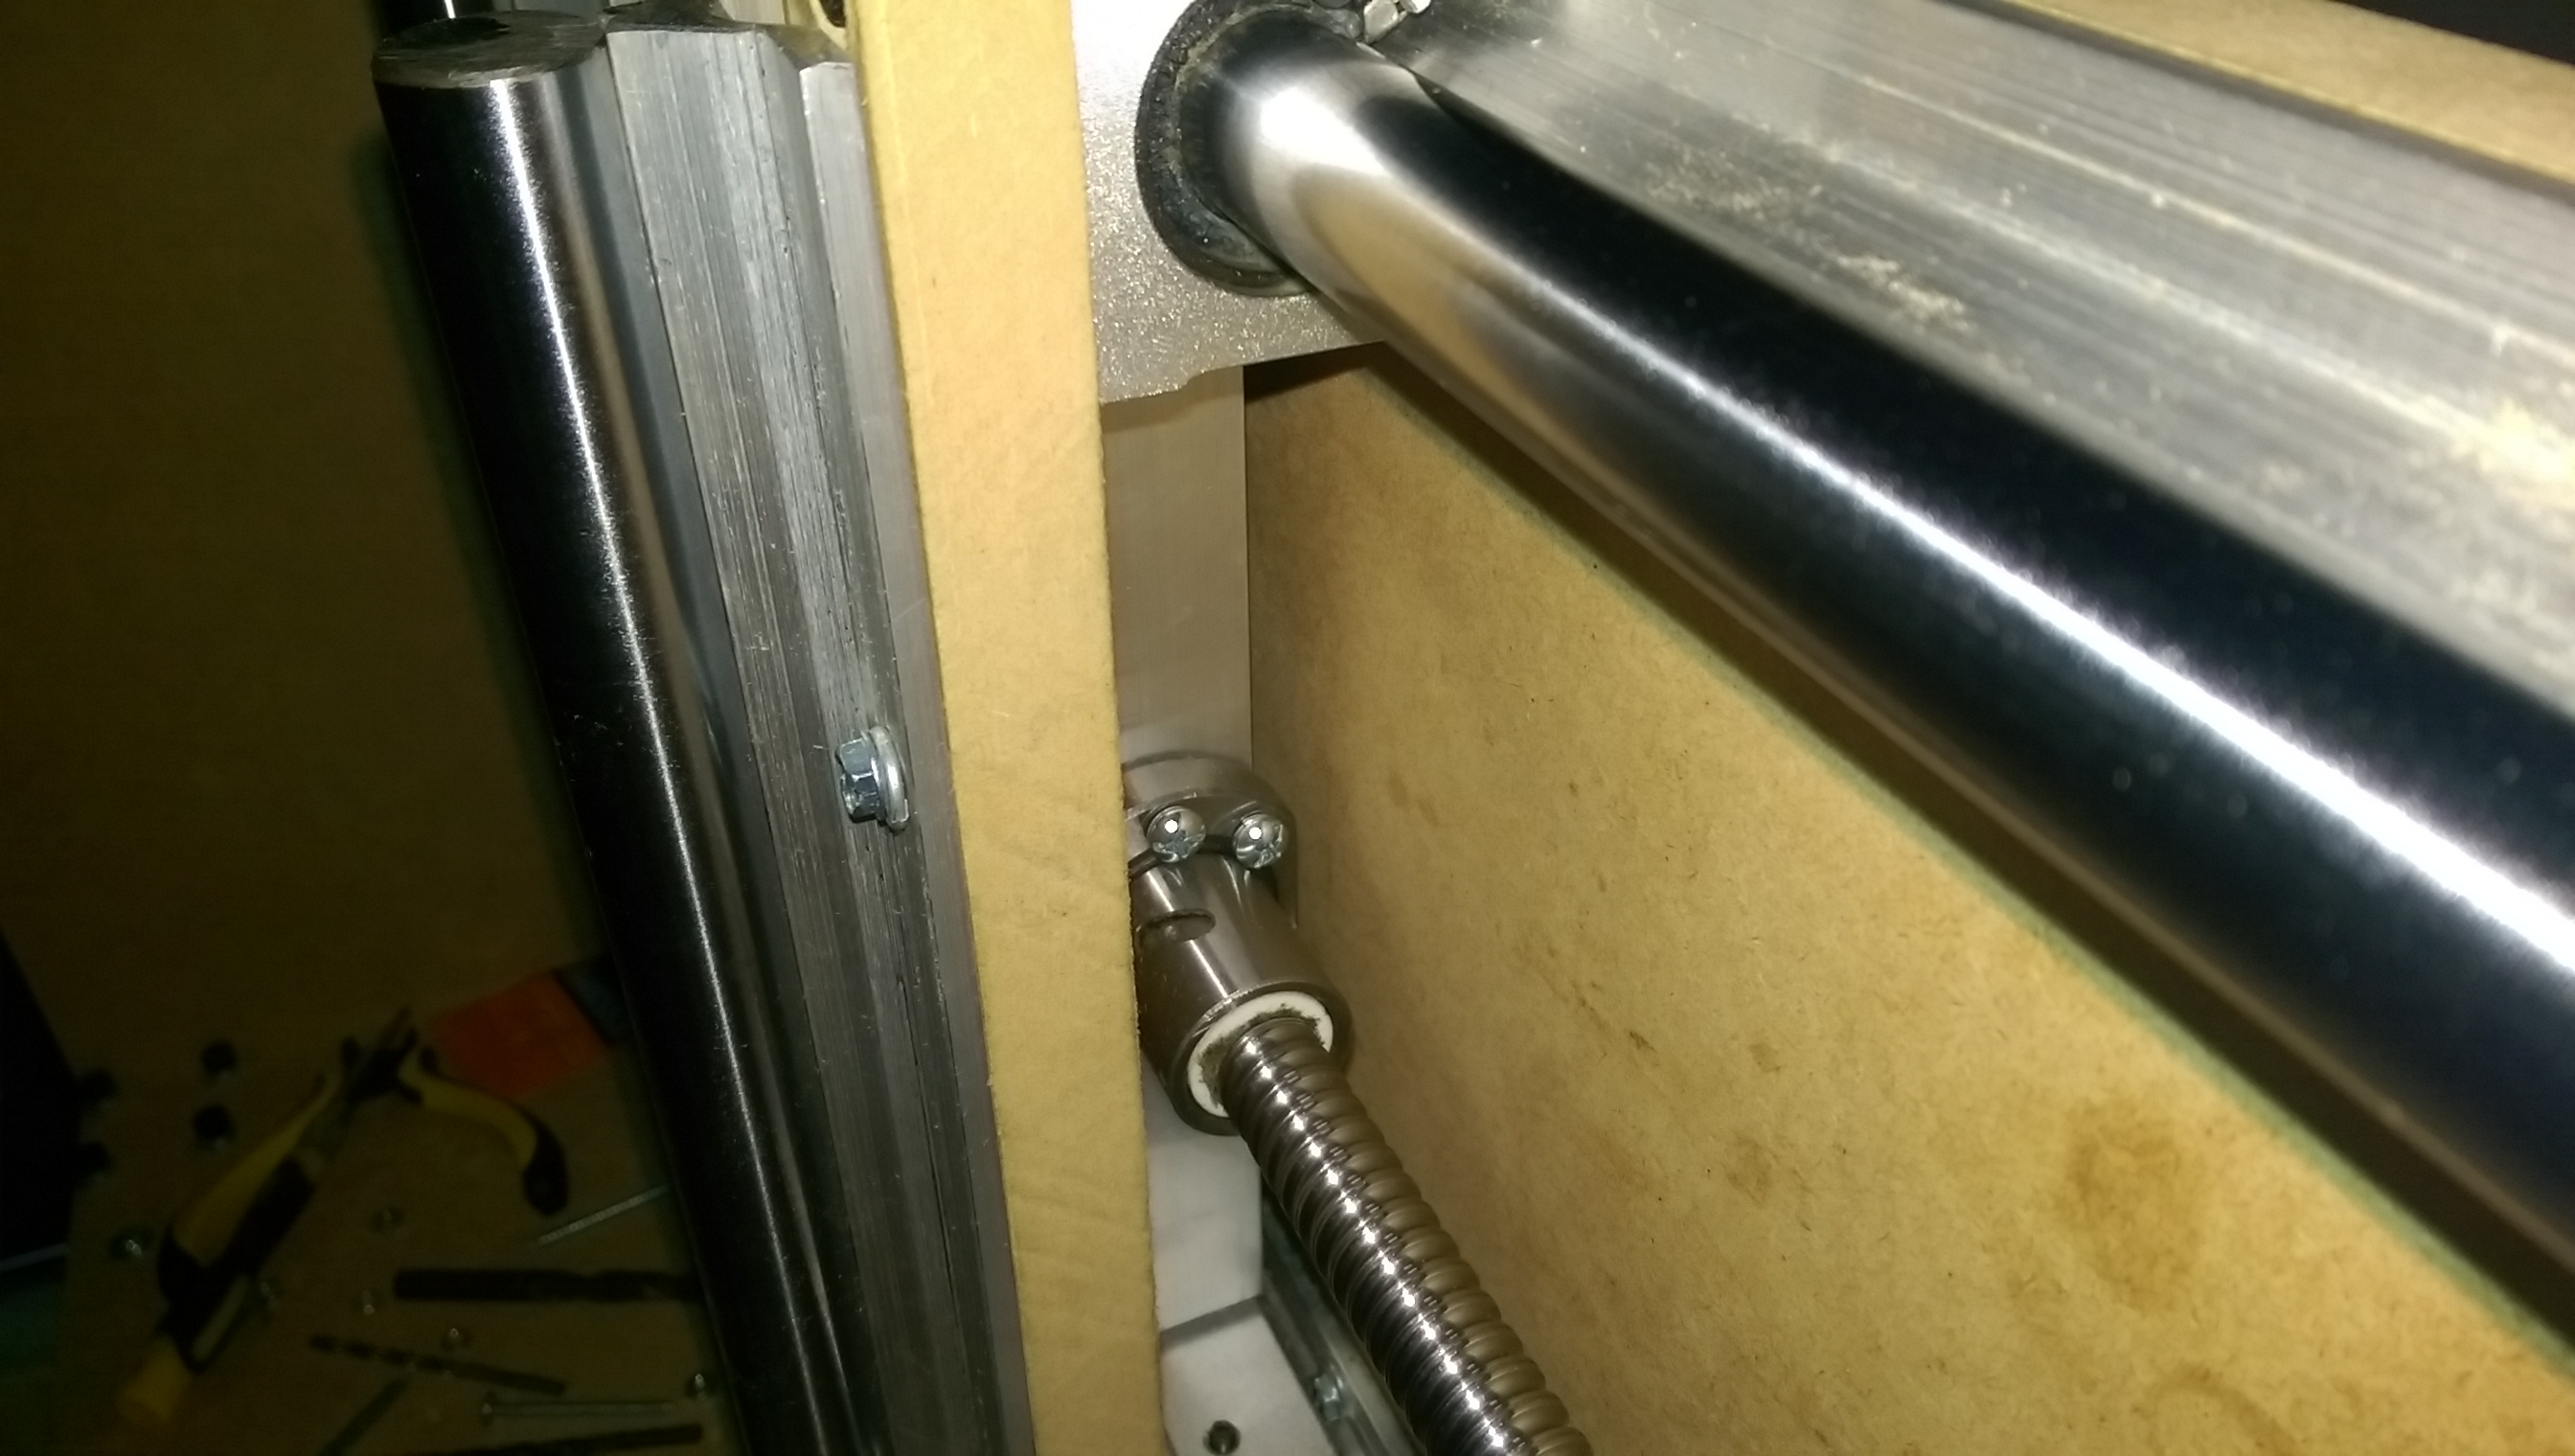
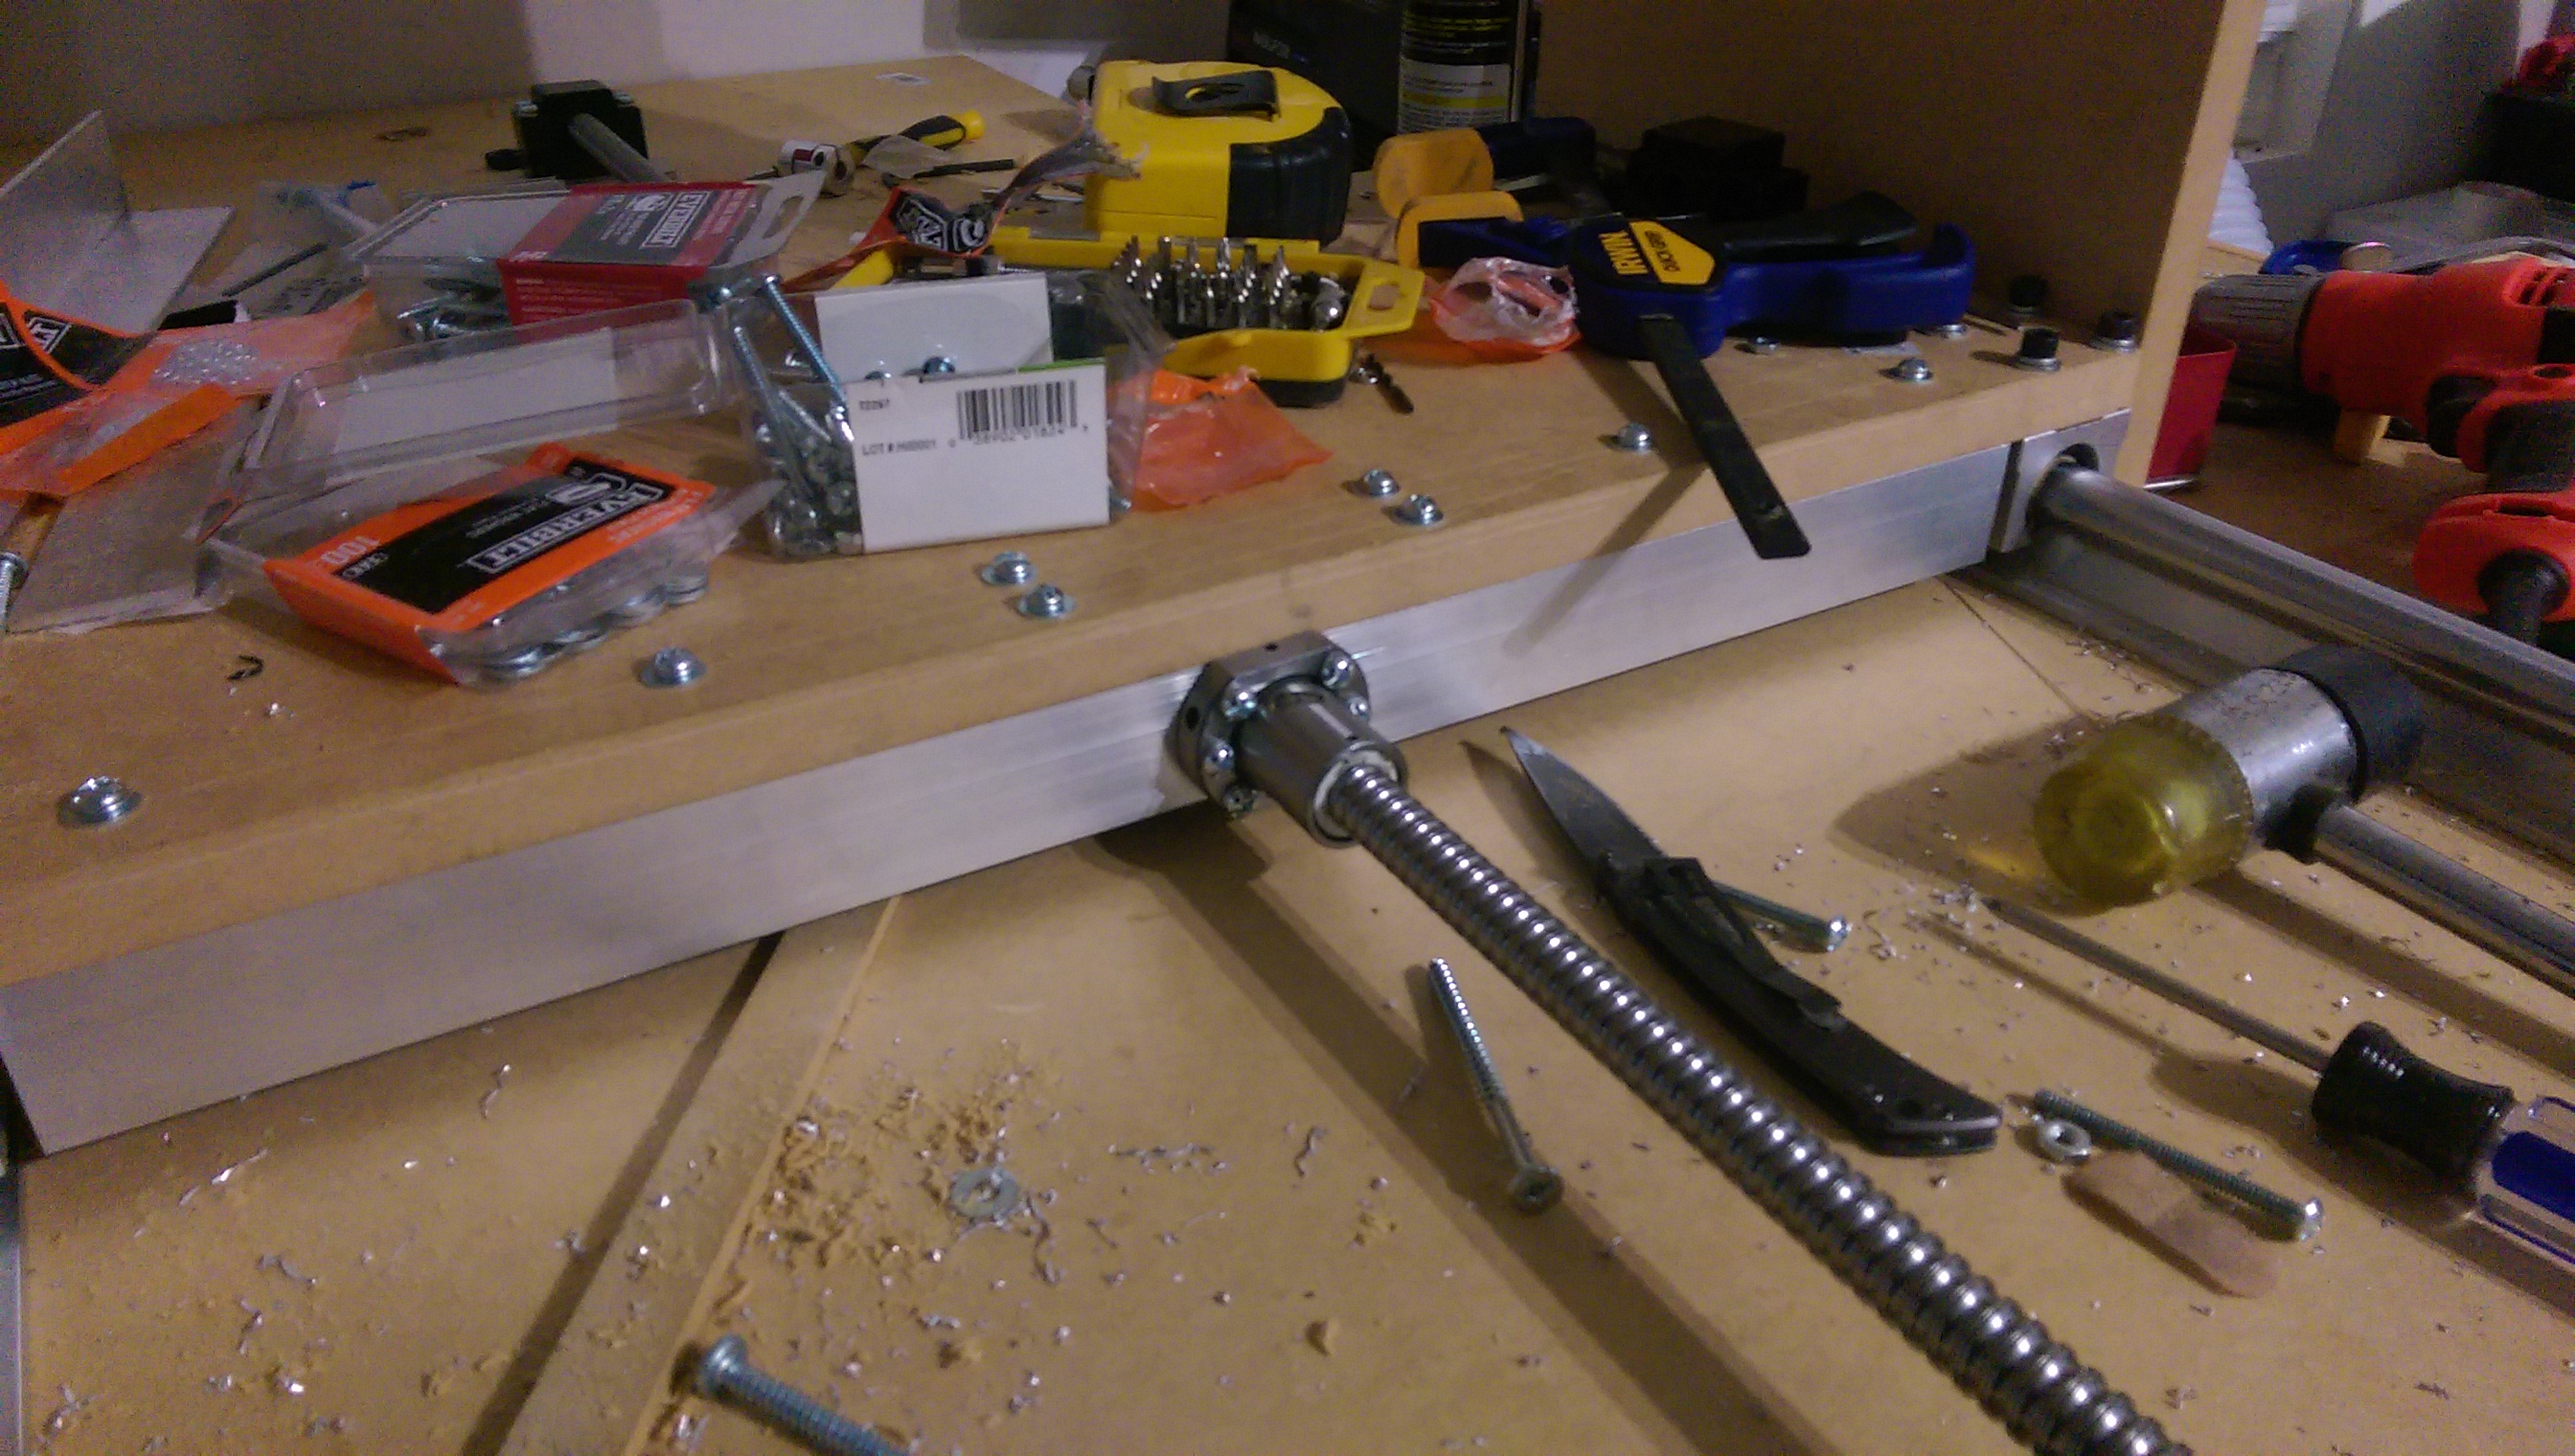
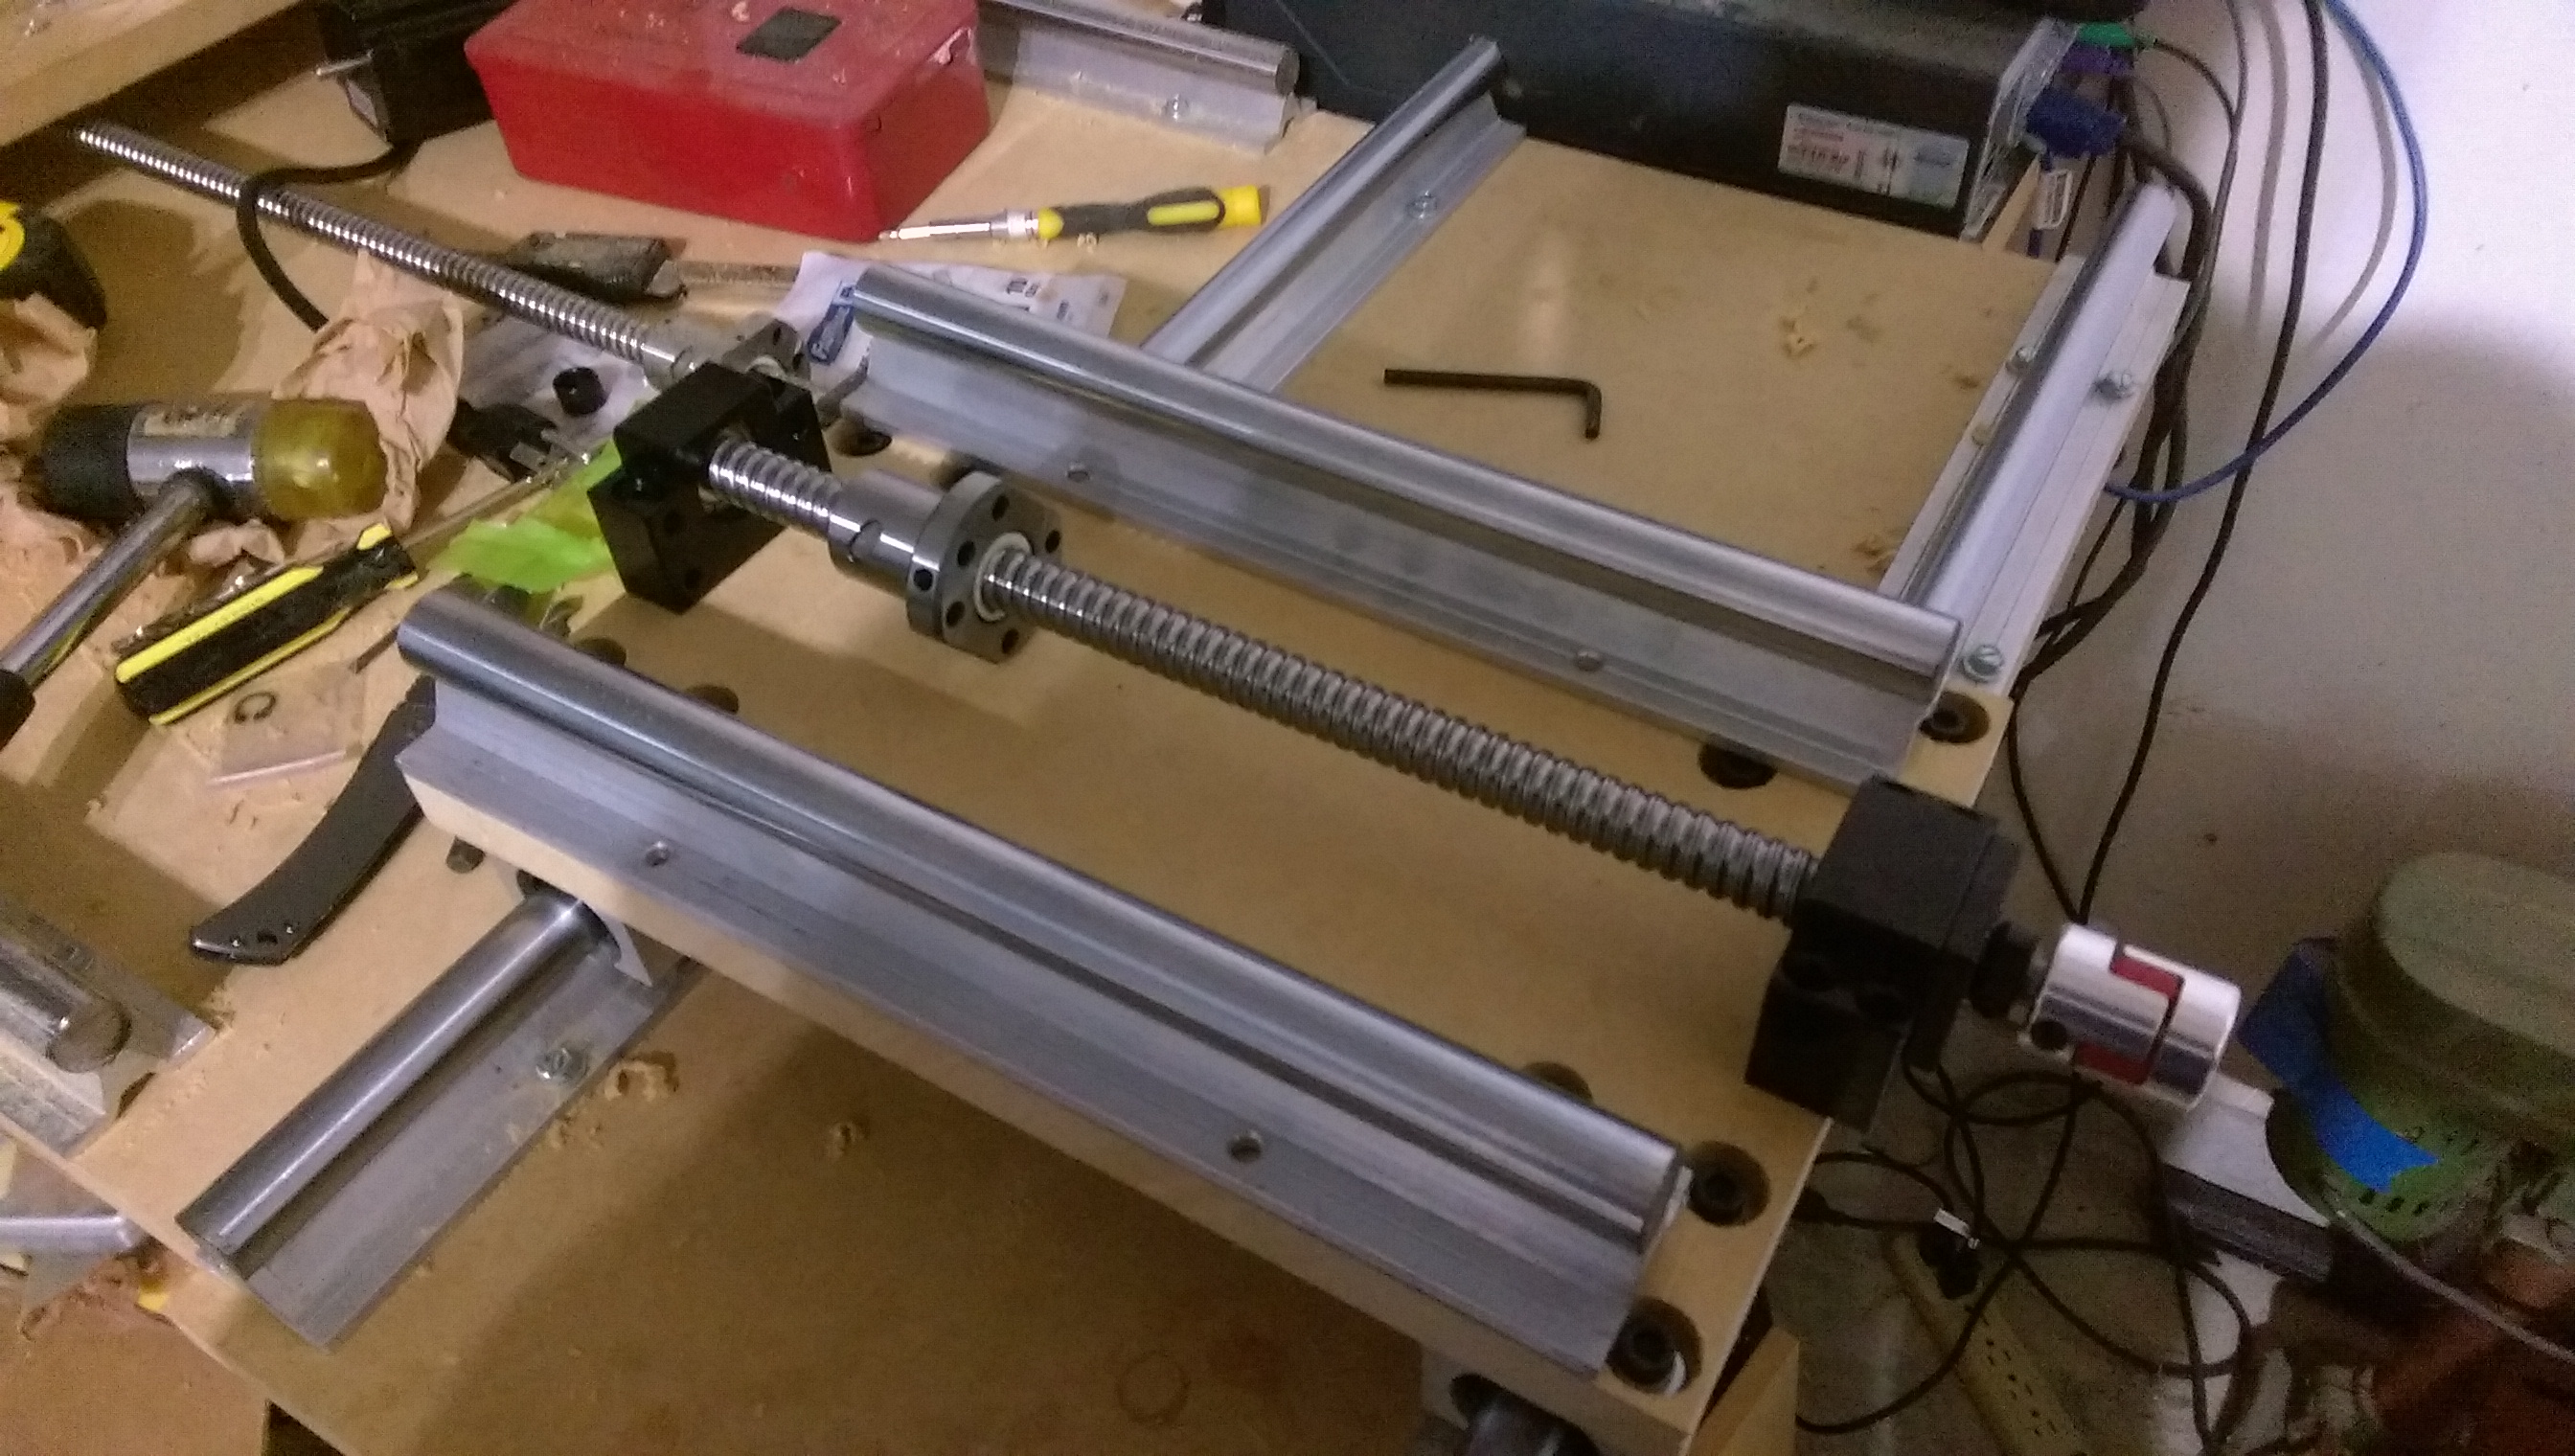
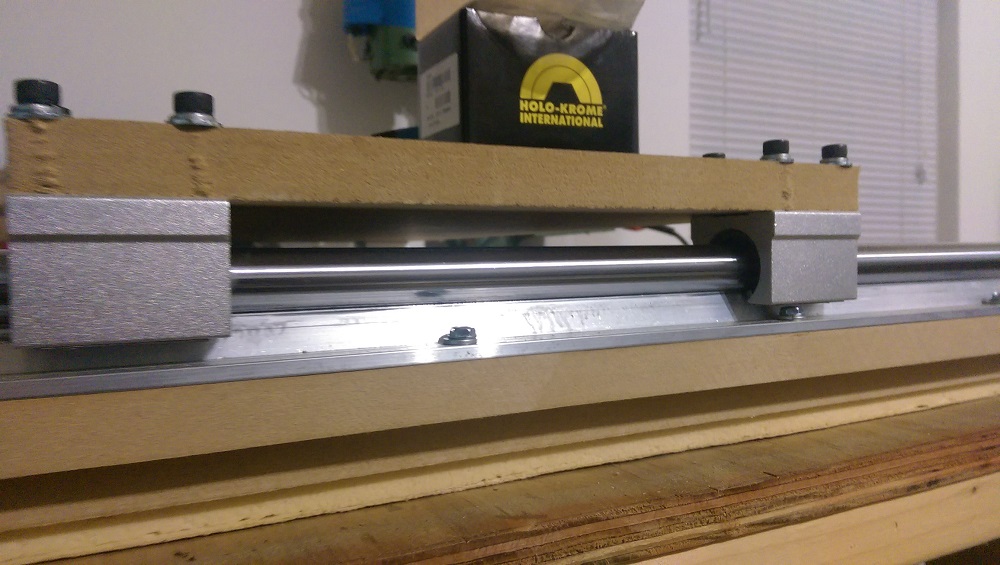
Luckily, with the motor connected, the ballnut just reaches the bottom of the x-axis carriage, meaning I will not have to vertically align it.
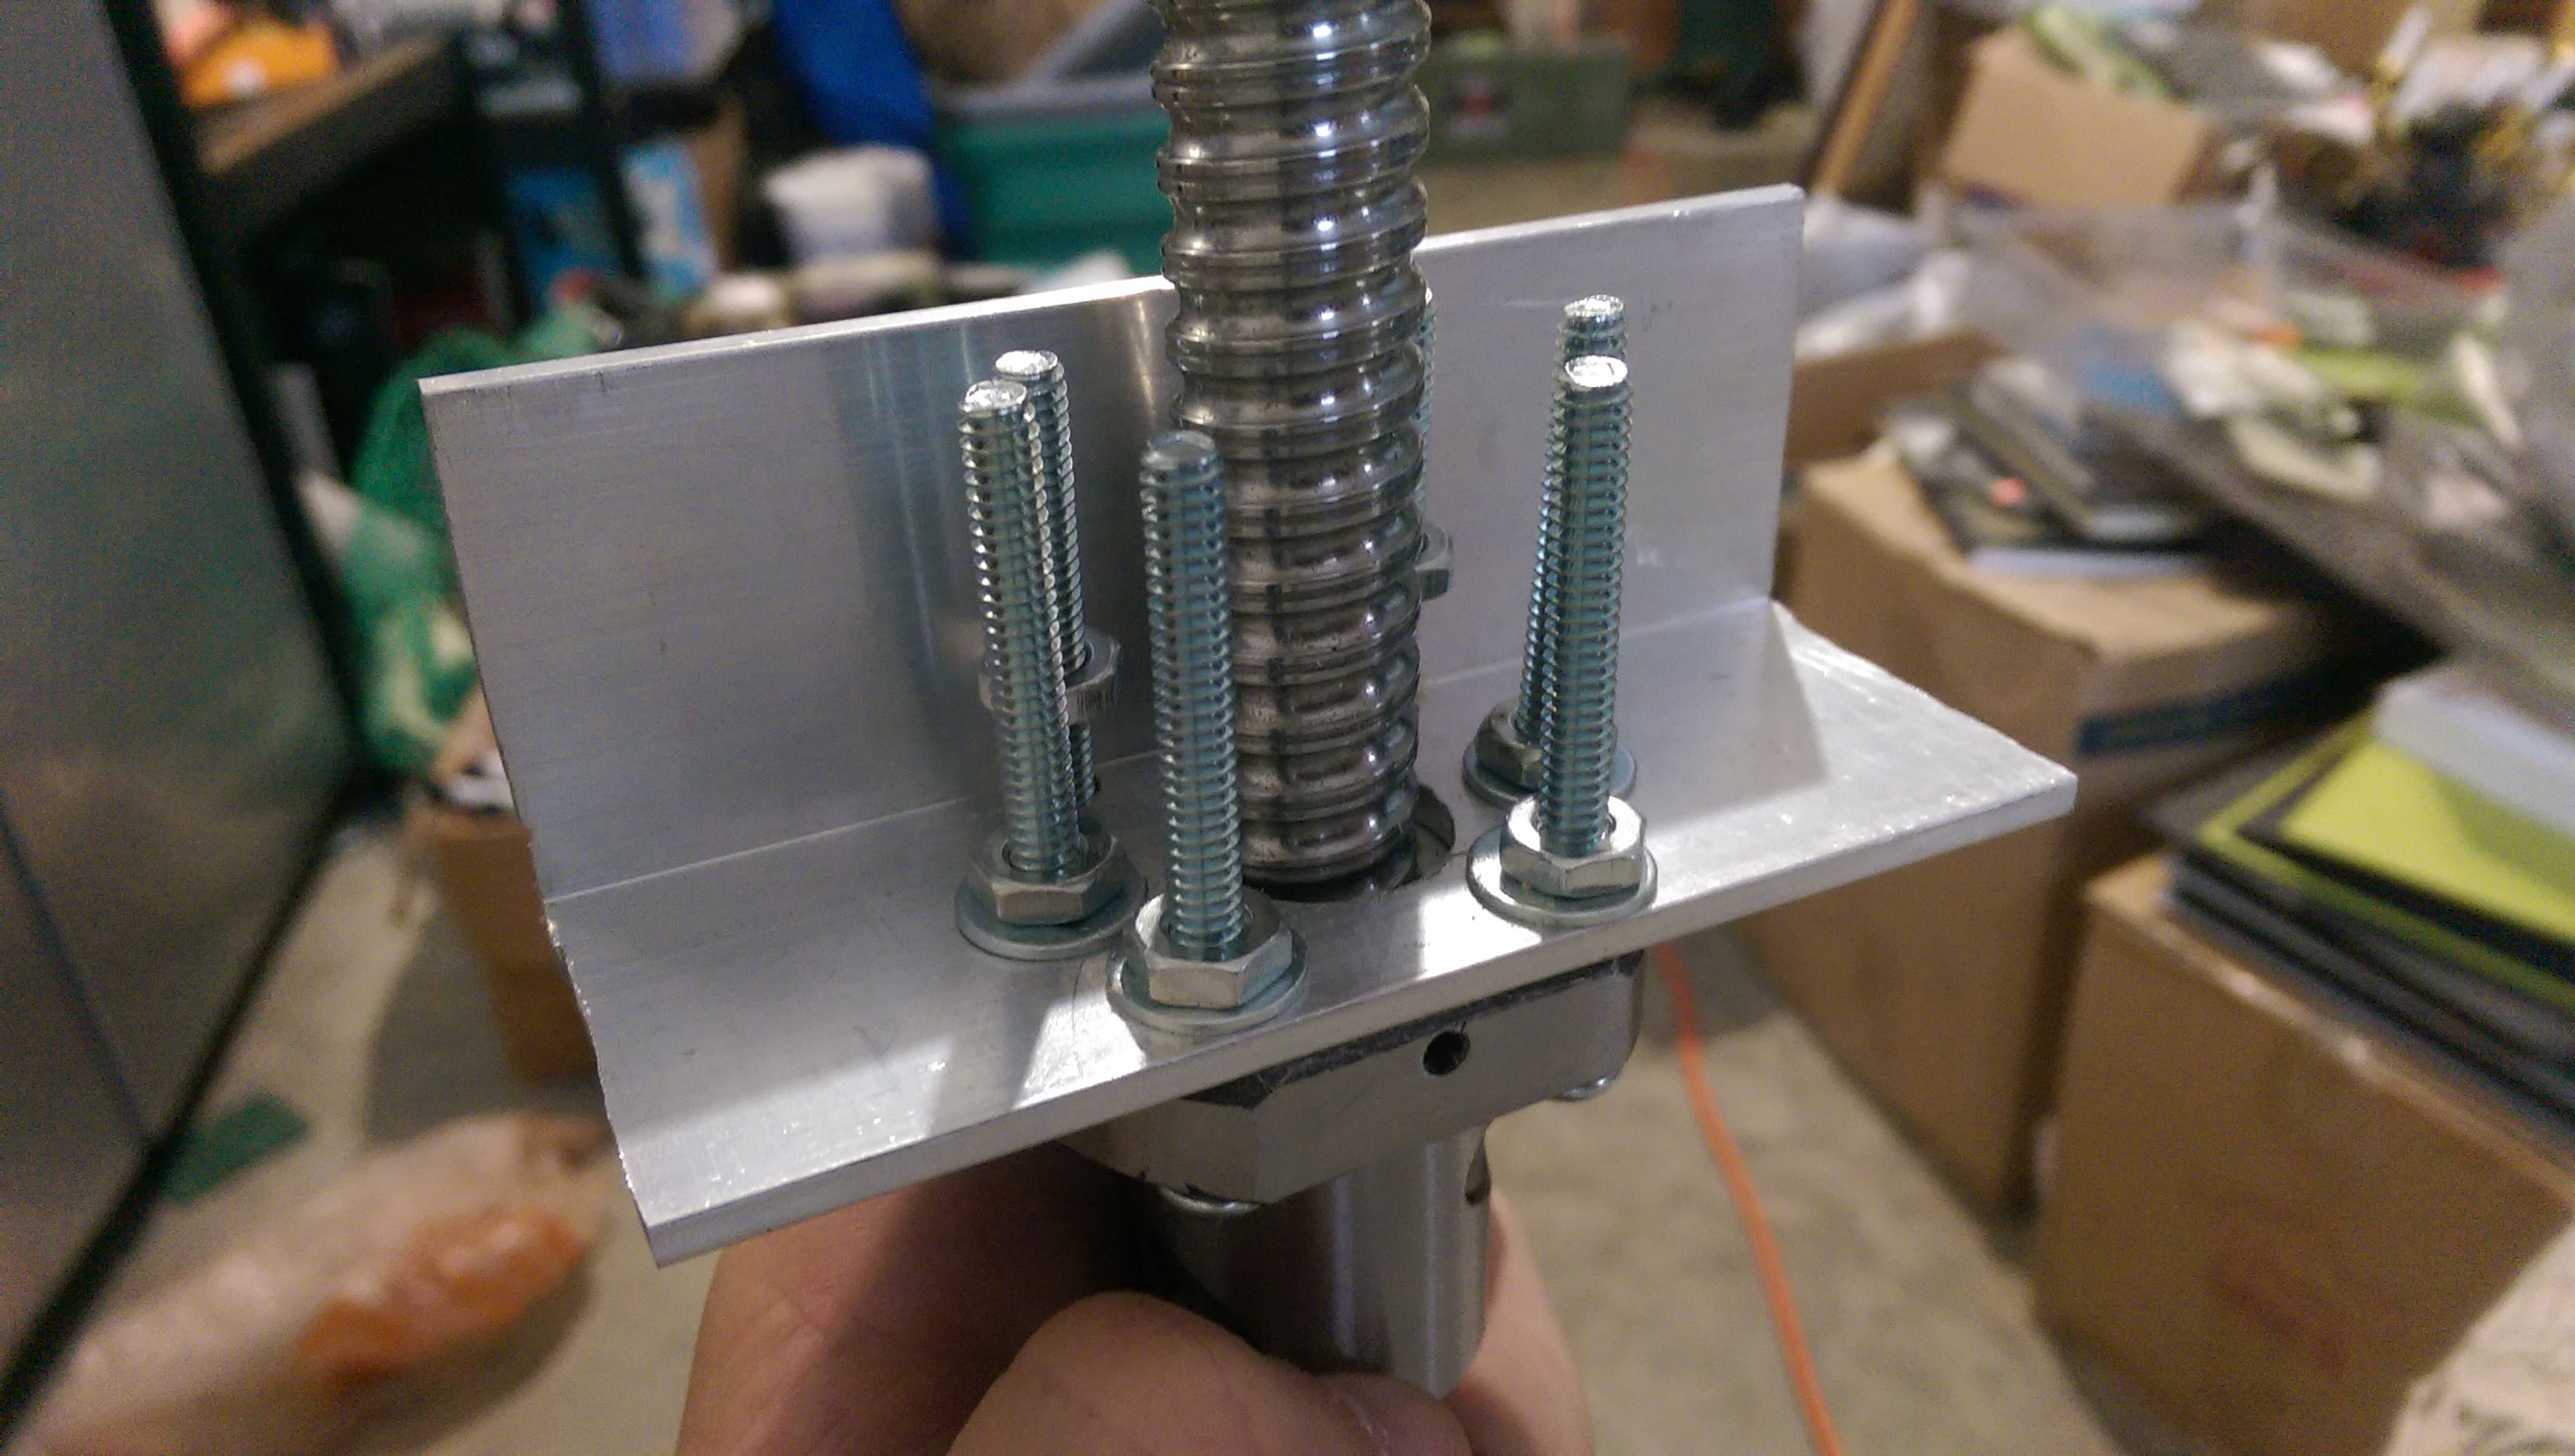
In the above image, you can see the screws just barely fit near the edge of the board.
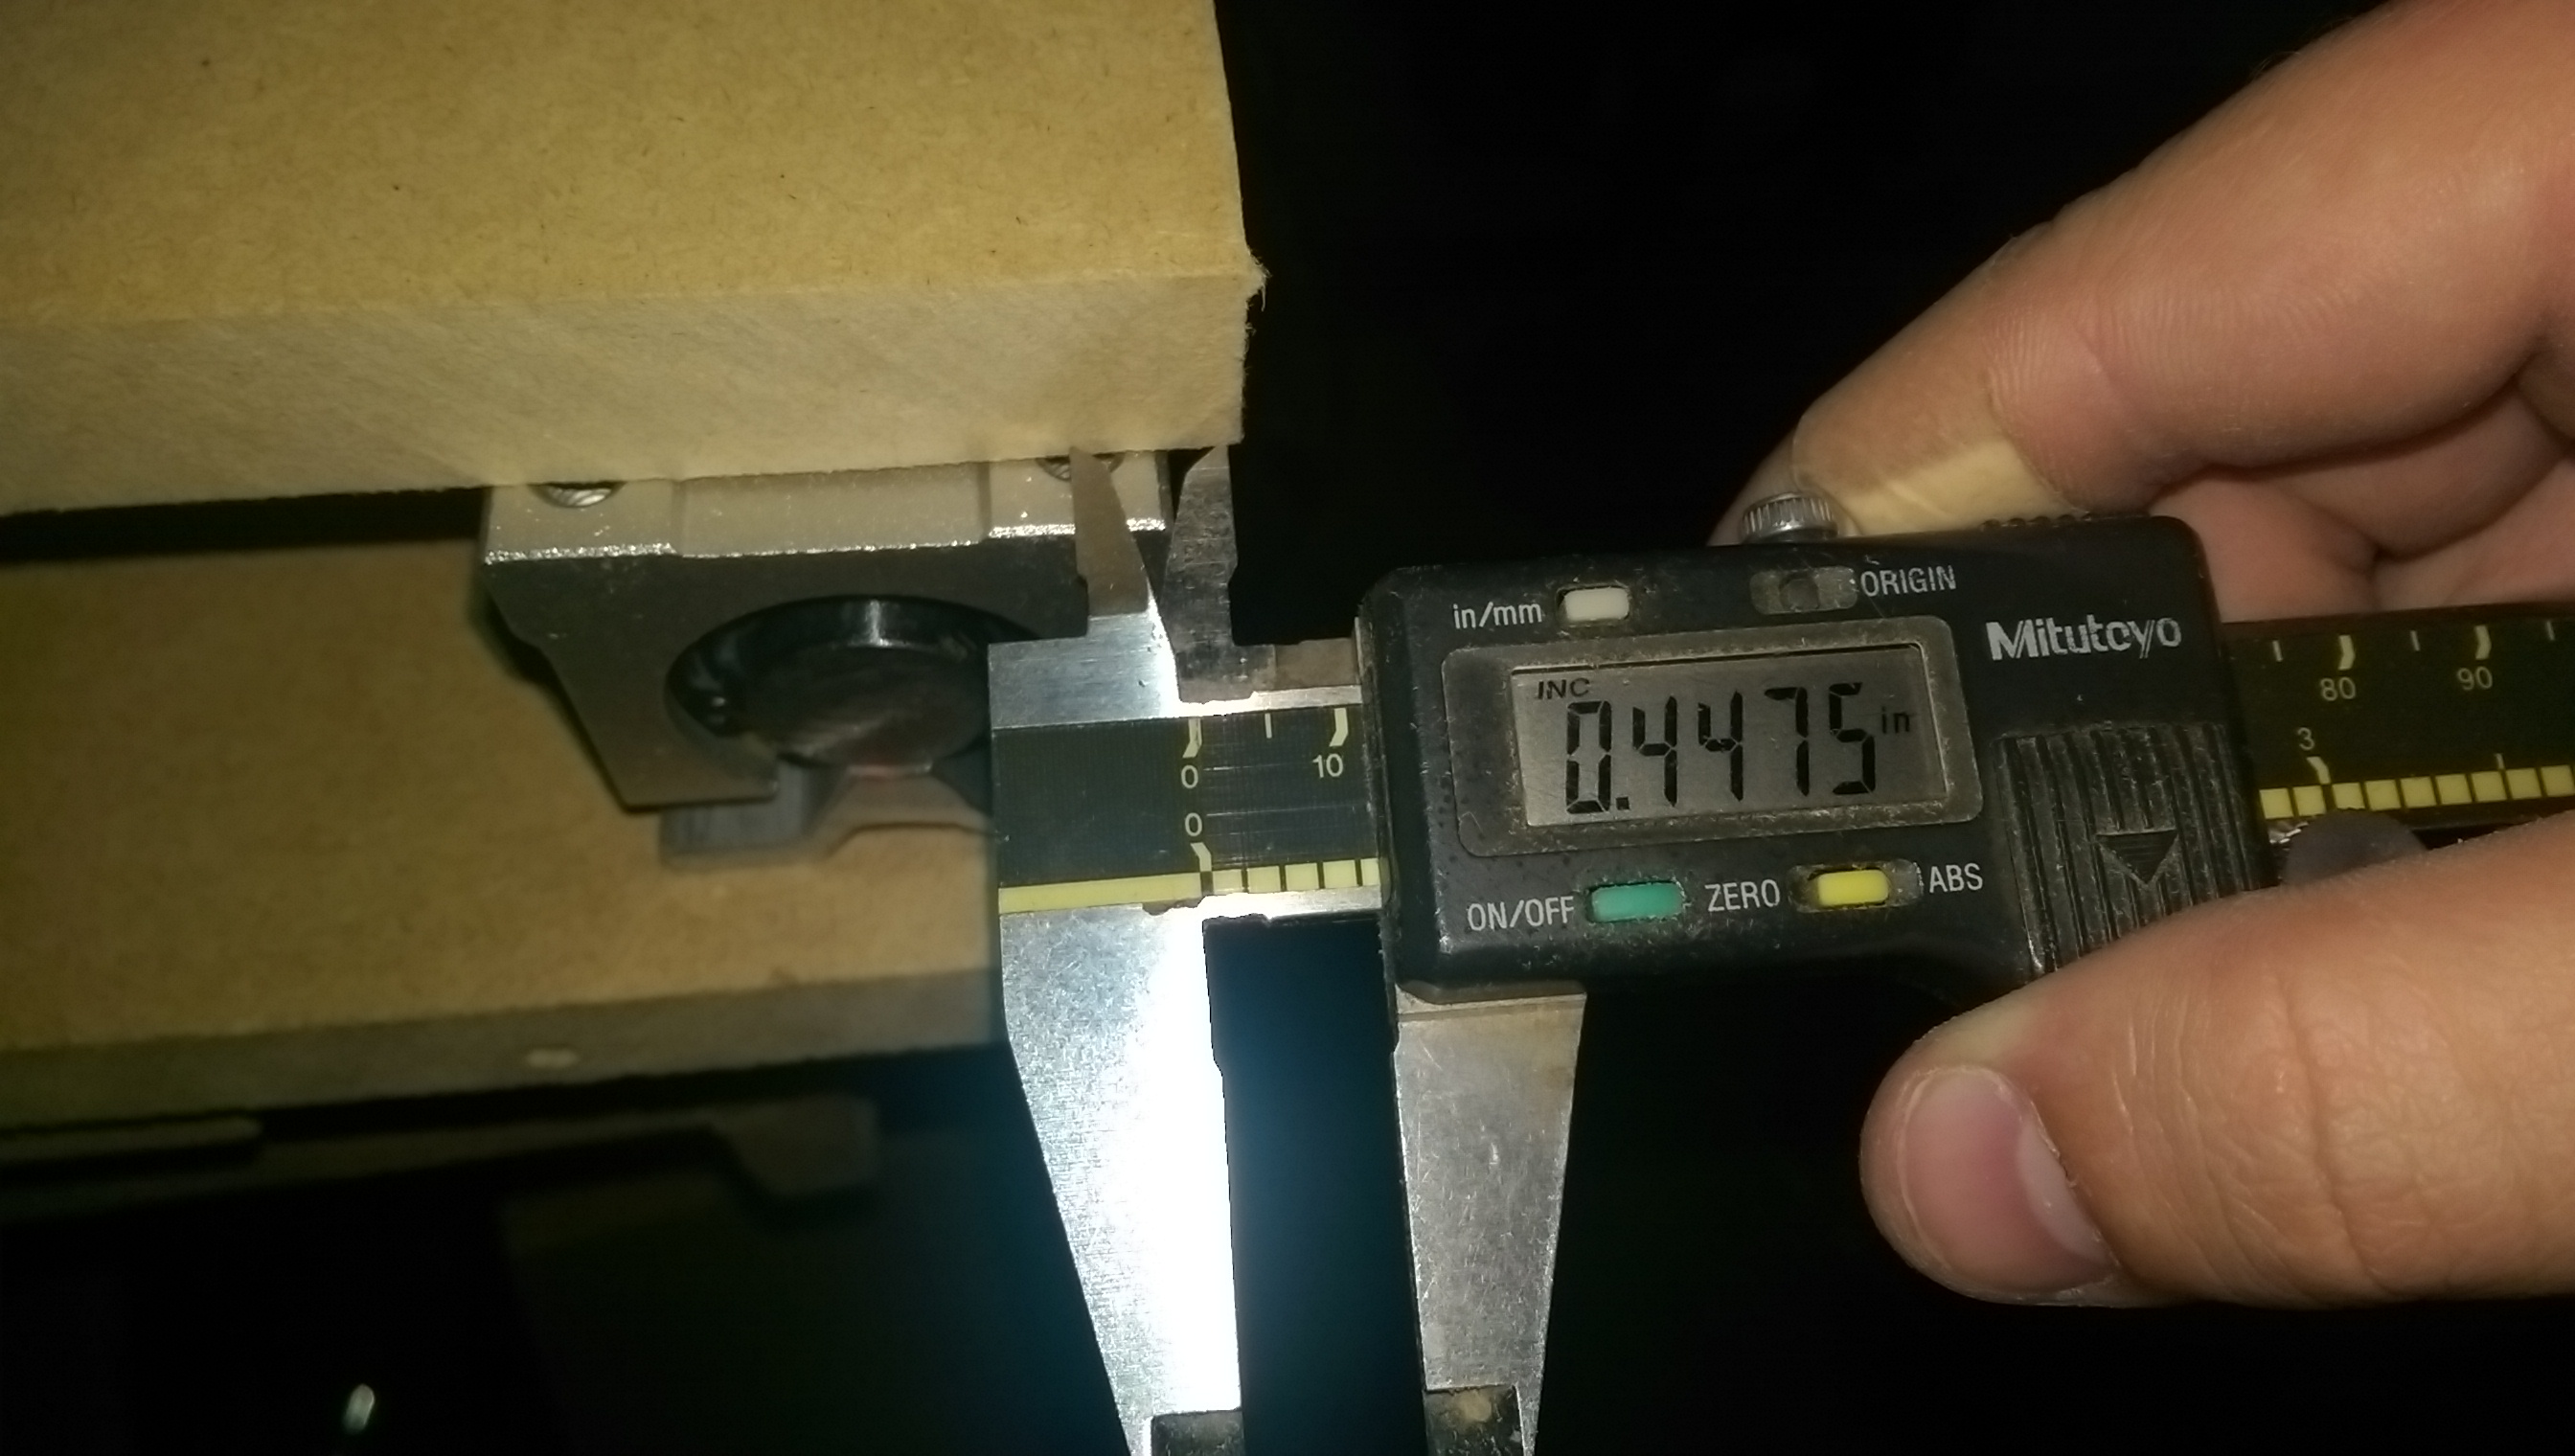
The x-axis carriage has been attached. It turns out the linear bearings I had were a little wider than the the ones I used in the 3d model. Because of this, the bearing blocks stick out about two millimeters past the x-axis carriage. The screws were also very close to the edge and I had to drill the holes for them very carefully.
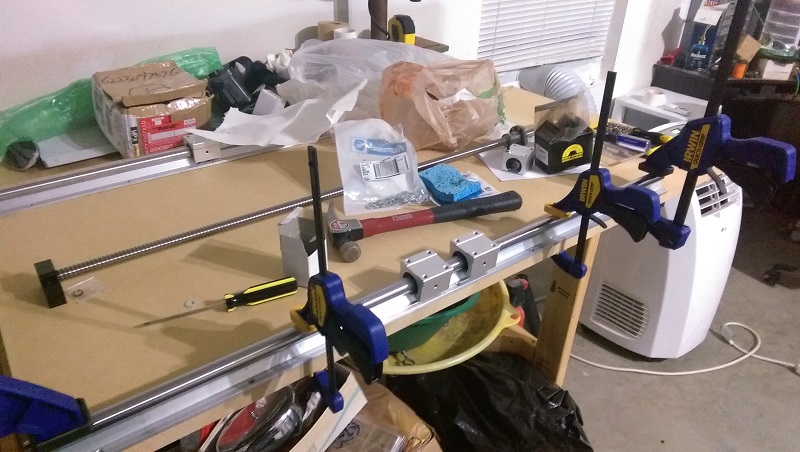
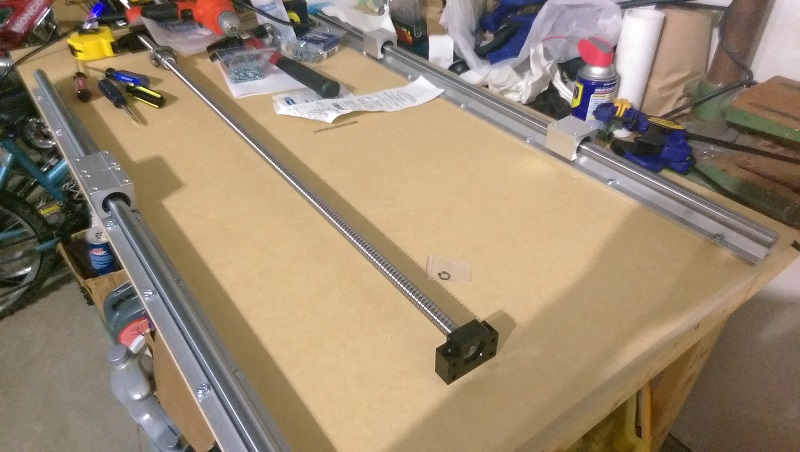
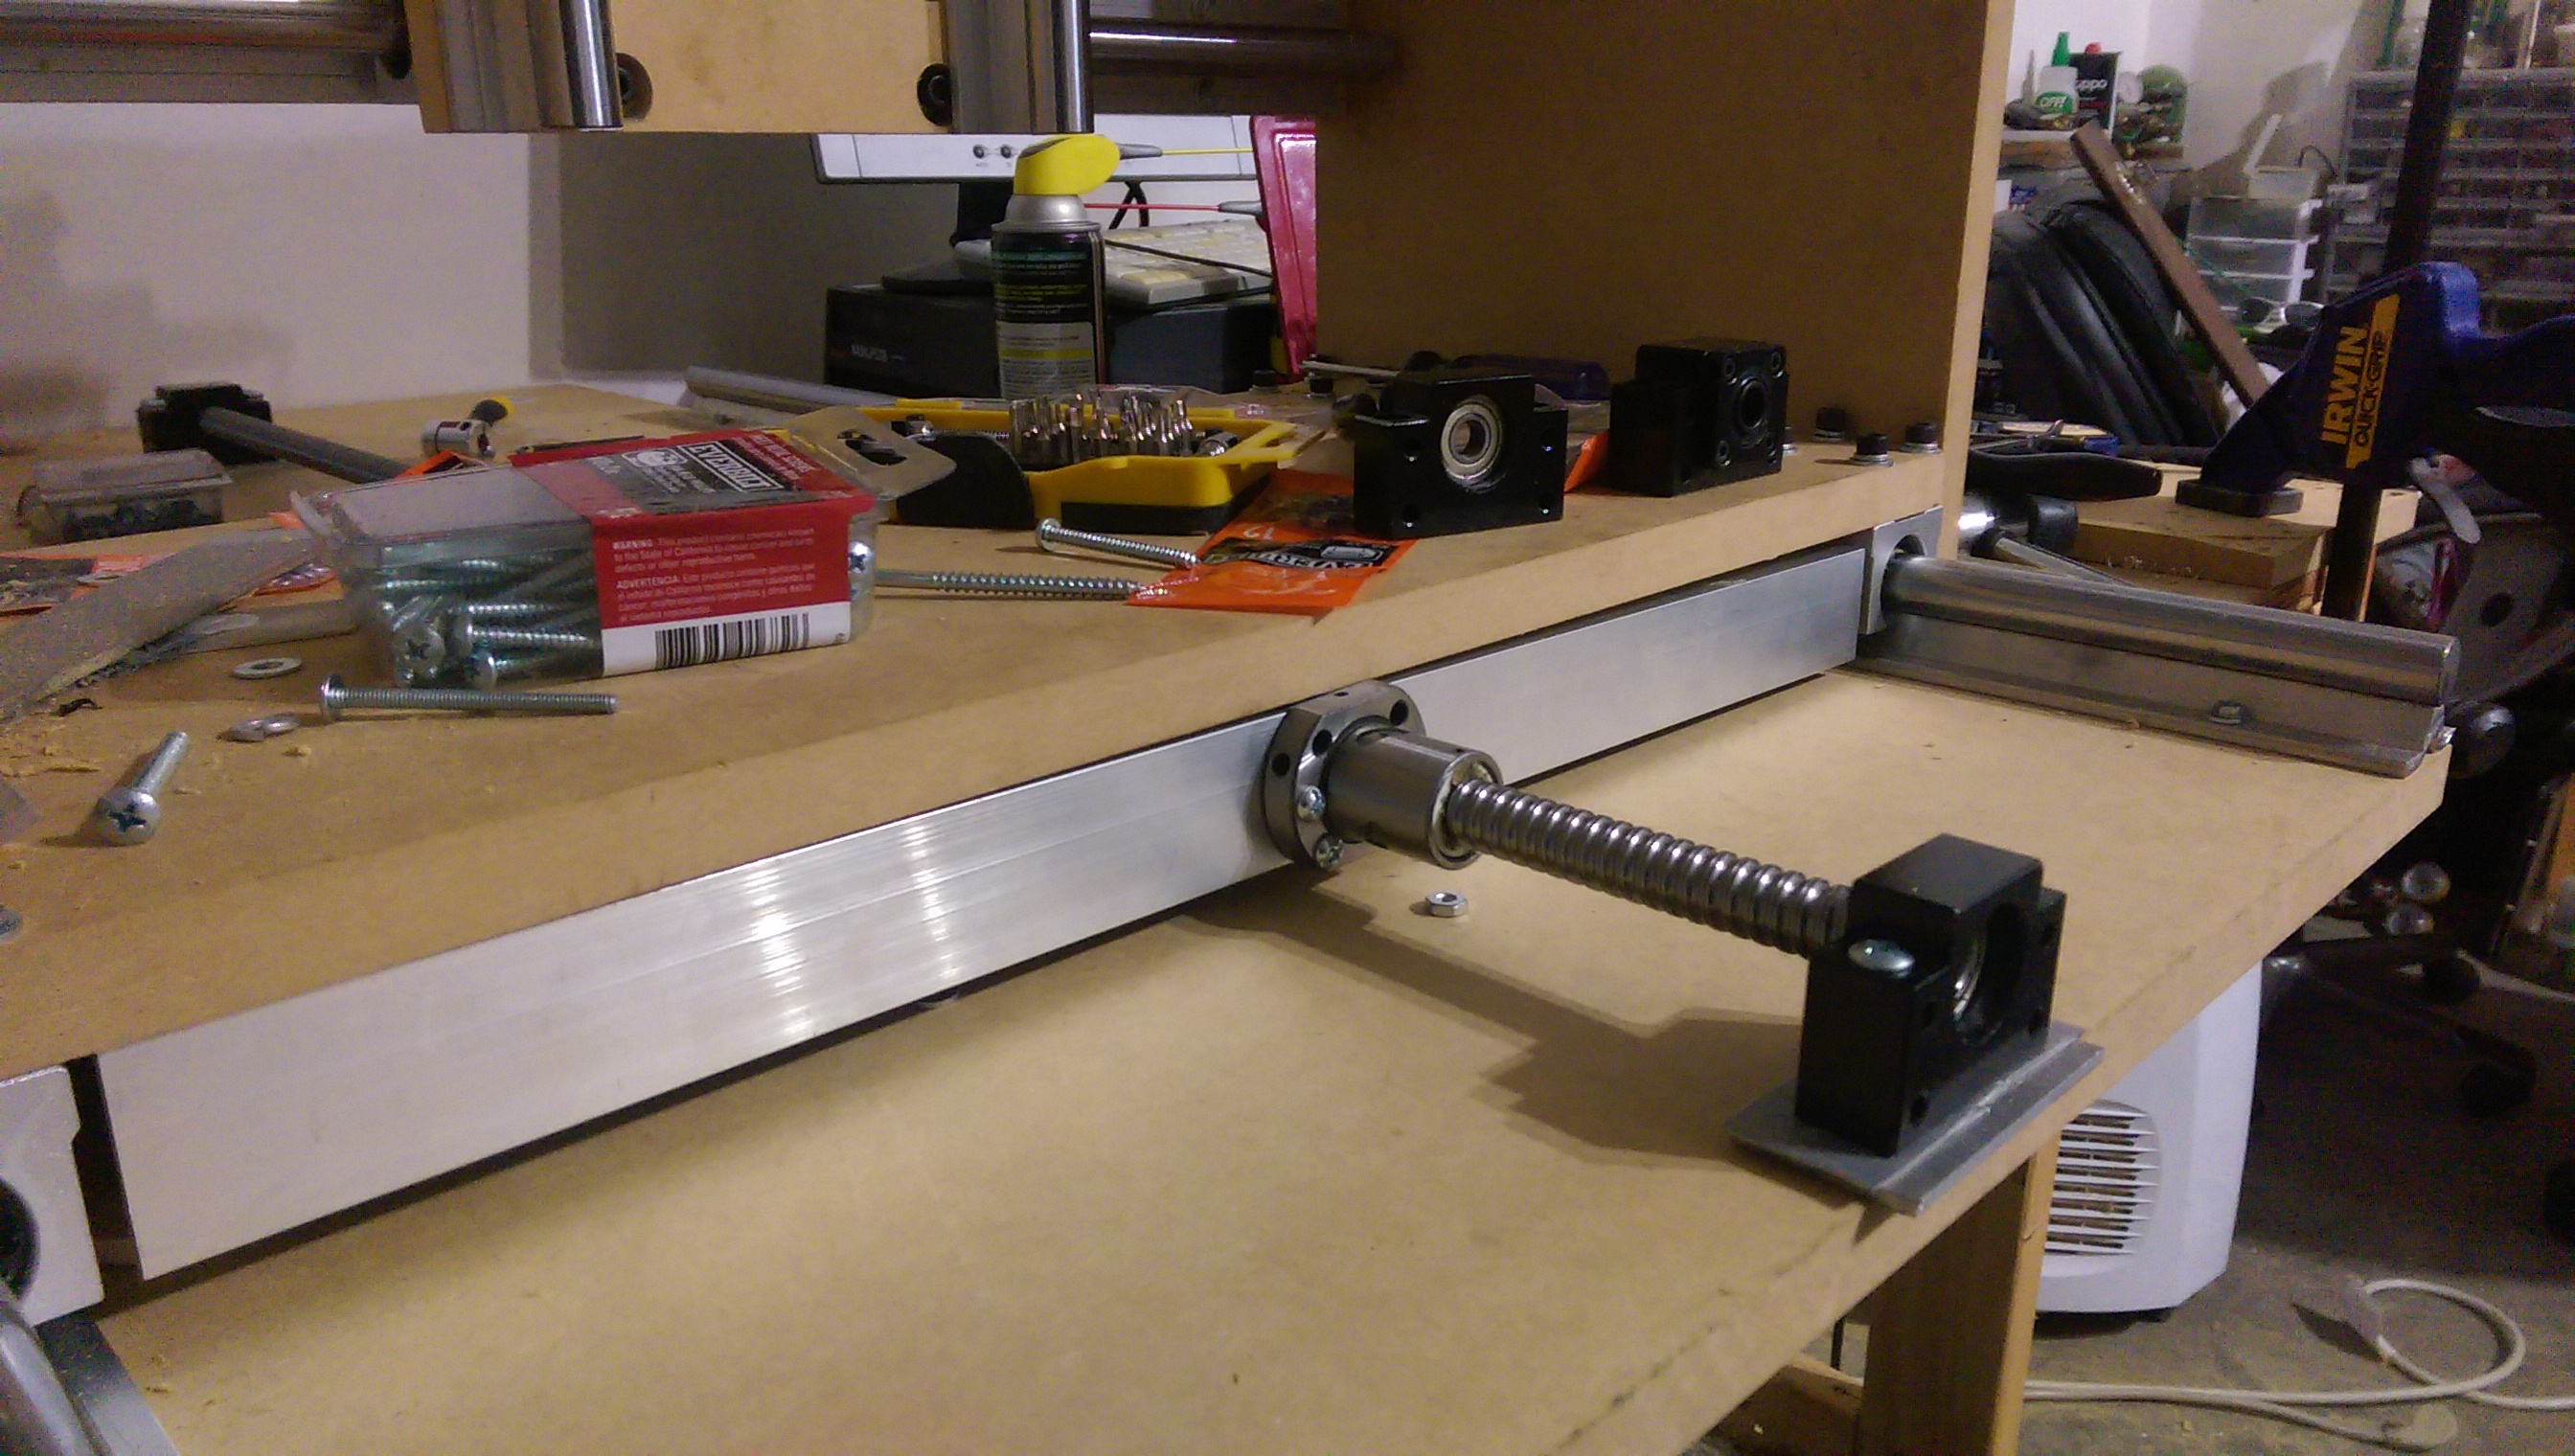
The x-axis rails have been screwed on to the base MDF sheet. I used clamps to make sure the shafts stayed as parallel as possible while I attached them.
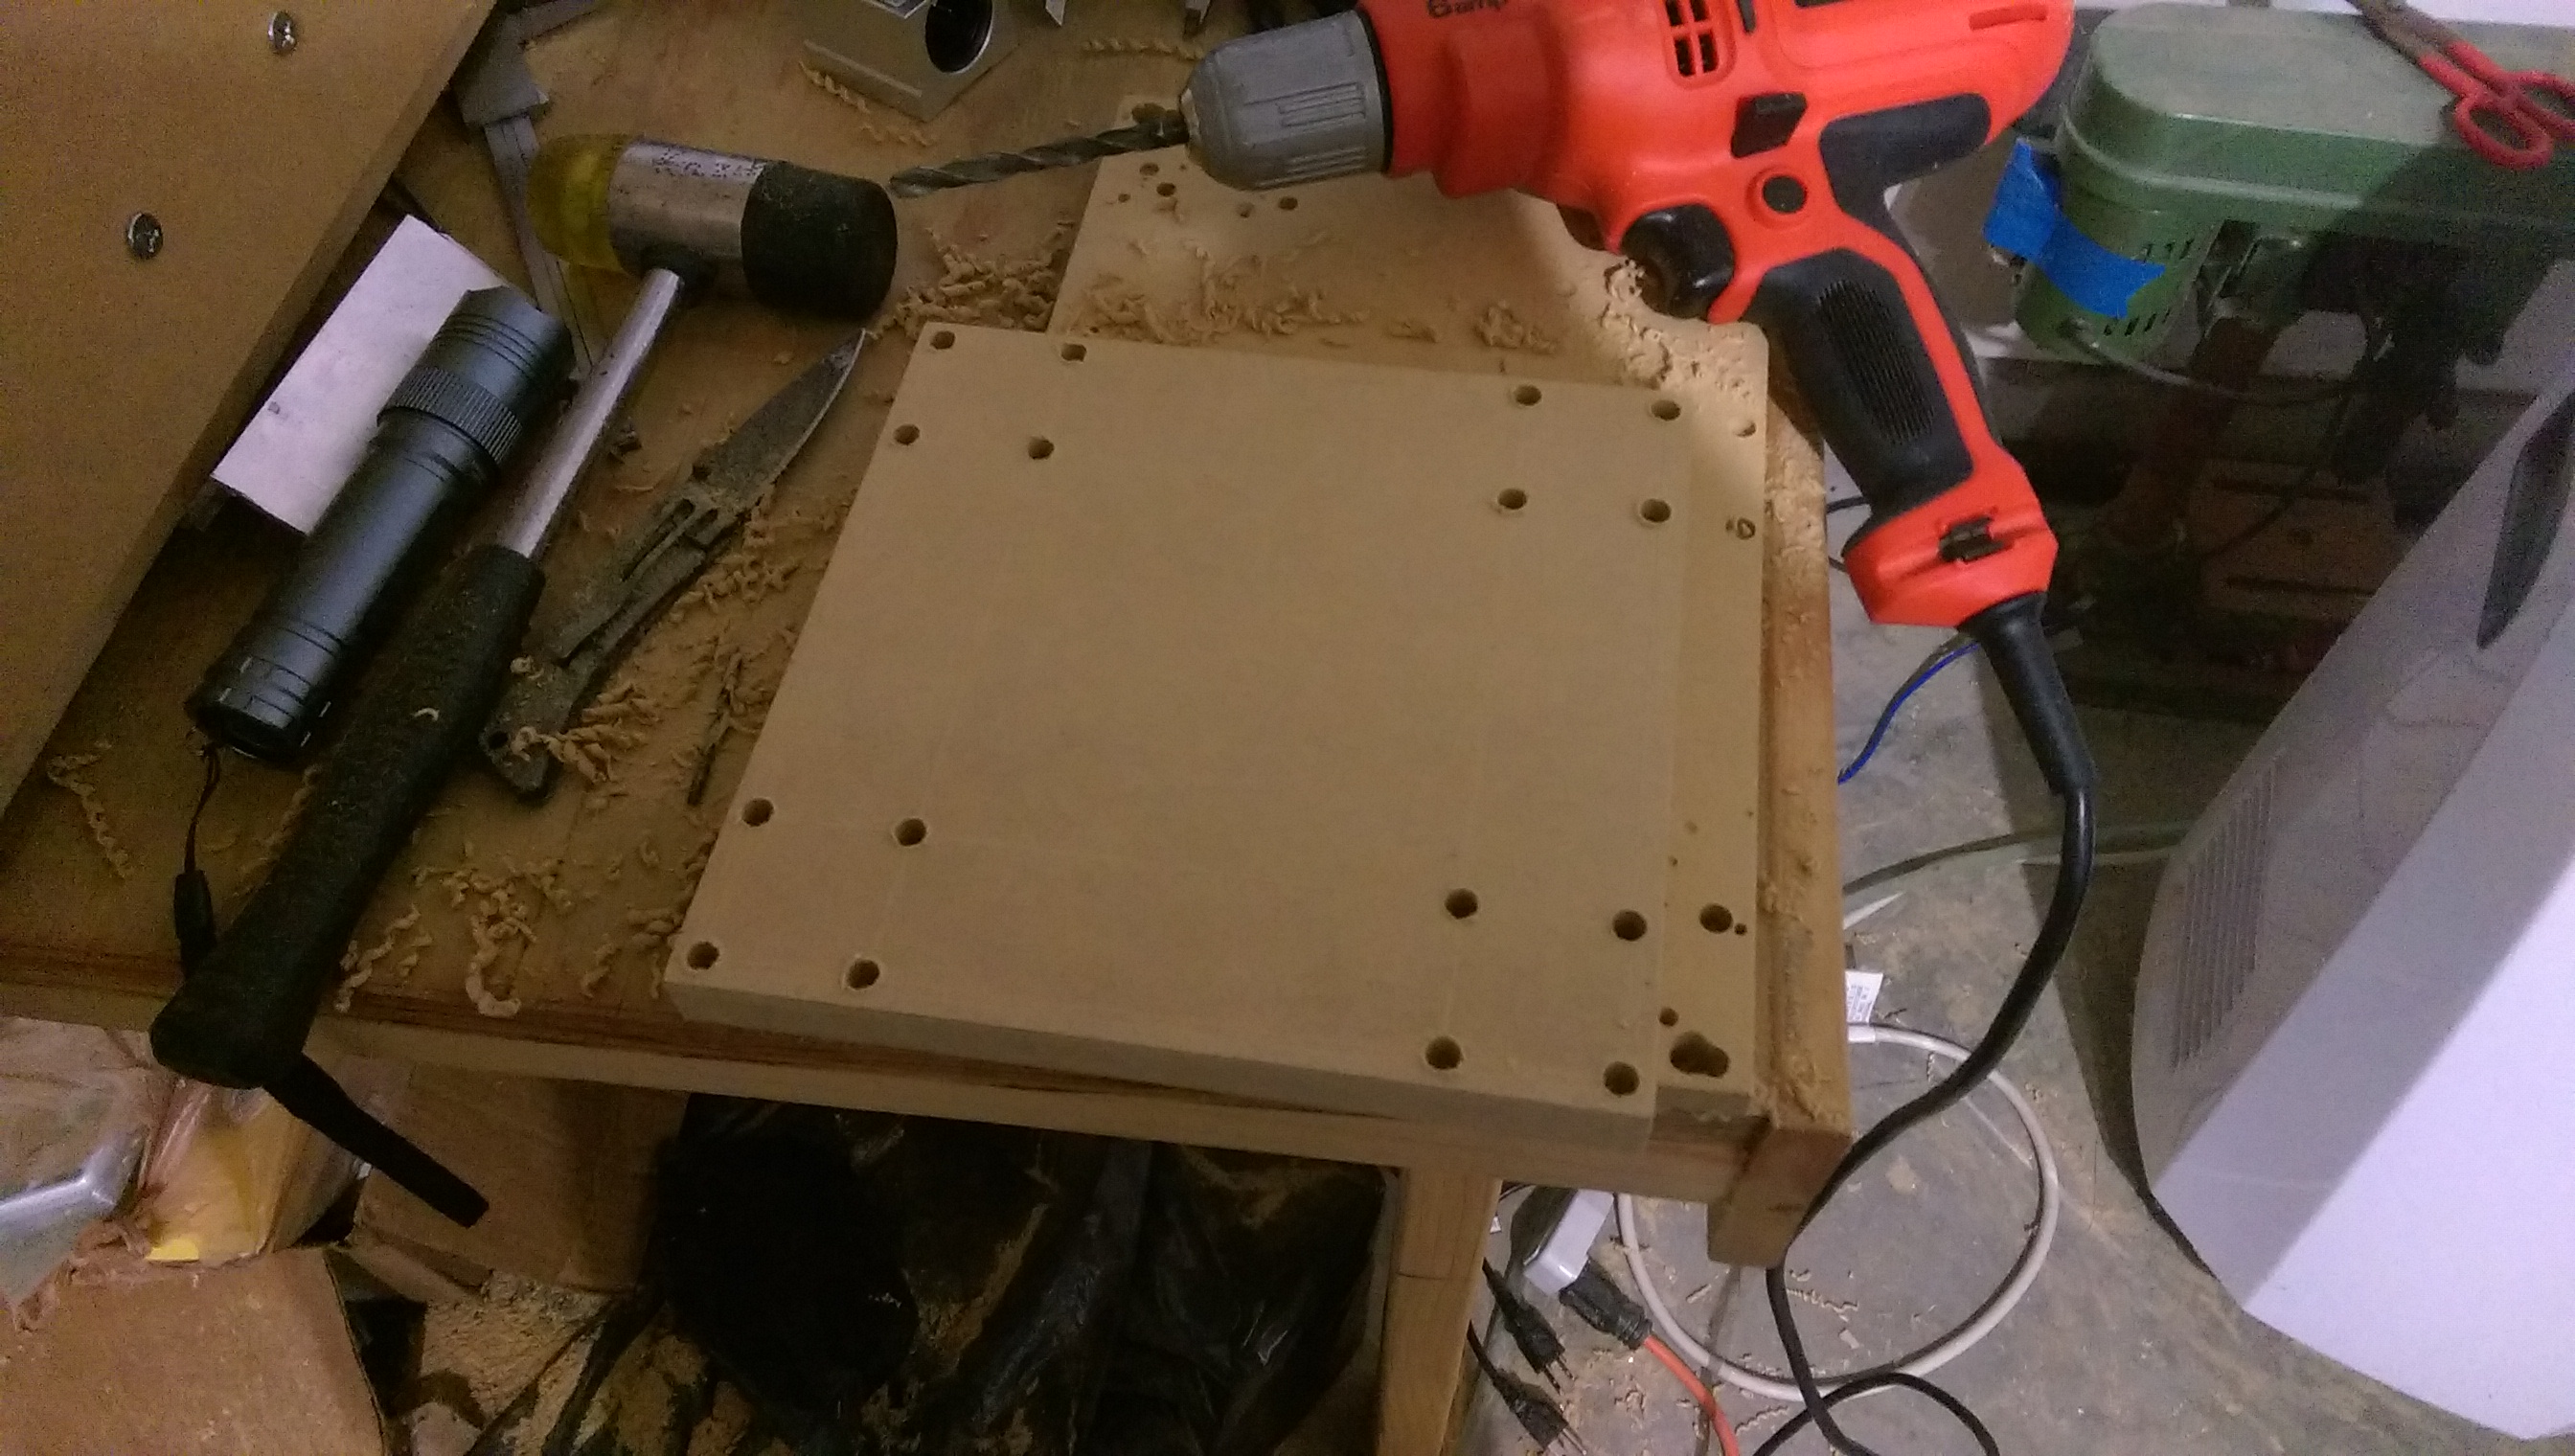
Next up is to cut the board that will lie on the bearing blocks and attach it.
The MDF sheets have been purchased and the x-axis is laid out. I can use woodscrews to attach the rails, but I need to go to a specialty fastener store to buy metric screws for the bearing blocks.
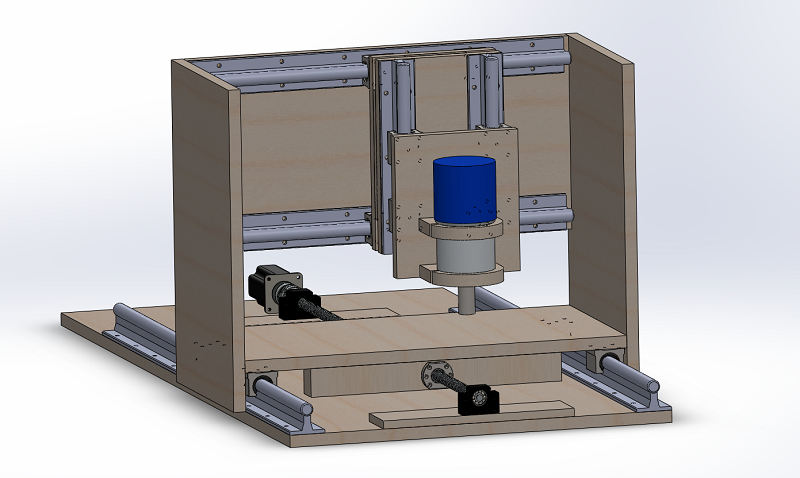
This is the most current Solidworks prototype model. The x-axis ballscrew and motor are present in the middle bottom of the model. The model may not be strictly adhered to when building the machine, as I will not be able to create some wooden parts as precisely as I would like to by hand.
This is a short clip of the prototype model in action.